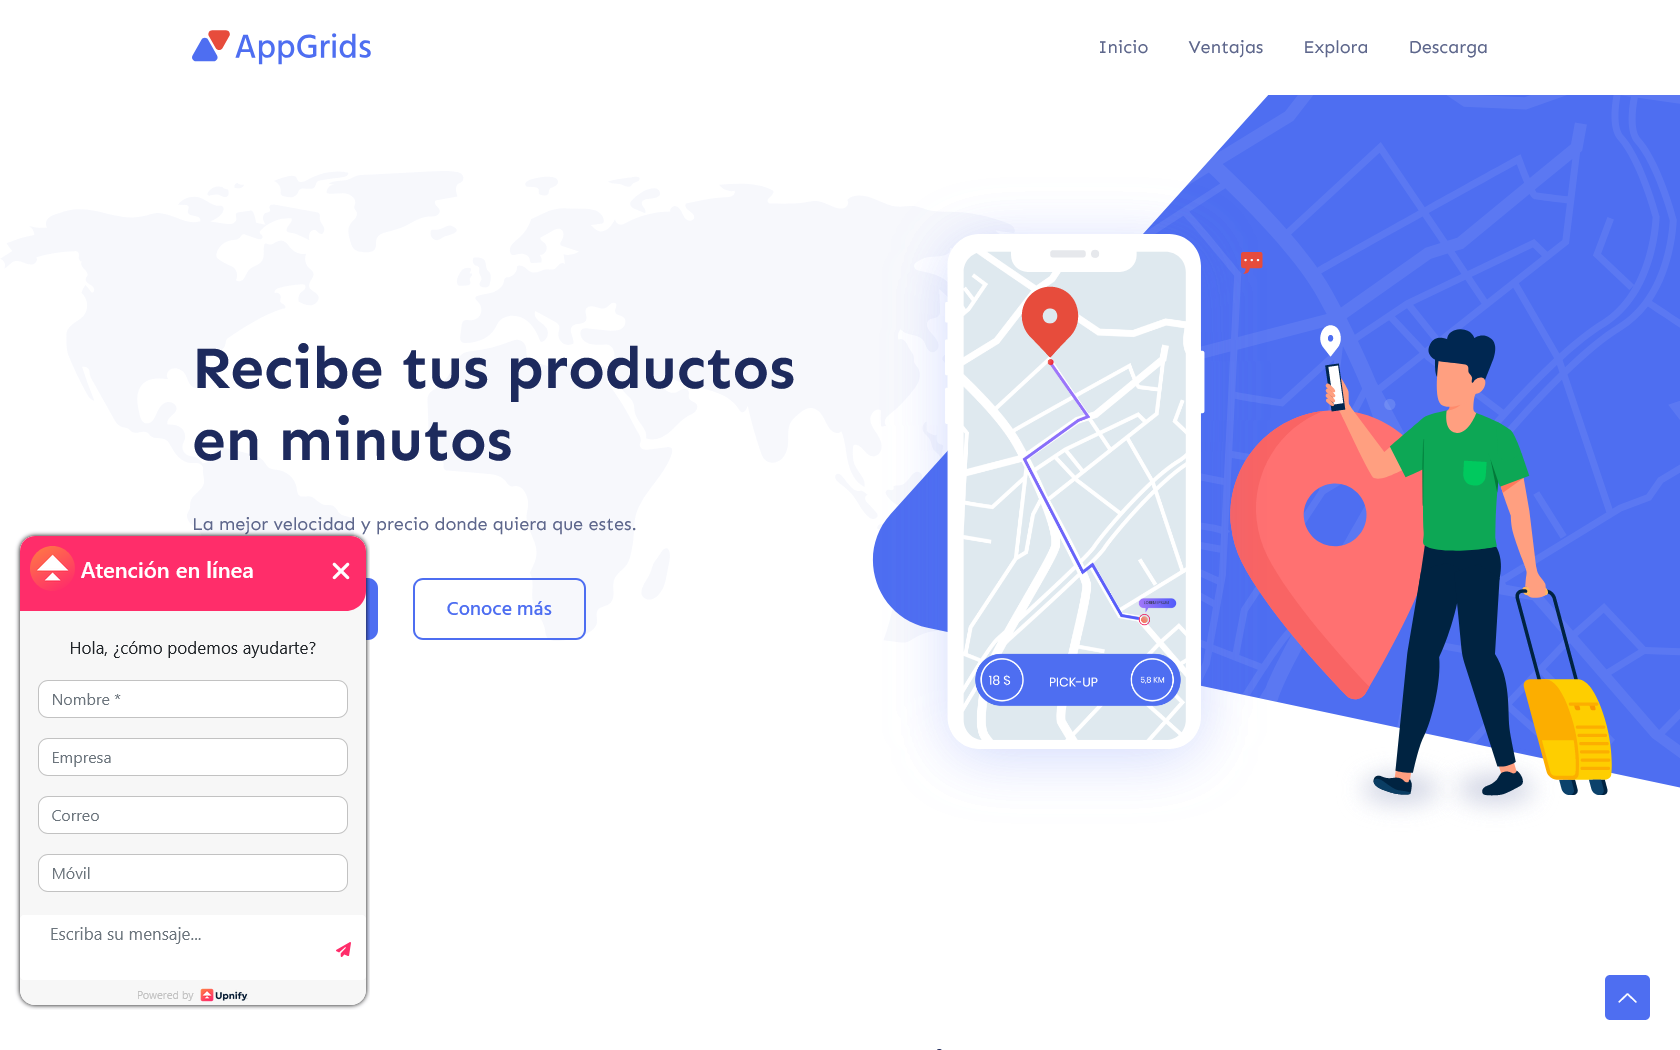
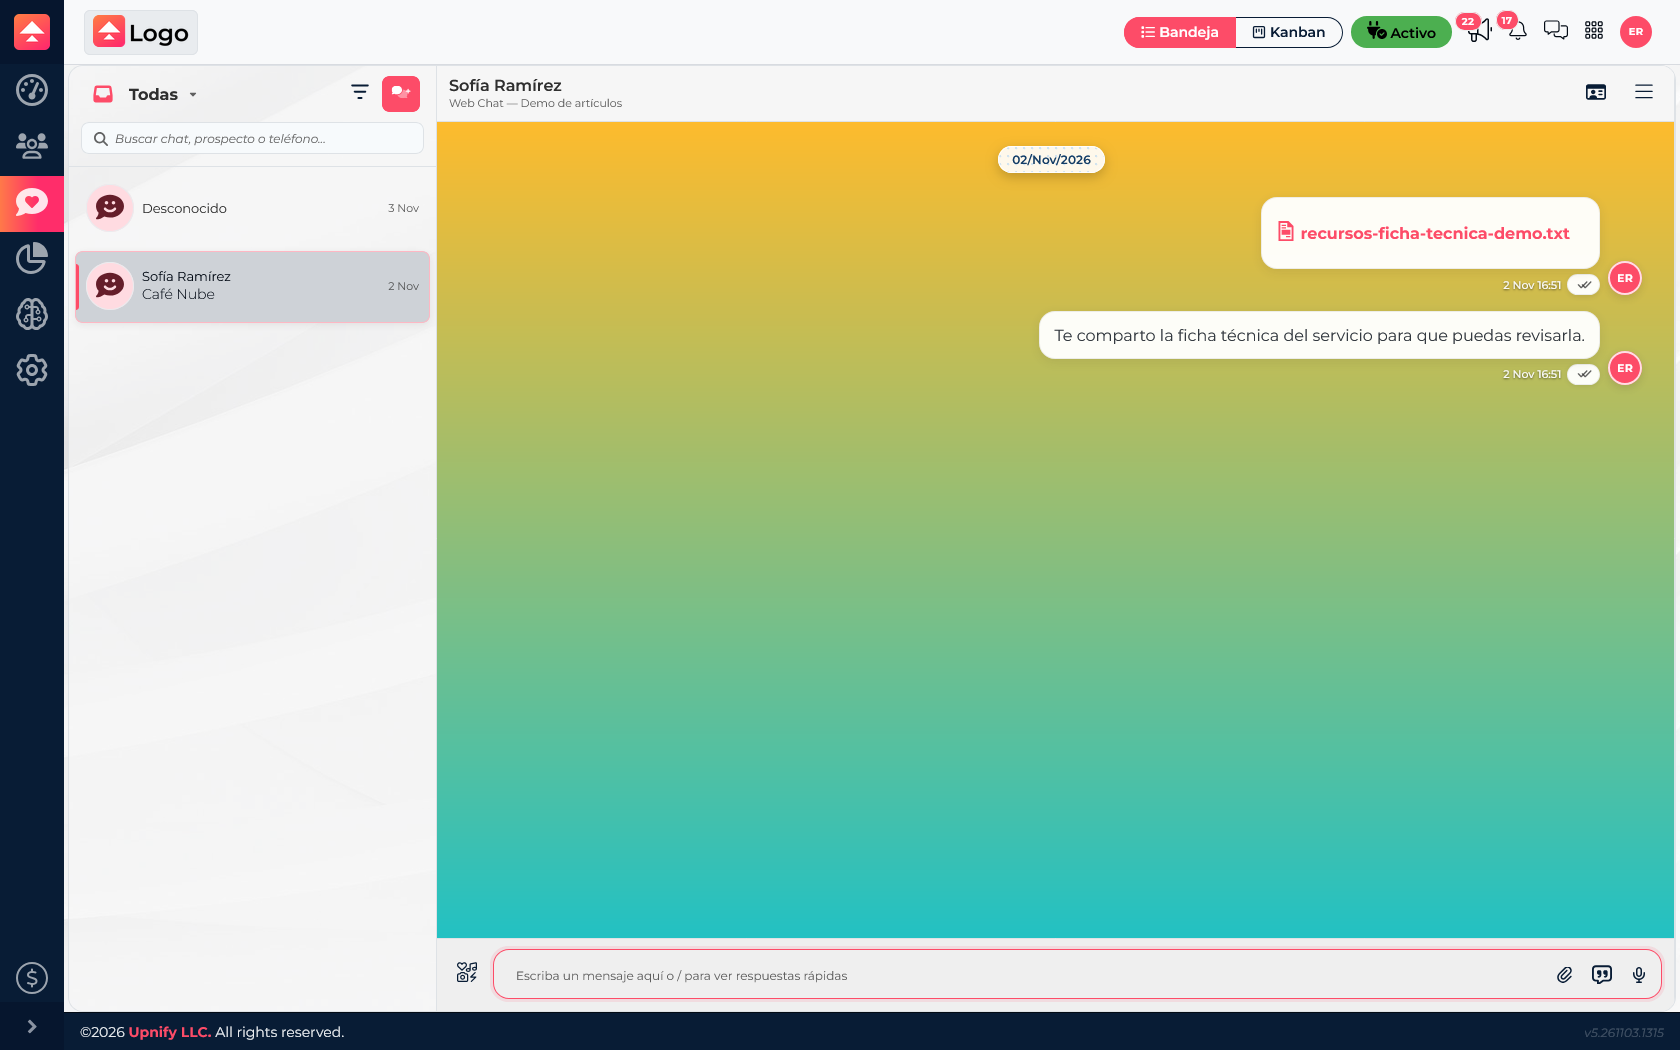
Configure the widget in Engage, publish it on your site, and handle messages from the Connect inbox.
Published on November 4, 2026
WebChat lets a visitor start a conversation on your website and your team handle it in Upnify Connect. Setup order matters: first integrate the website with Engage\u2019s general code; then make sure a WebChat channel is active in Connect and create the widget in Engage for that site and channel.
Recommended order
1. Integrate the site with Engage2. Prepare the WebChat channel3. Create the widget
Before you begin
You will need access to Engage and Connect, plus permission to edit the website or help from its administrator. Have the domain where the chat will appear ready.
A WebChat channel in Connect must exist and be active so you can select it when setting up the widget. If it is not ready yet, you can set it up after integrating the website and before creating the widget.
1. Integrate your website and install Engage code
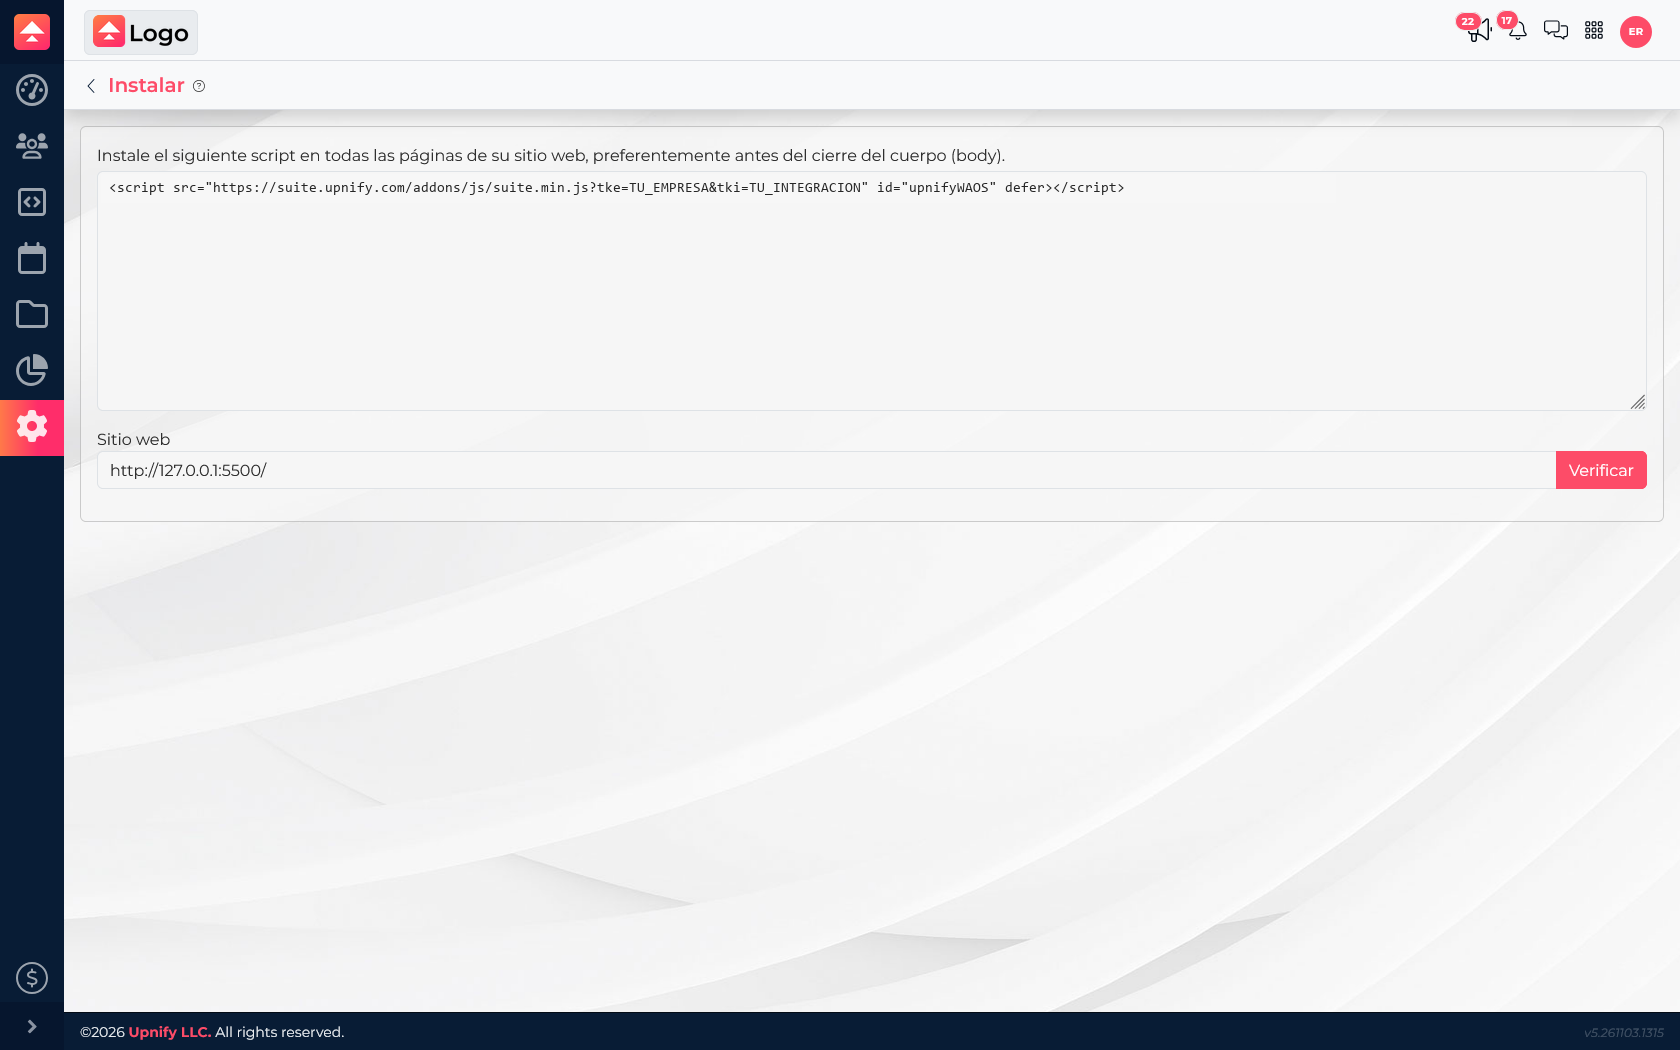
In Engage, open the site installation section and copy the general integration code for your account. This connects your website to Engage and should be done before you create the widget; then the widget can appear on the integrated pages.
Install the code only once. If the website already has Engage\u2019s general code, do not add it again; confirm that it is active on the correct domain.
Copy the integration code from your own account before creating the widget.
2. Add the code to your website
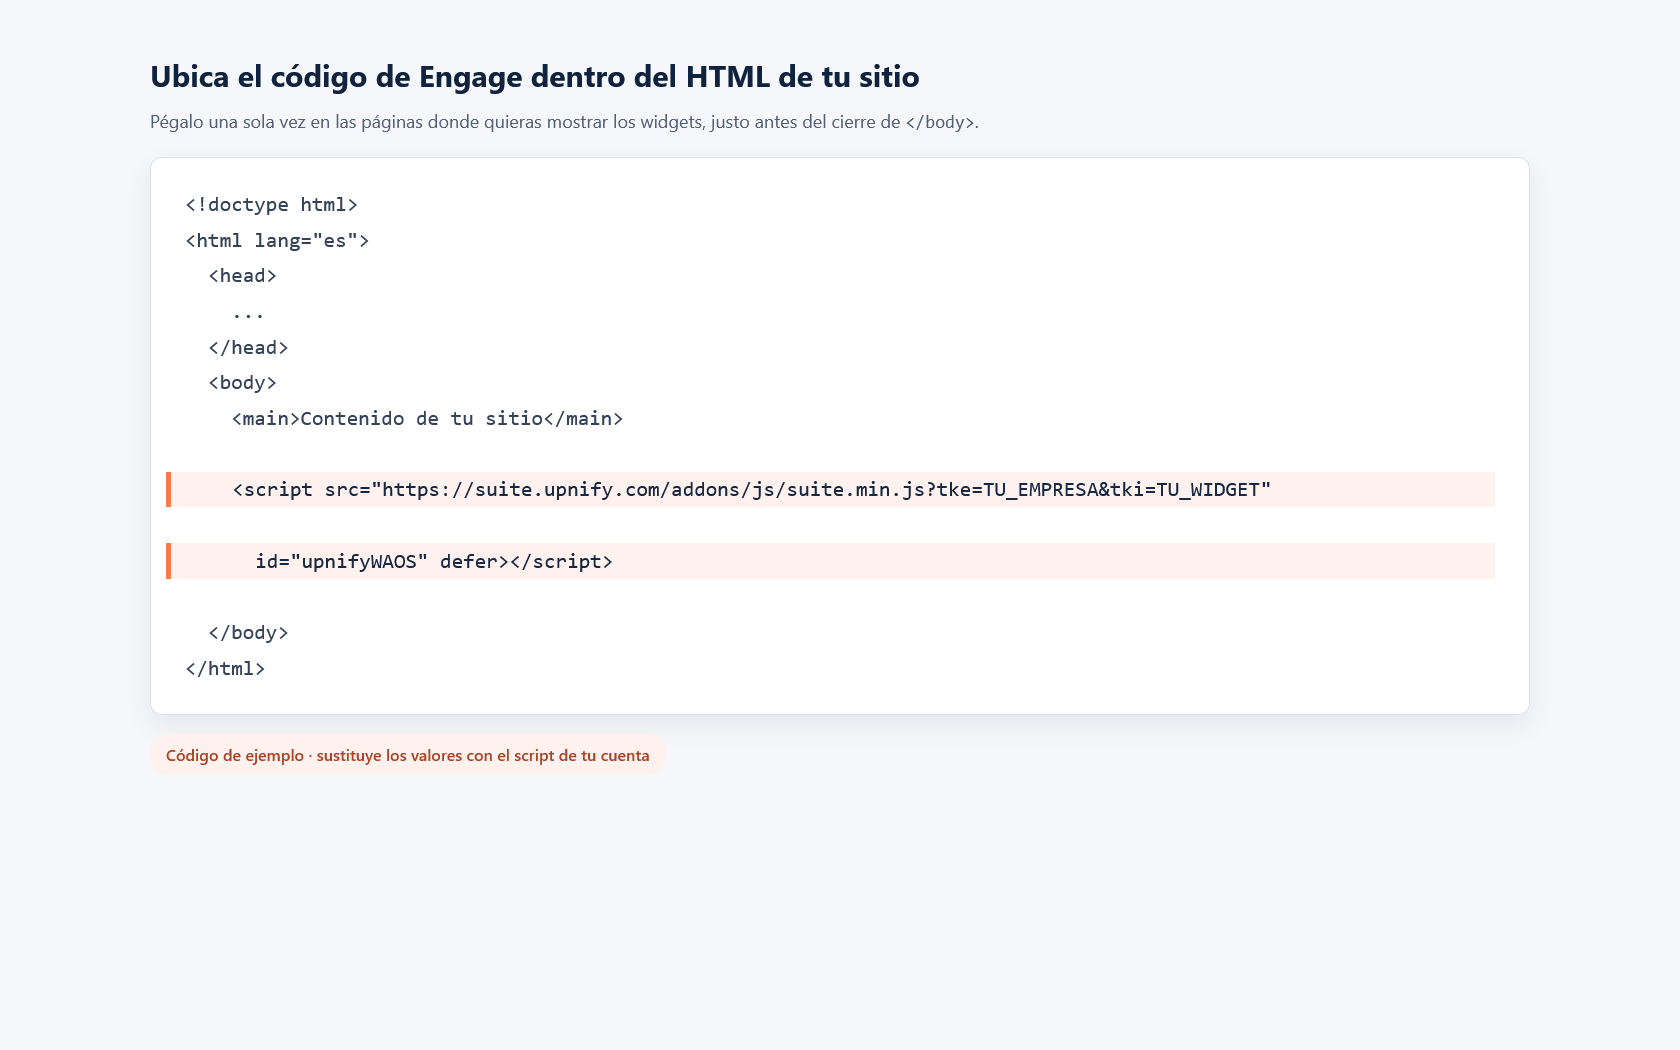
On an HTML website, place the code just before the closing
tag and save your changes. The example shows where it belongs; copy the actual code from your Engage account.
If you use WordPress or Wix, ask your developer to add it or use the custom-code option offered by the platform. The name and availability of that option depend on the site plan, theme, and setup. Once the code is installed and the site is integrated, continue by creating the widget.
Install the general code once; then you can create widgets for the integrated site.
3. Prepare the WebChat channel in Connect
In Connect, confirm that a WebChat channel exists and is active. Decide which team or agents will handle conversations coming through it. The channel is where messages arrive; the widget is what visitors see on the website.
4. Create and configure the widget in Engage
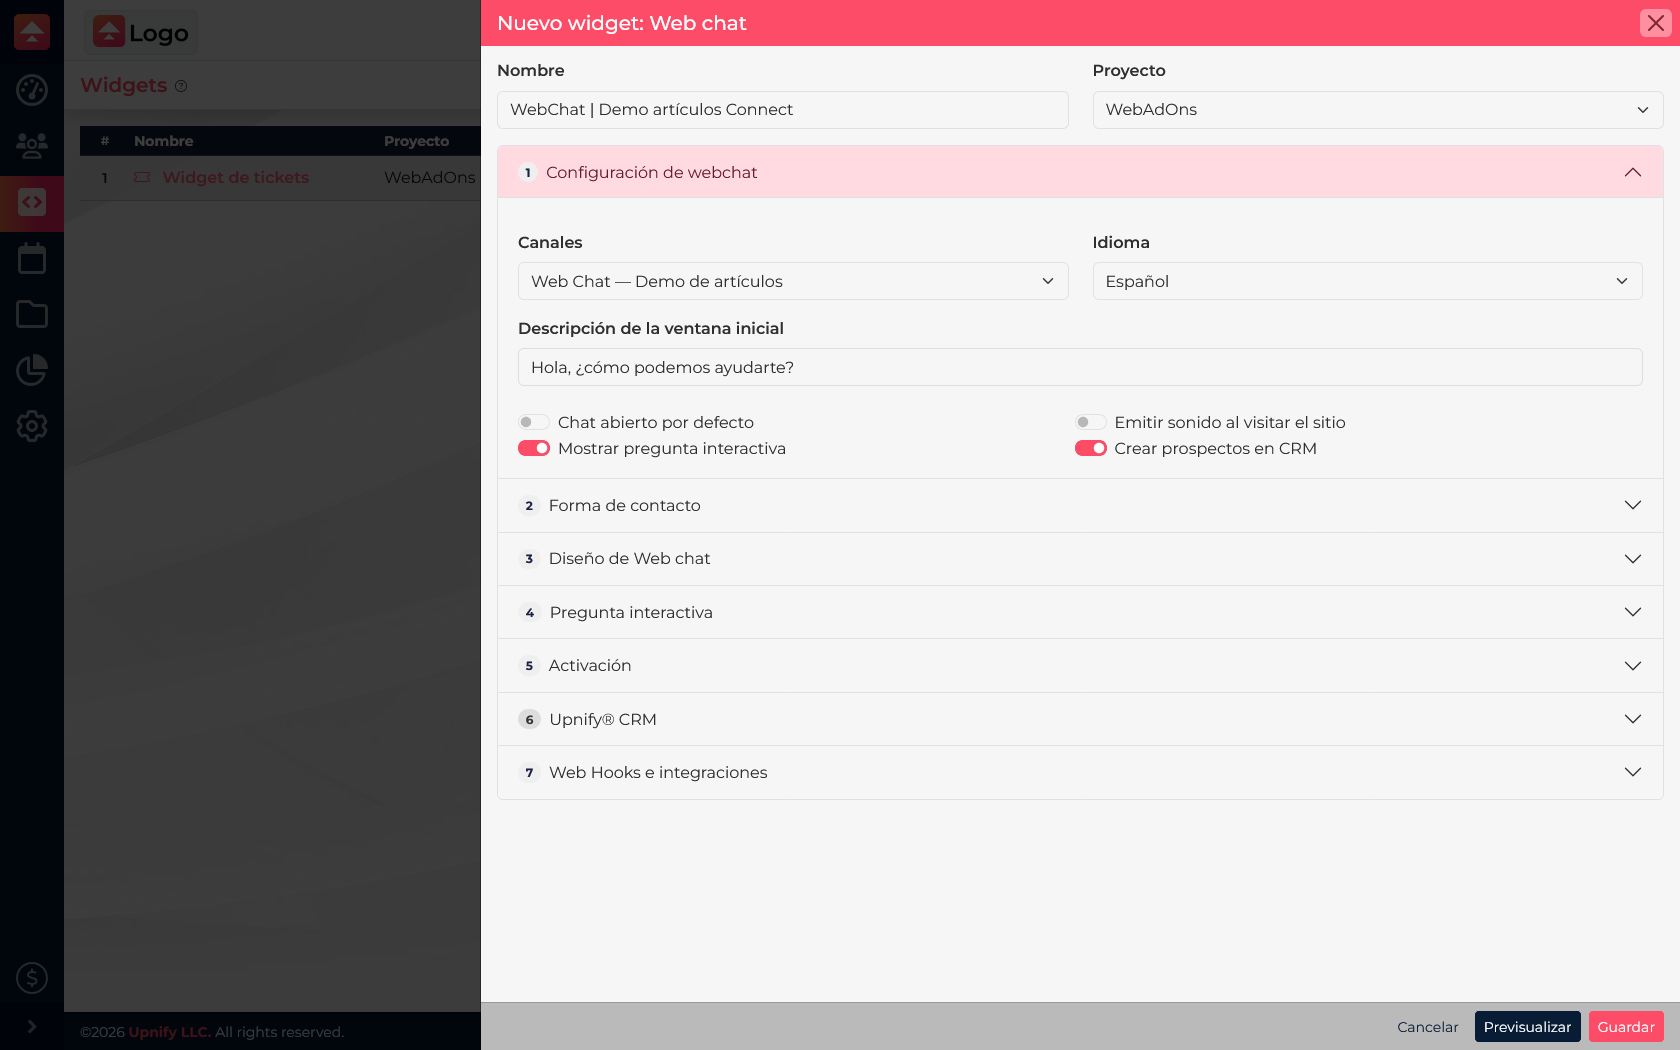
In Engage, open Widgets and create a Web chat widget. Give it a recognizable name and select the site you already integrated. In the chat settings, link the Connect WebChat channel that will receive messages.
Set the language, greeting, and the fields or questions visitors will see. Use Create CRM prospects to decide whether to also save visitor details in CRM. A conversation and a prospect are separate records; this option can create both, depending on the configuration.
Select the integrated site and Connect channel, then set the greeting and requested information.
5. Choose where it appears and publish
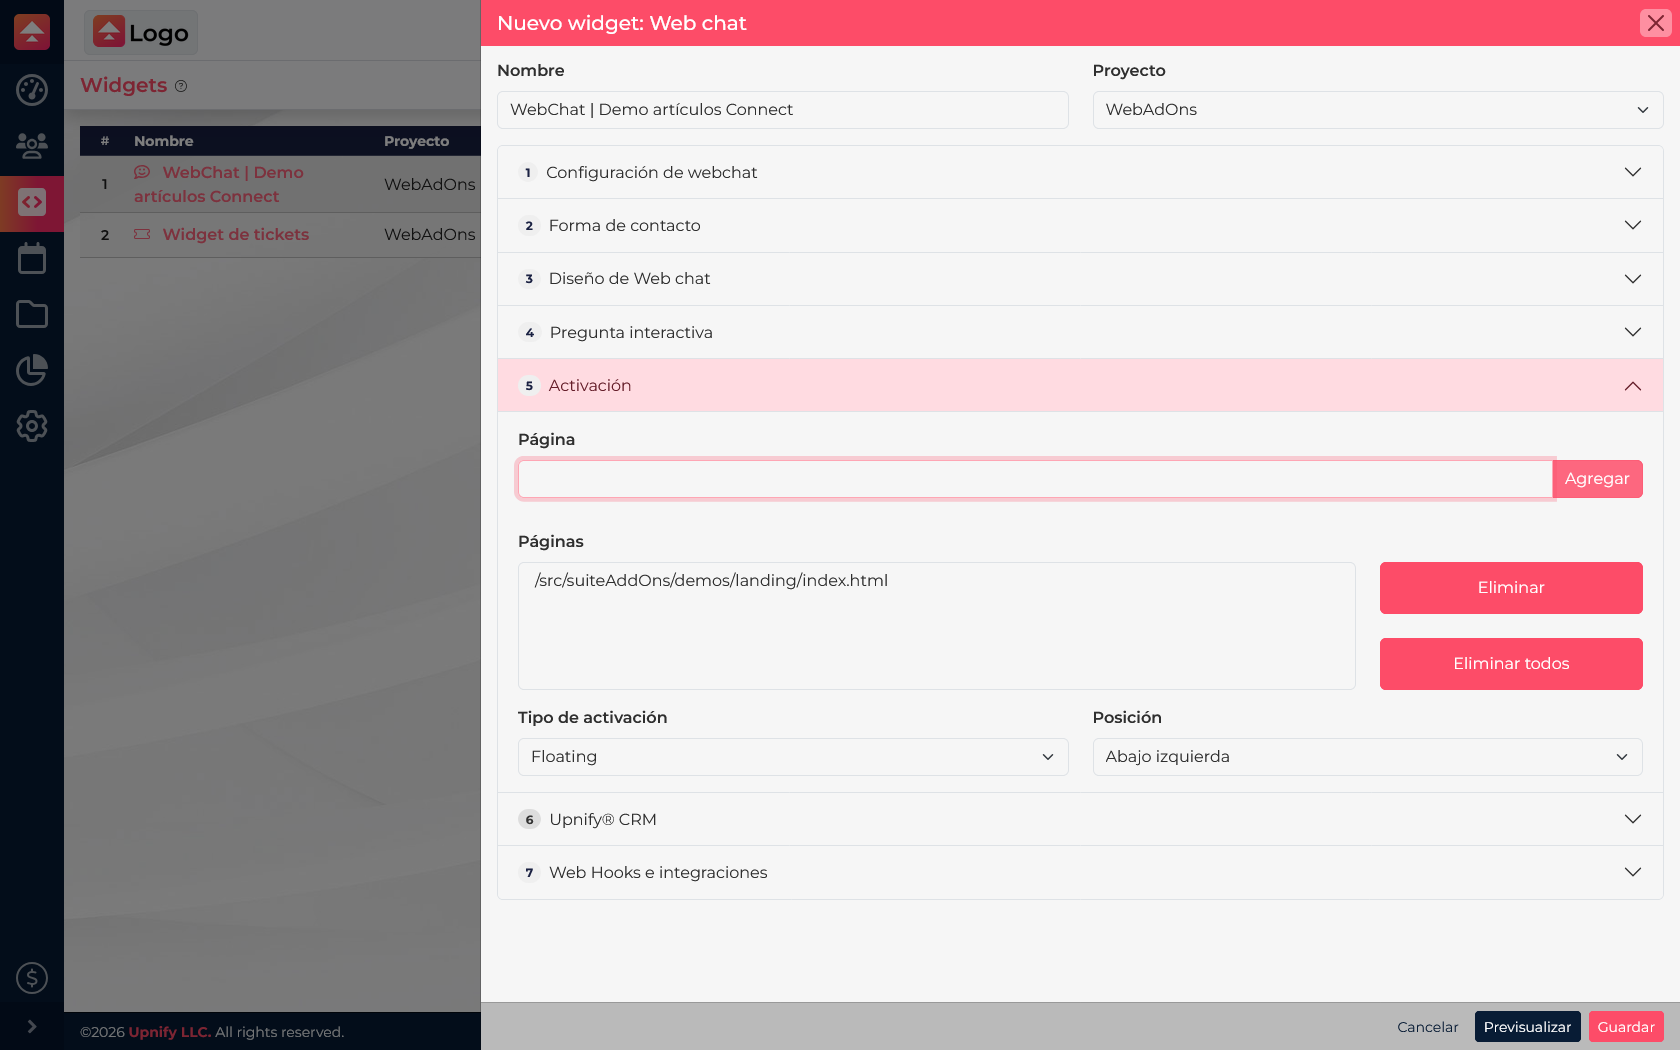
In Activation, enter the paths of the pages where you want the chat to appear, such as Contact or Support. Choose the activation type and button position. Check that the paths belong to the integrated domain, then publish the widget.
Limit the widget to the relevant pages and confirm the domain before publishing.
6. Test WebChat on your website
Open one of the configured pages and refresh it. The button should appear in the selected position. Open it to check the greeting, language, and fields, then send a controlled test message.
If it does not appear, confirm that Engage\u2019s general code is installed on that domain, the widget is published, and the activation path matches the page.
Check that the widget appears on the page and its welcome experience is configured correctly.
7. Handle conversations in Connect
In Connect, open Conversations and find the chat in the WebChat channel inbox. Select it to read and reply. Depending on your team\u2019s workflow, you can assign the conversation, transfer it to another group, and close it when the request is resolved.
If Create CRM prospects is enabled, the visitor\u2019s details may also create a CRM record. The conversation and its handling remain in Connect.
Messages received through the widget are handled in the corresponding channel inbox.
Practical example: Café Nube integrates its website with Engage\u2019s general code. The team confirms its Connect WebChat channel is active, creates the widget for the Contact page, and publishes it. A visitor asks for a quote; the message reaches Connect and an agent replies from the inbox.
Remember: Engage integrates the website and configures the widget; Connect receives and organizes conversations. If the site already has Engage\u2019s general code, do not install it again.