

Before handling messages in Connect, decide which channel to connect and who will be responsible for replies. This prevents requests from landing in an unattended inbox or forcing the team to reorganize after conversations start coming in.
Before you connect
- Confirm your company has access to Connect and that your user can manage channels or has the required permission.
- Choose a channel based on where questions arrive: Web Chat for your website, or a social channel customers already use.
- Decide which user will handle conversations and, if you plan to route by team, confirm the team is set up.
- Have access to your website or the external account requested by the channel provider. WhatsApp, Meta, and other platform authorization steps depend on each integration and are covered in their specific guides.
Create the channel
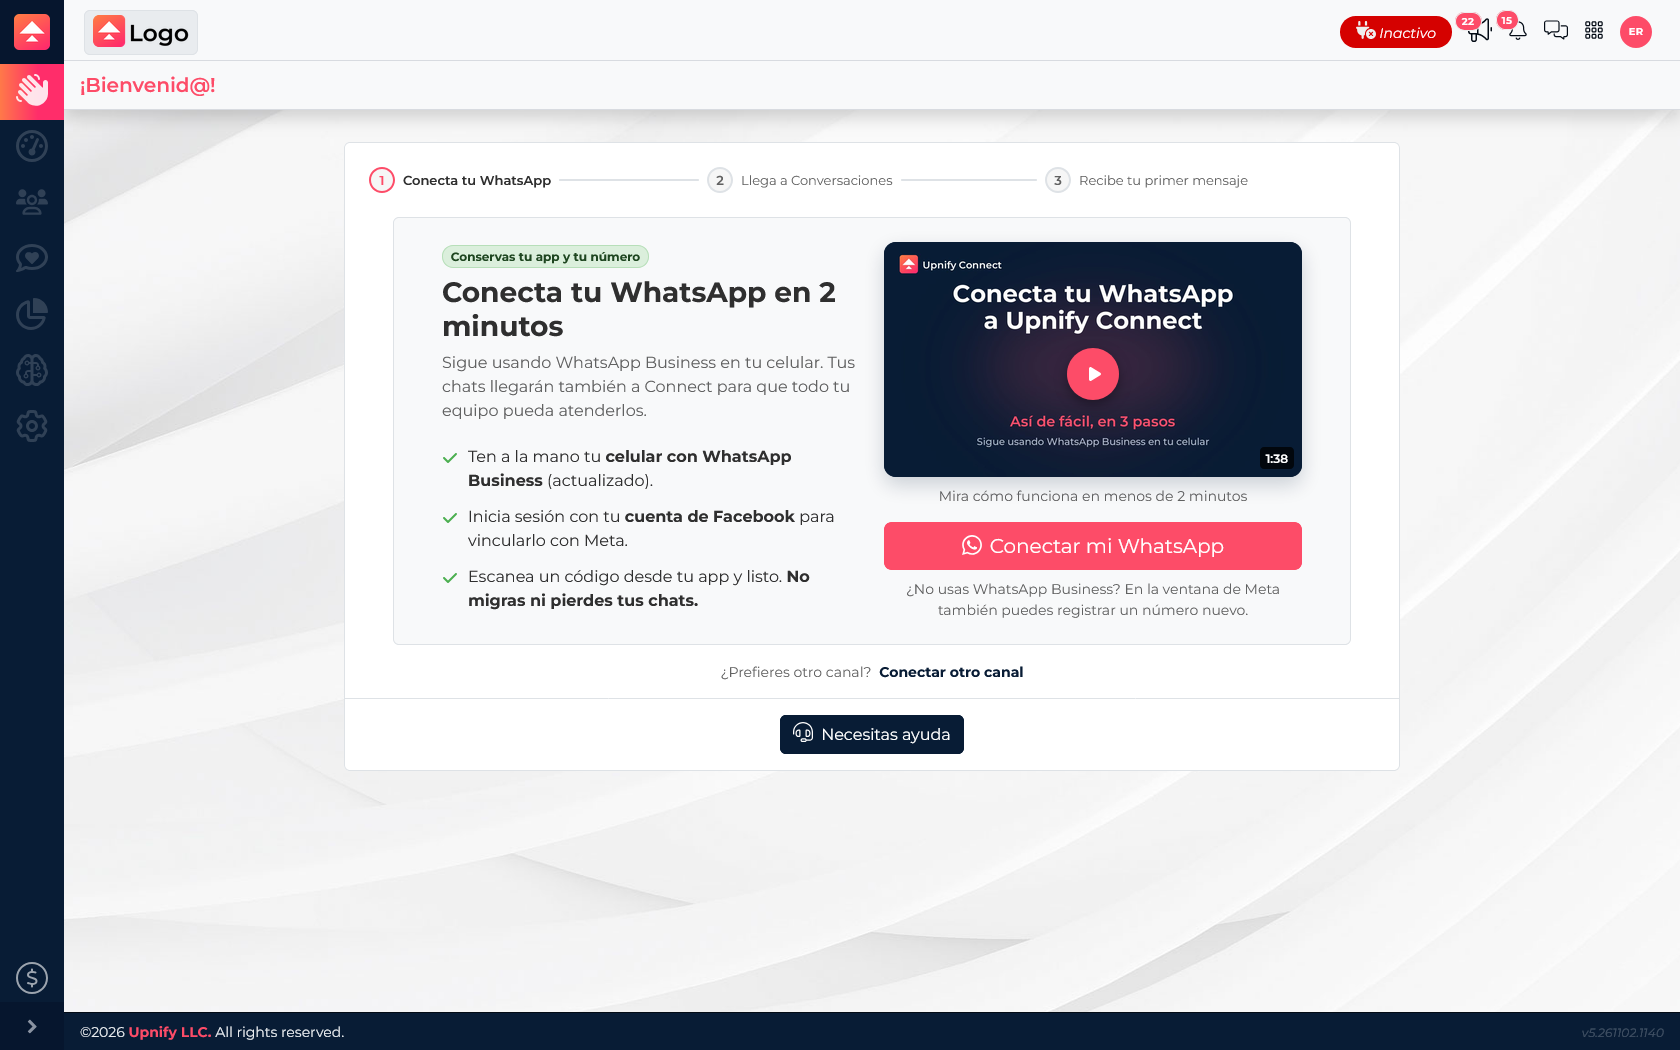
- In Connect, open Settings > Channels and select New. If this is your first visit, you can also use Connect another channel.
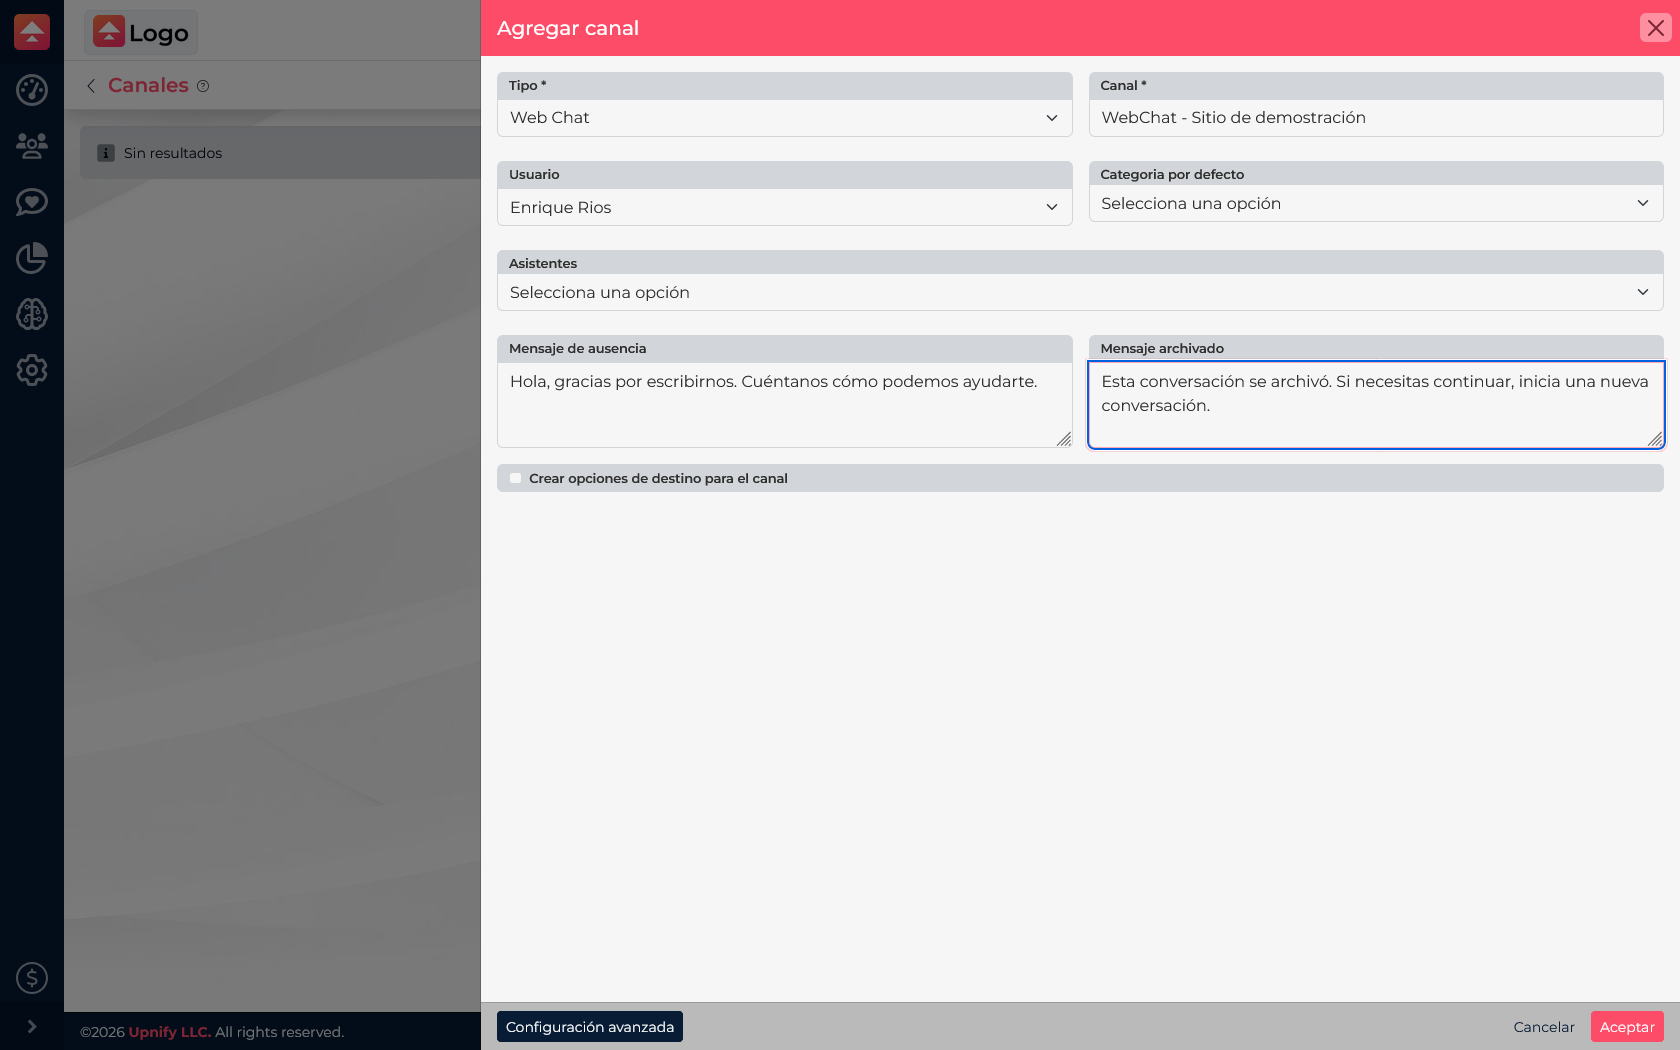
- Under Type, choose the channel you want to configure. The demo account offers Web Chat, WhatsApp, Facebook Messenger, Instagram, and Telegram; availability can depend on permissions or external requirements.
- Enter a recognizable name, such as Web Chat - Main website. If your company manages several channels, use the name to distinguish their sources.
- Select the responsible user. If a default category is configured, choose one that matches the type of requests the channel will receive.
- Assign an assistant only if one is already configured and you want it to handle or support this channel. You can leave this empty so the team handles conversations directly.
- If needed, add an away message and an archived-conversation message. Review any additional destination or routing options before saving.
- Select Accept to save. For external channels, also complete the authorization required by the relevant platform.
Check that setup is complete
After saving, confirm that the channel appears under Settings > Channels and has the expected connection status. Send a test message from an authorized source and check that it appears under Conversations with the correct channel and owner. If an external authorization is required, complete it first; saving the form alone does not prove the external service is connected.
If you do not yet have an external account ready, you can prepare the channel structure and note what remains, but do not treat the channel as operational until you have confirmed that it receives a message.