
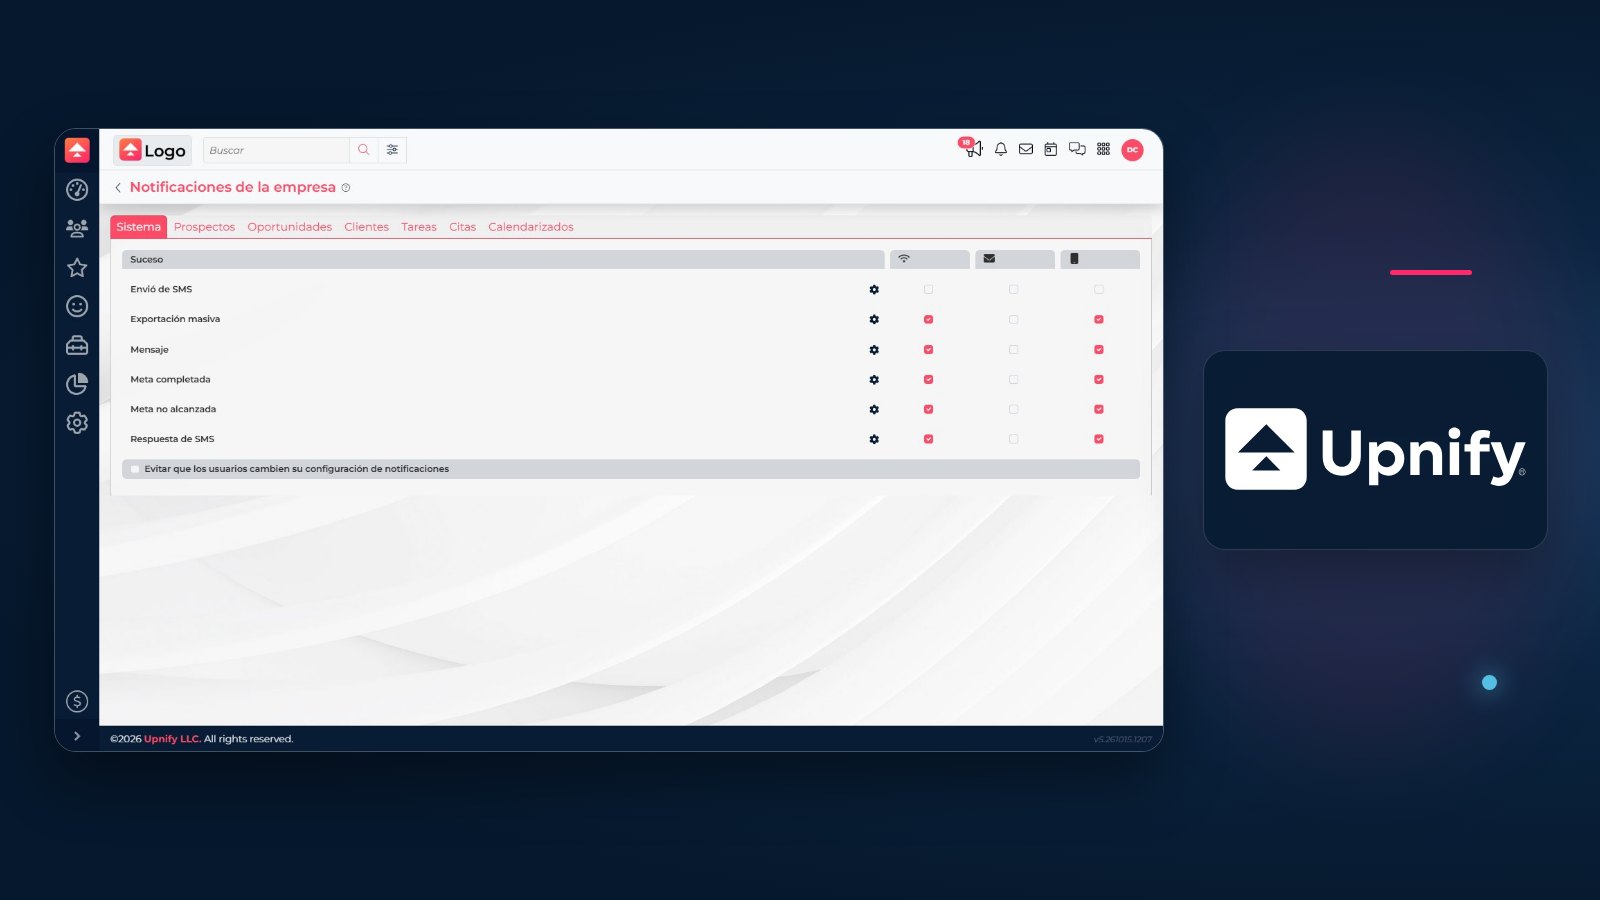
CRM has two notification layers: company rules, which determine which events can generate alerts and through which channel, and each user’s personal preferences. Keeping these layers separate helps explain why a user may not receive an alert even when an event exists.
To define rules for the whole account, use Company notifications. To choose what you receive, open My notifications. Screenshots in this guide show the Spanish interface.
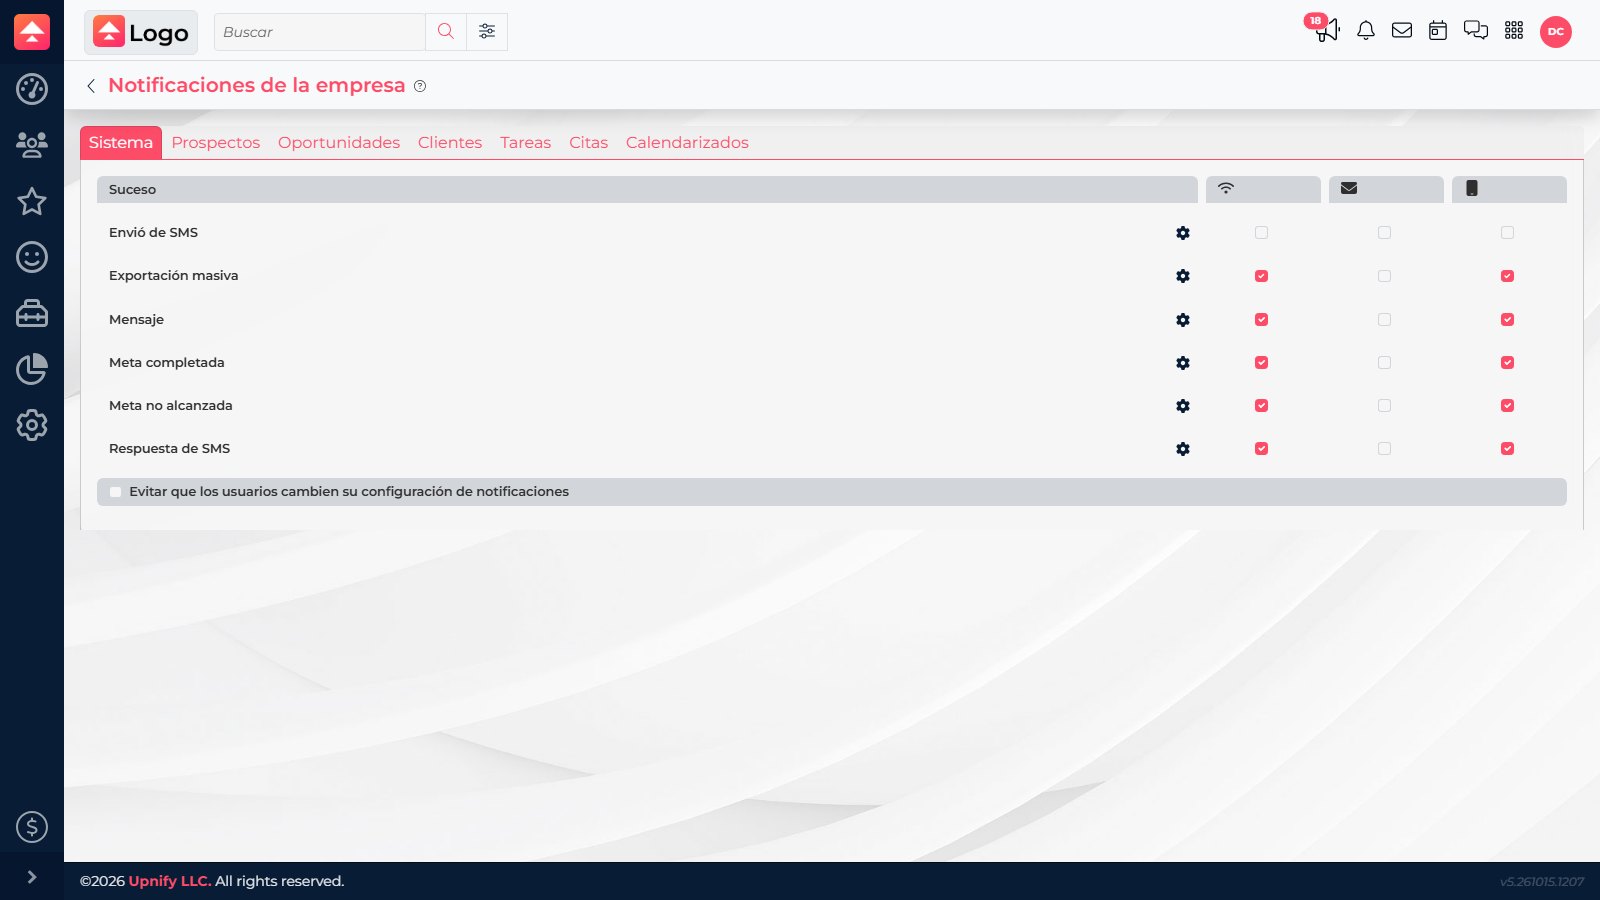
Configure company notifications
- In CRM, open Settings and select Notifications.
- Choose an event tab, such as Prospects, Opportunities, or Tasks.
- Find the event and review the channel icons in the header.
- Turn the event’s channel checkboxes on or off according to the company’s needs.
The matrix groups events by category. In CRM, the visible channels are identified by header icons for in-app alerts, email, and push notifications. Availability can vary by event.
Review prospect events
In the Prospects tab, you can review events such as phase changes, shared contacts, manual or integration-created prospects, reassignment, follow-ups, and contact merges. Enable a channel only when that event should notify users. Different events do not all need the same alert.
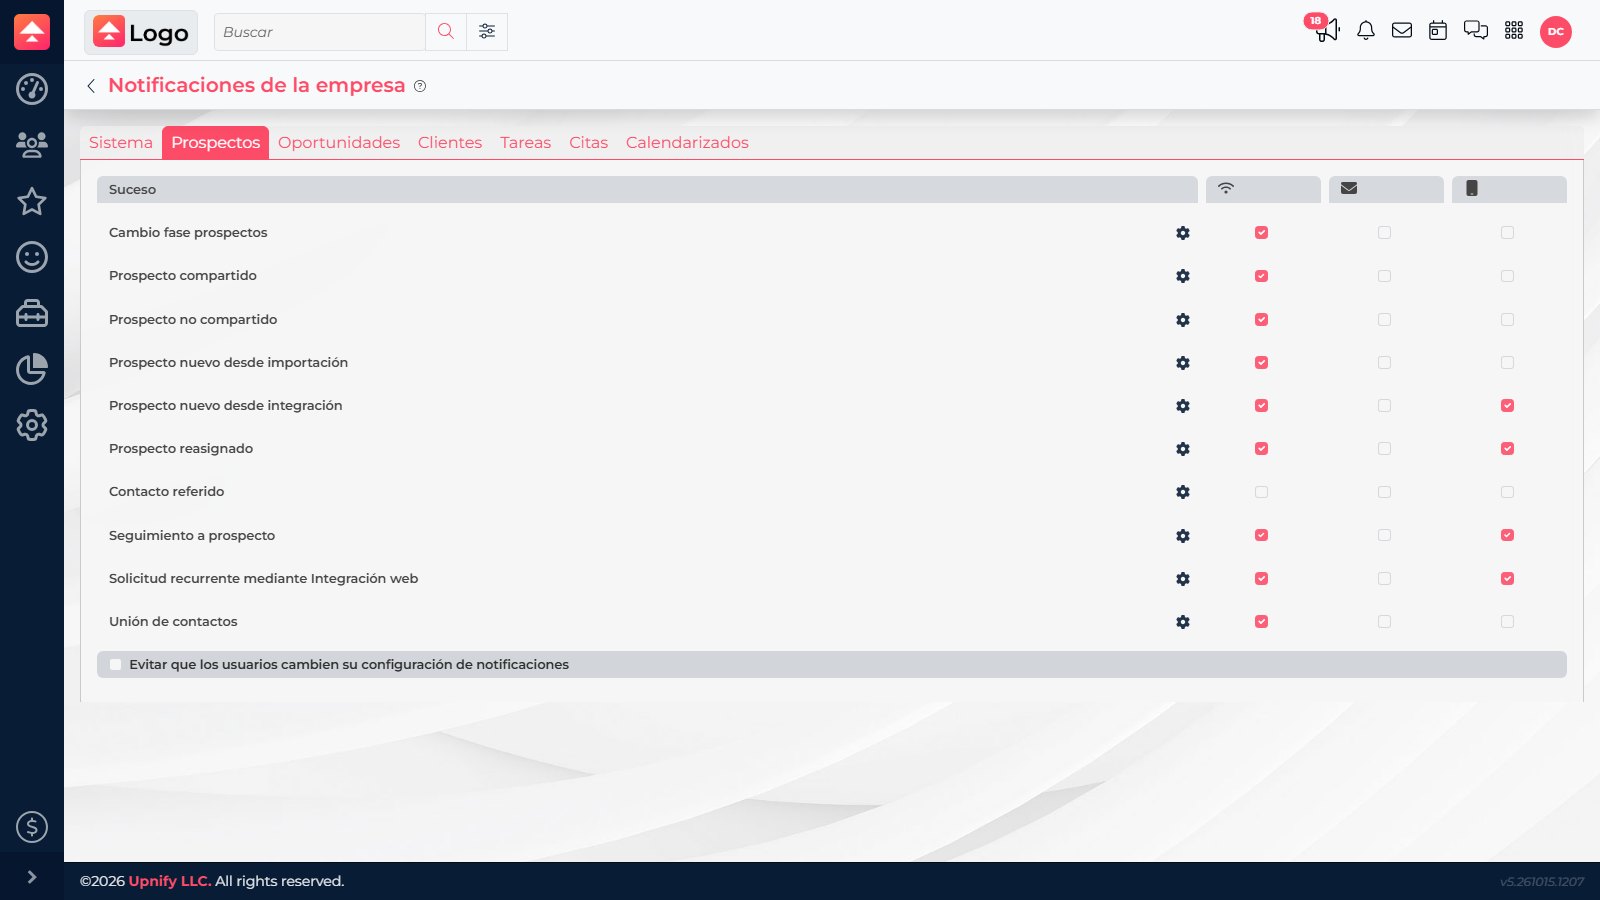
Checkbox changes are saved immediately. The Prevent users from changing their notification settings option locks personal preferences; enable it only if the company needs to control that layer as well.
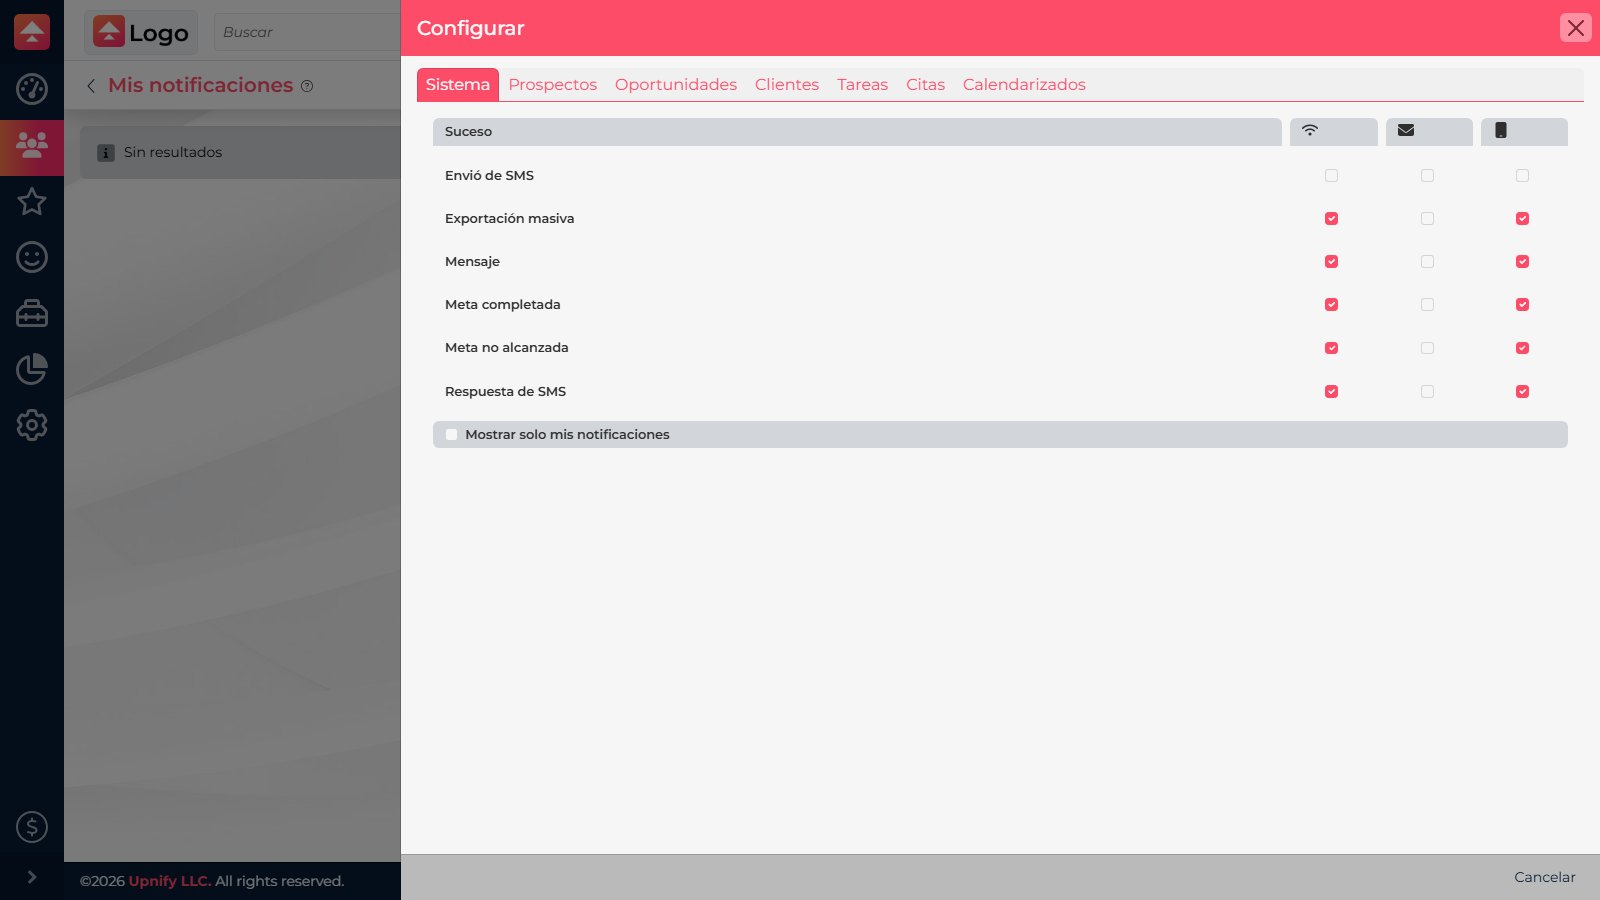
Configure personal preferences
- Open My notifications from CRM’s notifications area.
- Select the Configure gear.
- Choose the category and channels you want for each event.
Check why an alert did not arrive
- Confirm that the channel is enabled for the event in Company notifications.
- Check the user’s personal preferences and whether the company has locked them.
- Verify that the event occurred and that the user can access the related record.
- For web or push alerts, make sure the browser allows notifications and that the user enabled them in CRM.
After changing a company rule, test the event with a representative user before considering the change complete.