
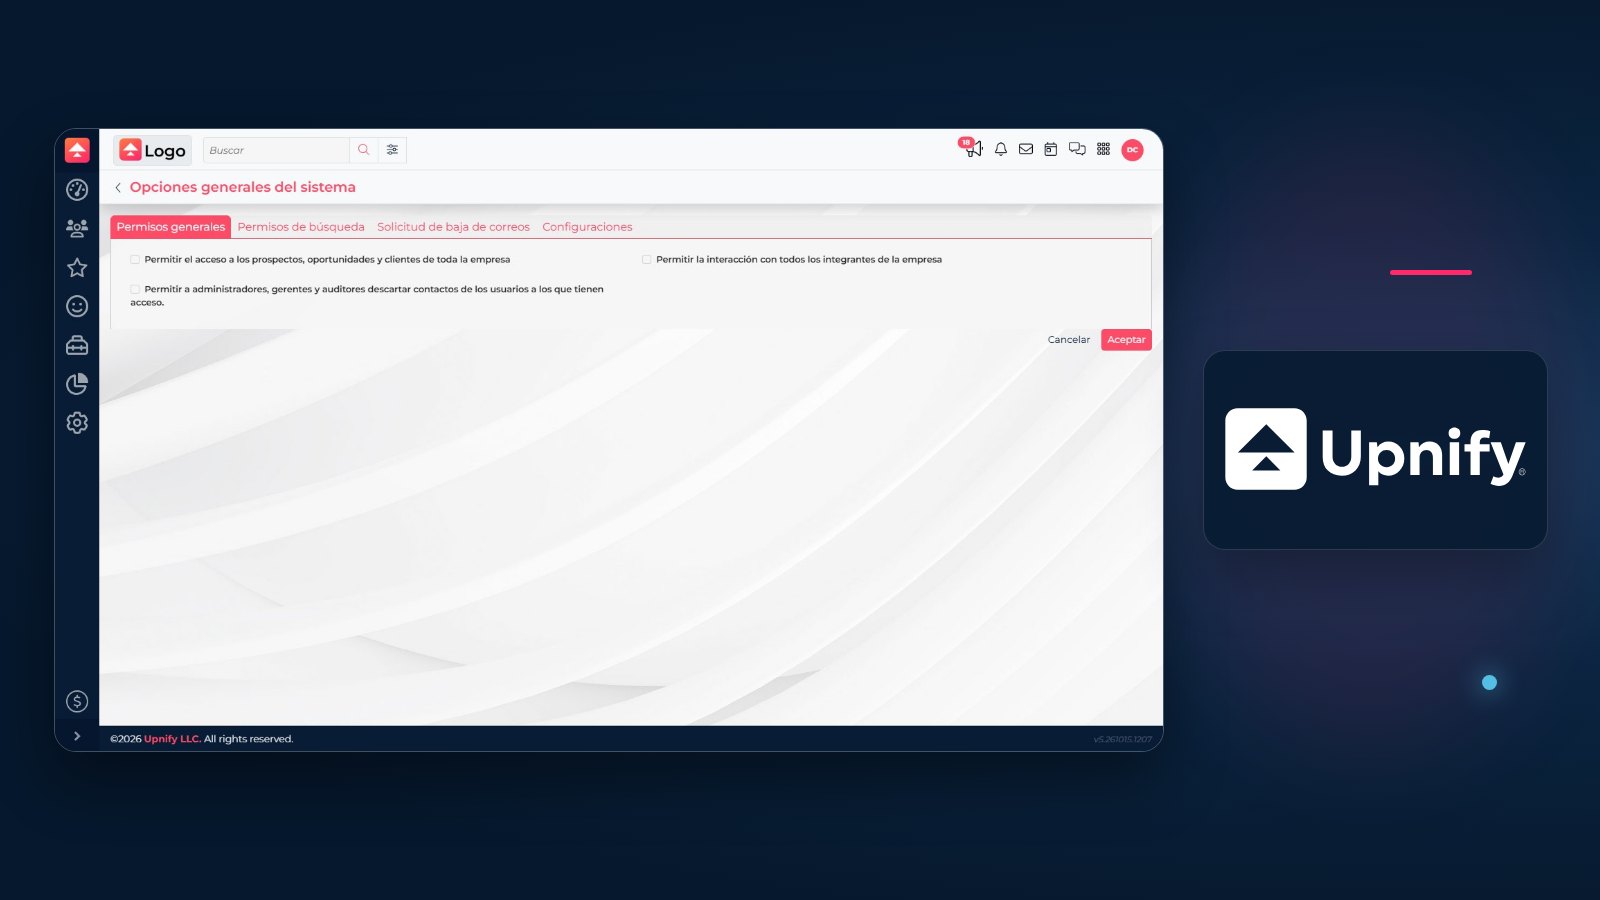
General options group controls that affect how CRM works across your company. Use them to define which records some roles can access, what search results display, and how certain data is captured. Review the scope before saving, especially when several people work with the same prospects, opportunities, or customers.
You need permission to manage this configuration. Write down the issue you want to solve and who should be affected; an overly broad permission may expose records or actions to more users than necessary. Screenshots in this guide show the Spanish interface.
Open general options
- Open CRM and go to Settings.
- Select General options.
- Review each tab before saving.
| Tab | What it controls |
|---|---|
| General permissions | Broad access to records, interaction, and discarding contacts. |
| Search permissions | What managers and executives can find and view. |
| Email unsubscribe request | The message used with an unsubscribe request. |
| Configurations | Surname separation and email validation. |
1. Set general permissions
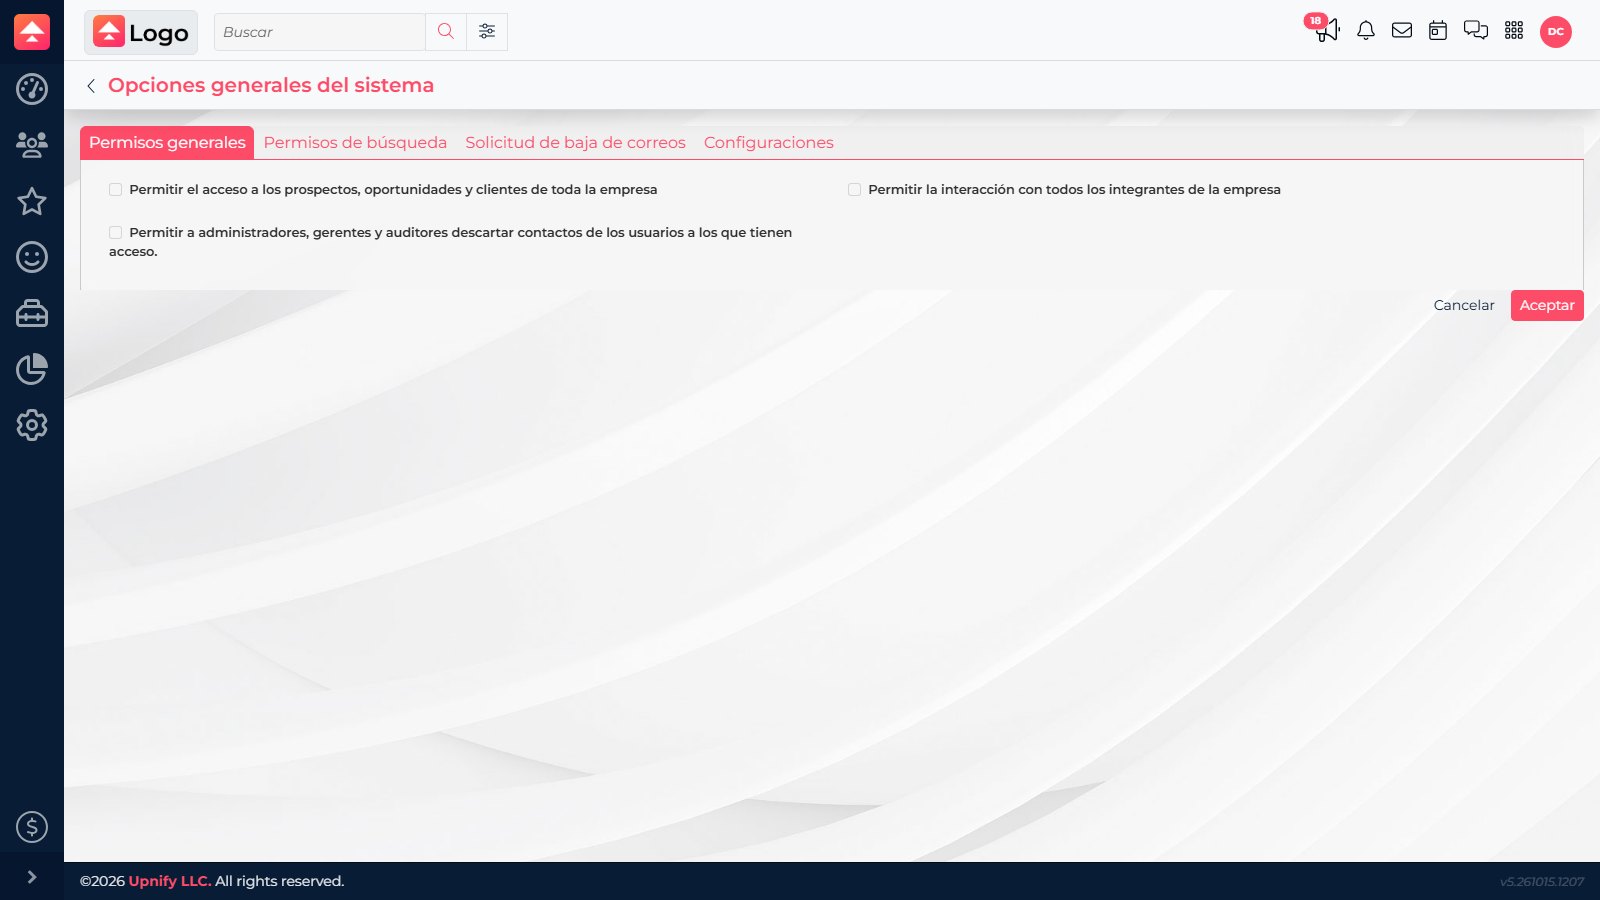
This tab contains permissions that broaden access in CRM. Enable each option only when your company’s process requires it:
- Enable access to prospects, opportunities, and customers company-wide: allows users to view records owned by other people within the company.
- Allow interaction with all company members: enables interactions involving members outside the user’s immediate team.
- Allow administrators, managers, and auditors to discard contacts of users they can access: enables that action for the listed roles, within their existing access scope.
2. Choose what appears in search
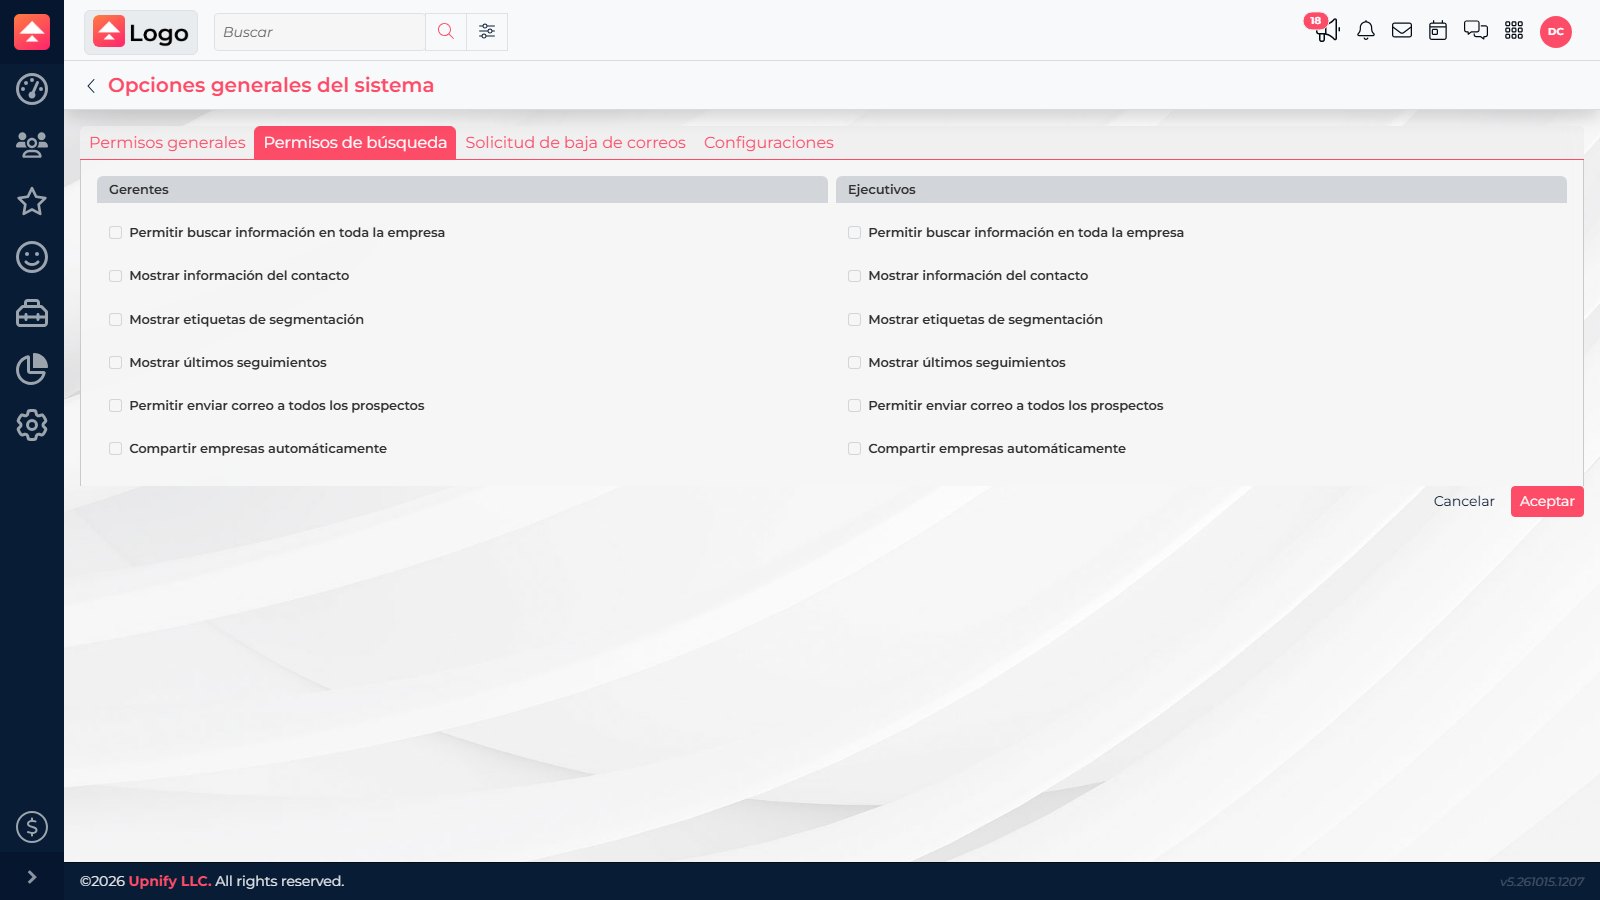
Search permissions has separate columns for Managers and Executives. Configure them independently. A person may need to find company records without seeing every contact detail.
- Search information company-wide.
- Show contact information and segmentation tags.
- Show recent follow-ups to provide context before reaching out.
- Allow emailing all prospects. Decide which roles should be able to send bulk email.
- Automatically share companies when cross-team work requires it.
3. Review messages and data entry
In Email unsubscribe request, you can define the message used in that experience. Keep the instructions clear and confirm that contact details are current.
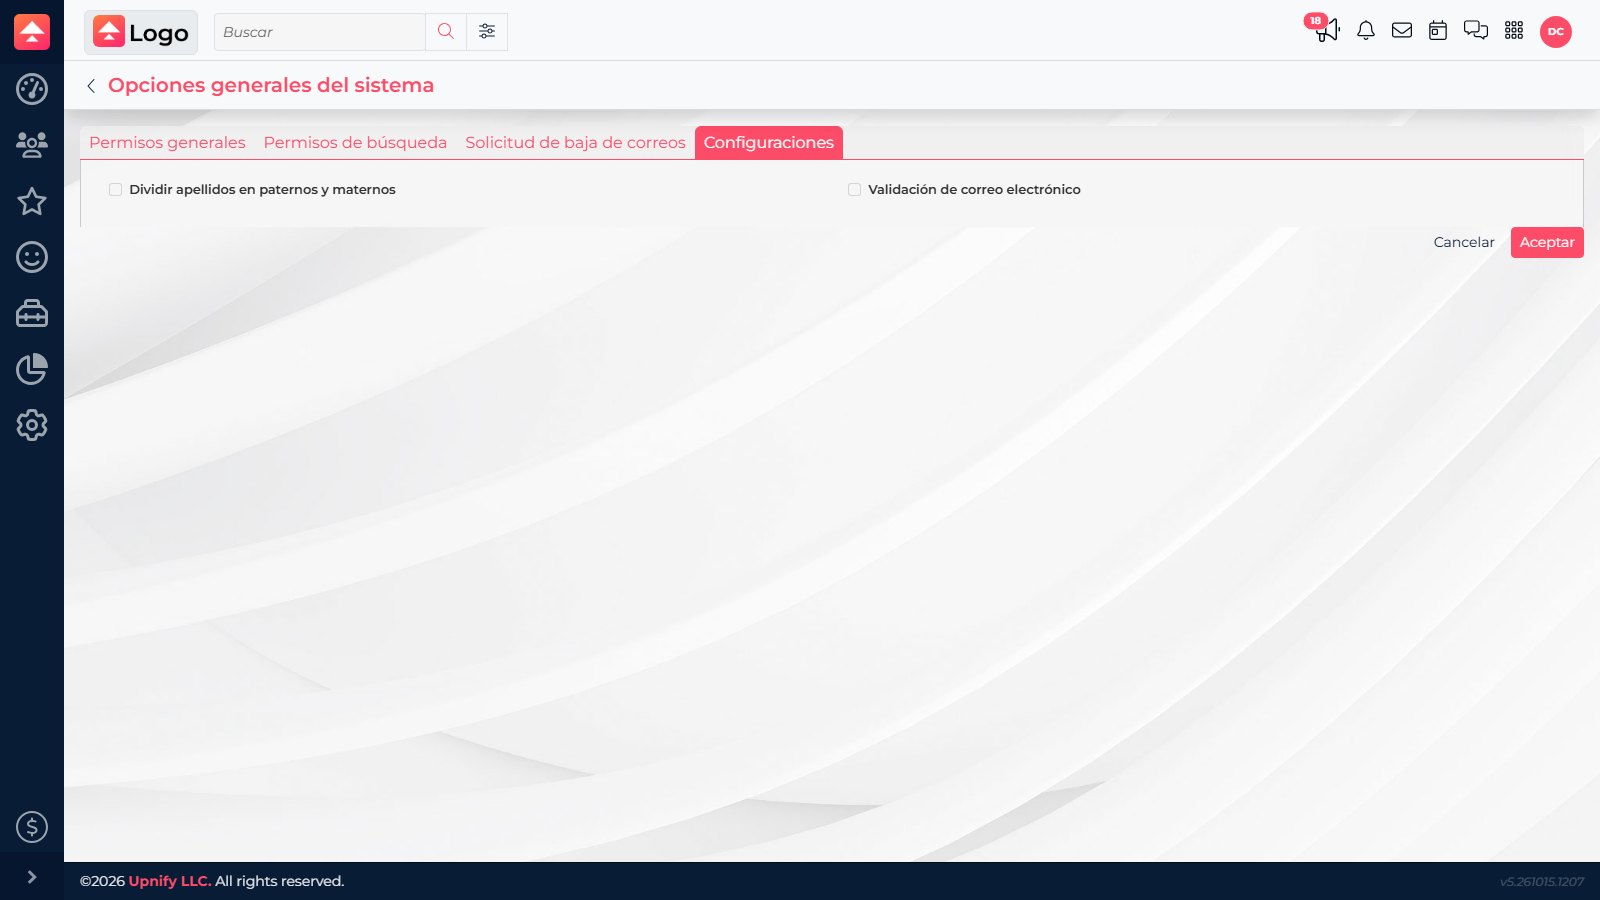
The Configurations tab includes two data-entry options:
- Split surnames into paternal and maternal names: use this when your data format requires separate surname fields.
- Email validation: controls whether CRM validates a captured email address. Before enabling it in an established operation, test the forms and imports that create your records.
Save and verify the result
- Review each tab and confirm that permissions match the intended role and use case.
- Select Accept to save.
- Test with a representative user from each affected role: open a record, check search results, and confirm which actions are available.
- If data entry or email is affected, also test a form or controlled import.
This screen controls CRM options. Company-wide access to Upnify Suite products is managed in Suite settings.
If an option is missing, check your permission to open Settings. If only one person is affected, review that user’s role and individual permissions before changing a company-wide CRM option.