

A quote template defines how the proposal you share with customers is laid out. You can design its structure and place tags so CRM fills in the relevant information whenever you generate a document.
CRM accepts quote templates in XML or HTML, up to 10 MB. The tag examples here are used by templates currently available in the system; available tags may vary by template and account settings.
1. Design the layout
In a compatible editor, arrange the information in the order you want customers to read it. A practical layout can include your logo and quote number in the header, customer details, product or service lines, totals, and any notes or commercial terms.
2. Place tags where they belong
Tags are written in square brackets. When you generate a quote, CRM replaces each tag with the corresponding value. Keep the tag exactly as shown and place it in the appropriate section or cell.
| Template section | Tag examples | Where to place them |
|---|---|---|
| Logo | [B64_LOGO_EMPRESA] | In the header, where you want your company logo to appear. |
| Quote number | [FOLIO] | Near the quote title or other quote details. |
| Customer | [NOMBRE] [APELLIDOS] [EMPRESA] | In the recipient block: first and last name, with the company below. |
| Product details | [PROD_CODIGO] [PROD_NOMBRE] [PROD_CANTIDAD] [PROD_PRECIO_UNIT] | In a detail row, one tag per column: code, product, quantity, and unit price. |
| Discount | [PROD_DESCUENTO] or [PROD_DESCUENTO_PCT] | In each product row's discount column; choose the amount or percentage to match your layout. |
| Totals | [TOT_IMPUESTO1] [TOT_TOTAL] [TOT_TOTAL_LETRAS] | Below the product table: tax (if applicable), total, and optionally the total written out. |
| Notes | [Observaciones] | At the end of the document, after amounts or terms. |
Preserve each tag's brackets, underscores, and capitalization. Place the [PROD_...] tags in the cells of the same product detail row, and put totals below that table.
3. Open the Templates section
In CRM, go to Tools > Documents and images, then select Templates in the side menu. You will see the templates available in your account.
The screenshots use the Spanish interface; equivalent controls appear in the same places when CRM is set to English.
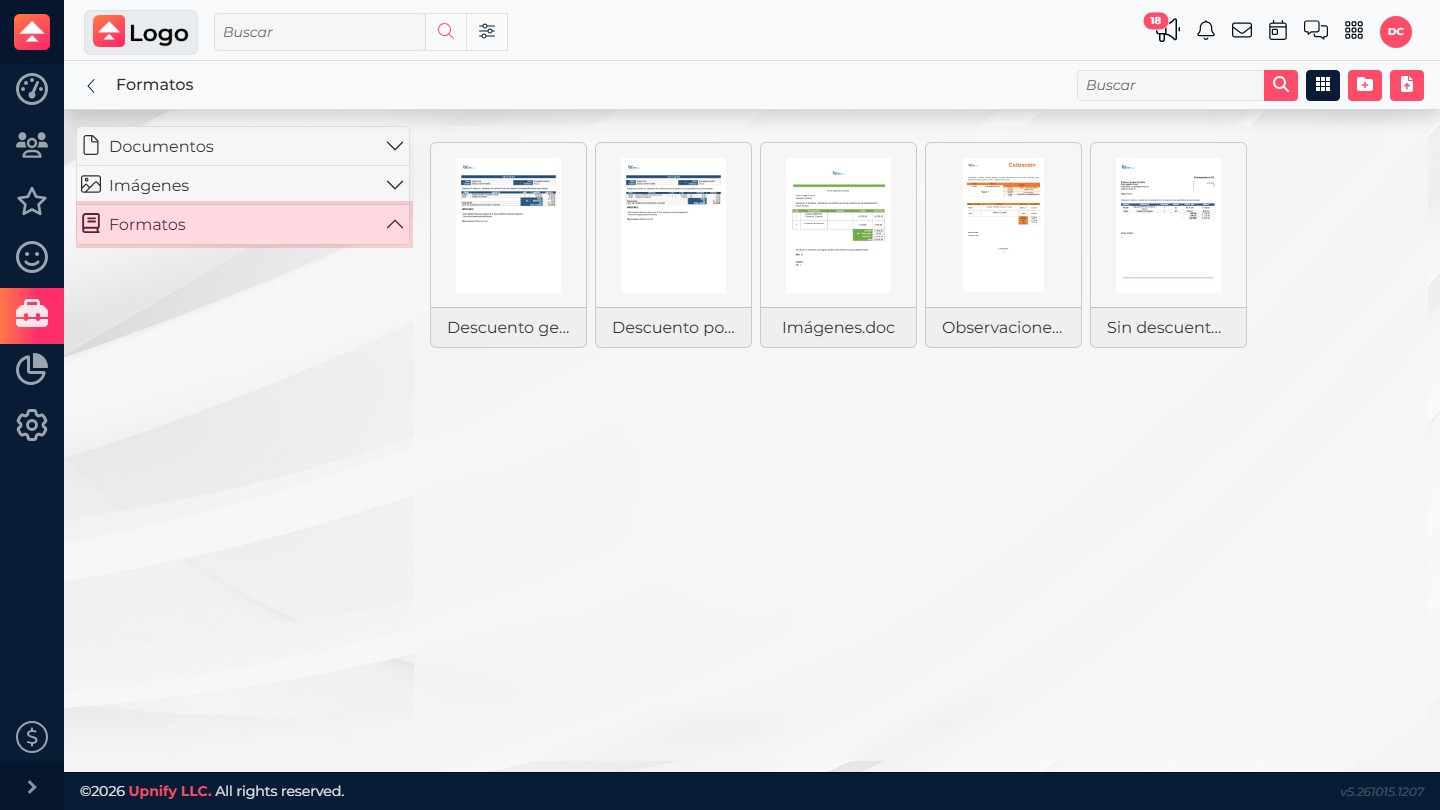
Templates available in CRM.
4. Upload your template
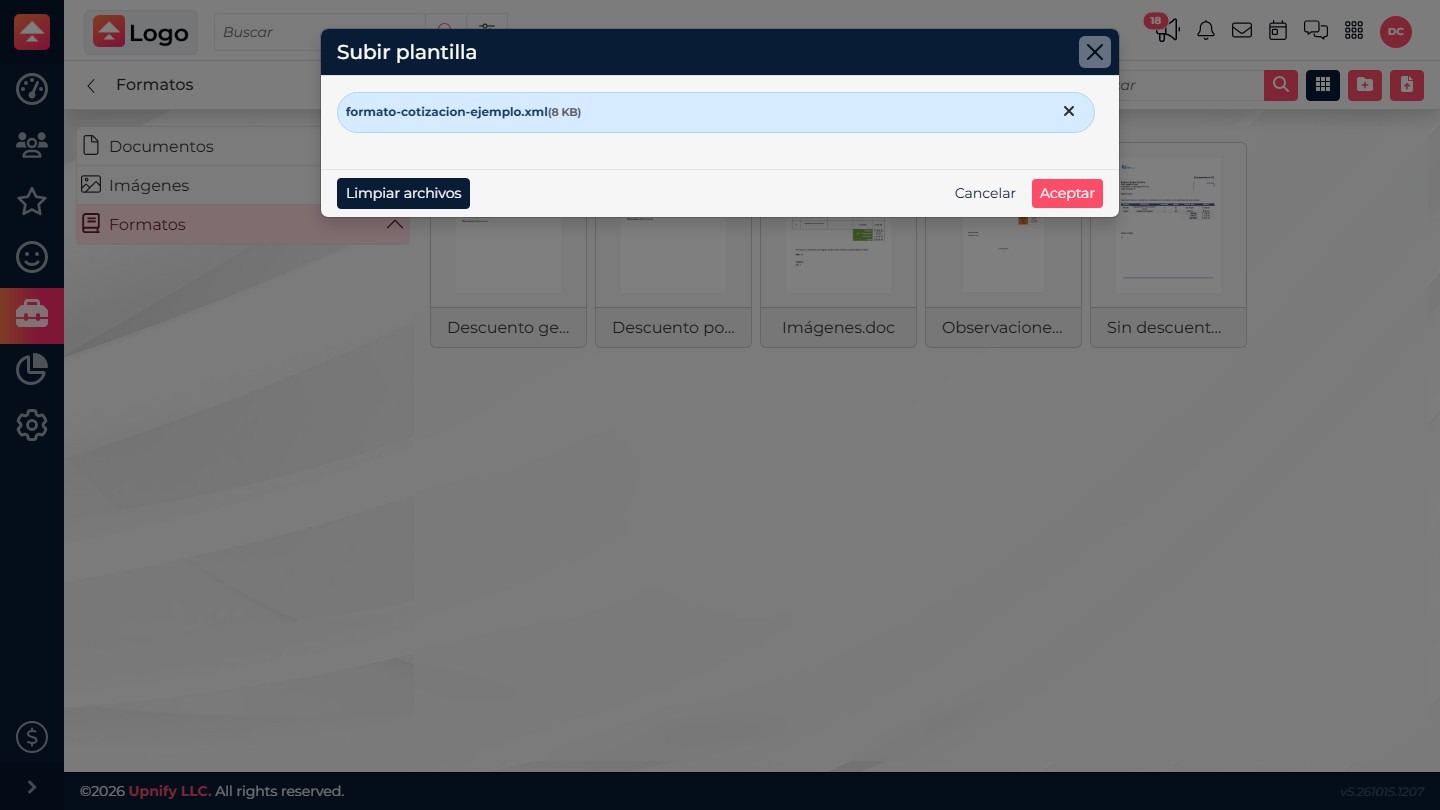
The dialog for selecting and uploading a template.
5. Check the result
Confirm that the file appears under Templates. Then generate a test quote and check that the logo, customer details, product rows, discounts, and totals appear where you expect before sharing it.
Check that the tag is written exactly as it appears in the template and matches the information you want to display. You can also use one of the available templates as a layout reference.