
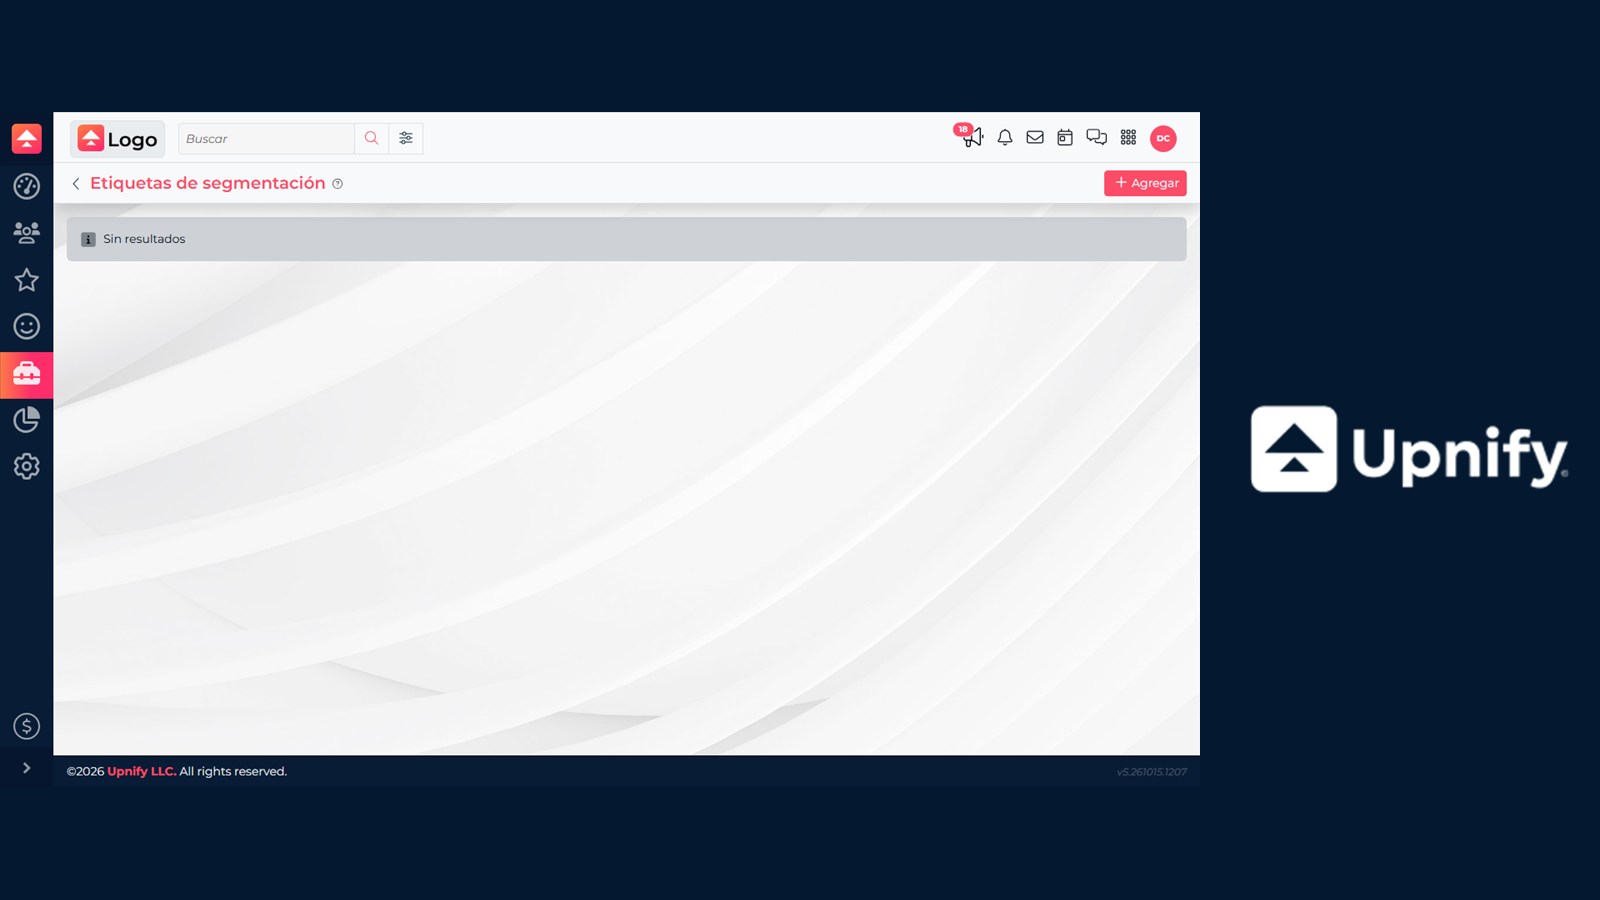
Tags are a flexible way to classify prospects, opportunities, and customers—for example, by interest, campaign, or service stage. You can use them in filters, searches, and segmentation. Agree on names and meanings with your team so you do not create several tags for the same concept.
Create and maintain the catalog
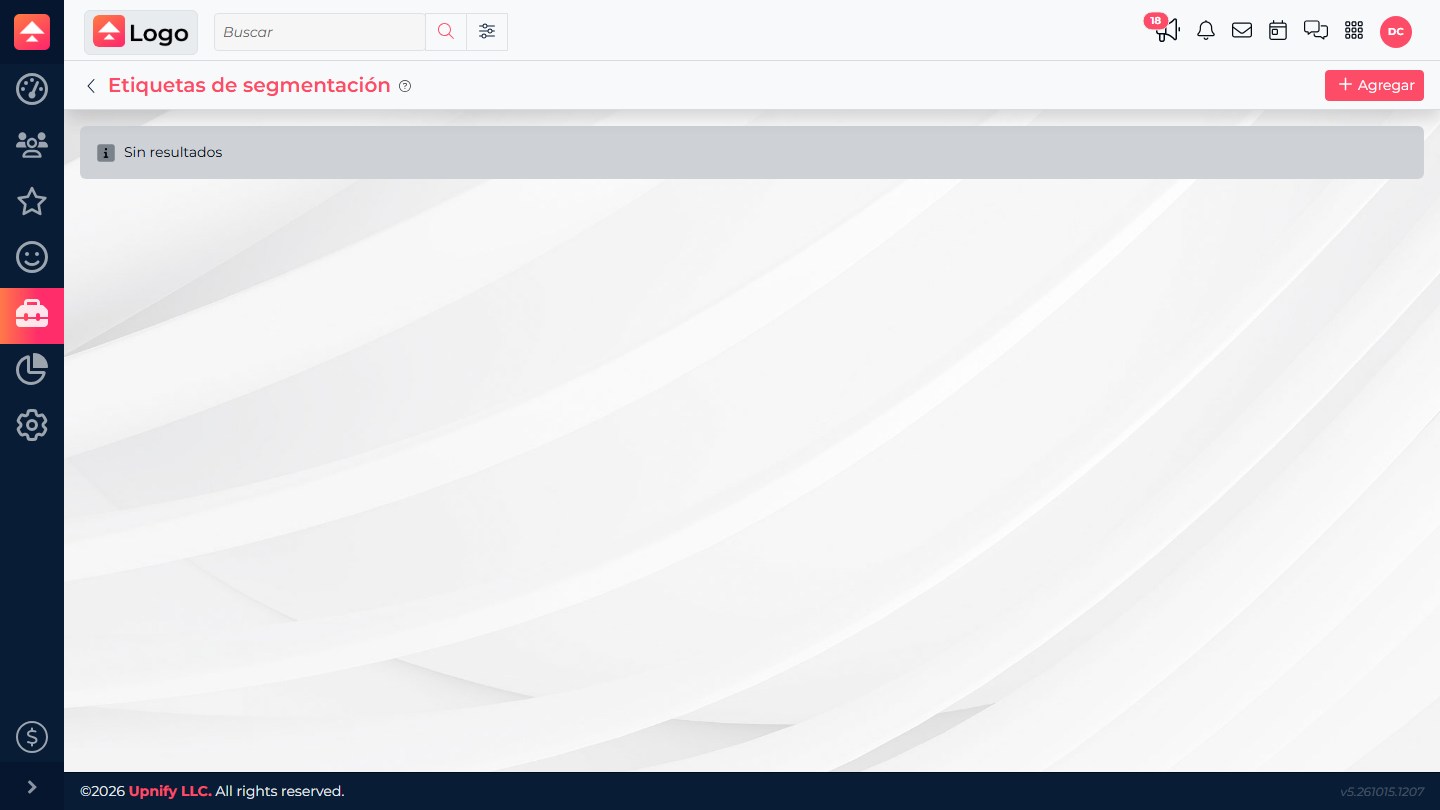
- In CRM, go to Tools > Tag segmentation.
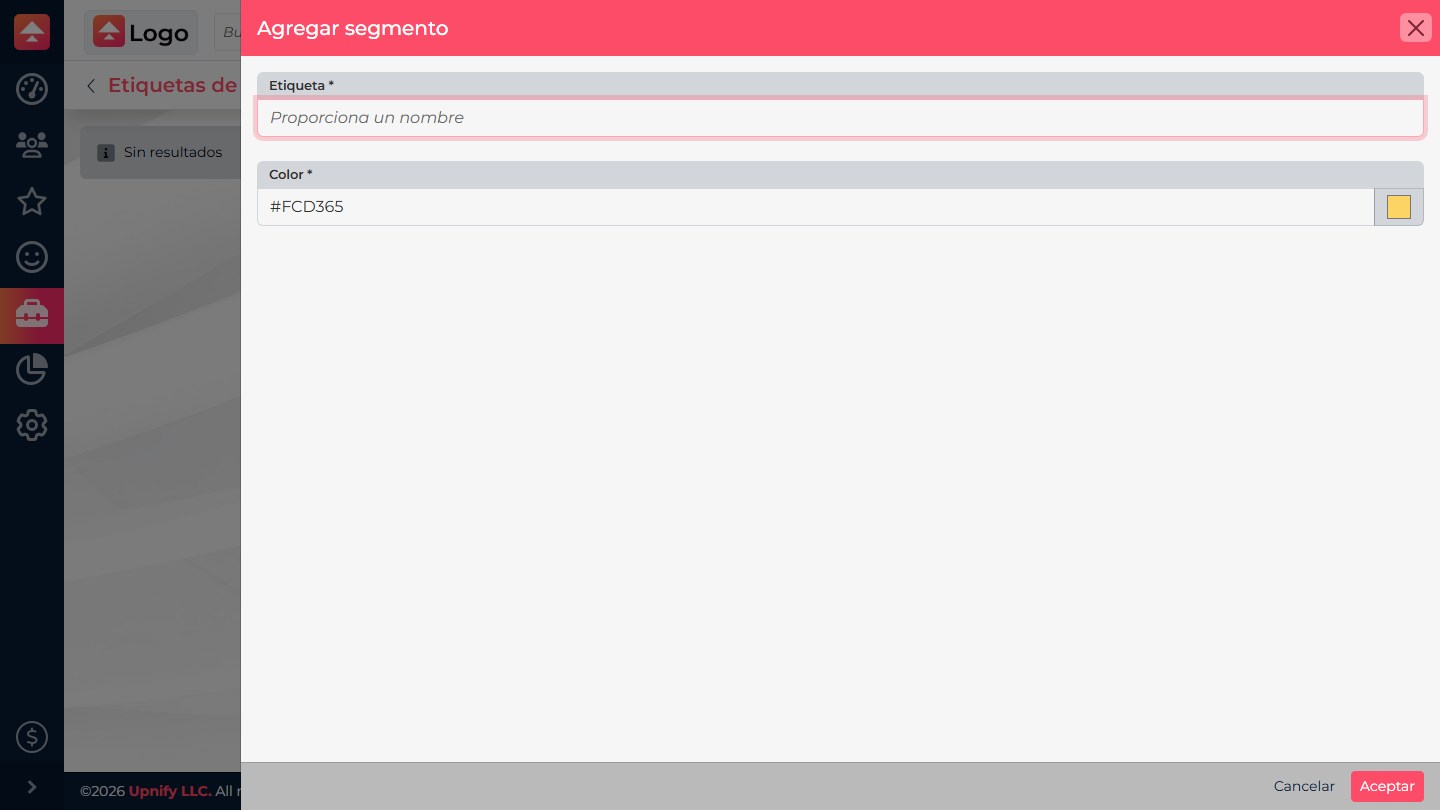
- Select Add. Enter a clear name and choose a color. A tag name can contain up to 128 characters; color makes it easier to recognize.
- Select Accept. To edit a tag, open it from the list or row menu and save your changes.
- Use the counts in the list to review how many prospects, opportunities, and customers use it. Before deleting a tag, also check rules, stage actions, sequences, and integrations that may depend on it.
What tags are for and where to use them
A tag turns a useful characteristic into a reusable criterion for segmenting, filtering, and grouping records without changing their stage or source. Agree on each tag’s meaning and when to add or remove it.
| Where tags are used | Example |
|---|---|
| Lists and filters | Show only records with a tag, such as “Requested a demo.” |
| Reports | Filter by tag when available to analyze a segment. |
| Bulk email campaigns | Define recipients with tag filters and review the audience before sending. |
| Automated sequences | Choose a tag and record type to define participants; keep the tag current. |
| Contact distribution | Use it as a rule filter or have a rule add it to the record. |
| Stages and integrations | Stage actions and compatible integrations can add or remove it. |
Automatic assignment
| Method | When the tag is assigned | Where to set it up |
|---|---|---|
| Integration | When the integration receives or creates the record, if it provides a tag selector. | Open the integration setup and choose the available tags. |
| Contact distribution | When a record meets the entity, trigger, and filters of an active rule. | CRM > Settings > Contact Distribution Rules > rule > Tags. |
| Stage action | When the record runs an action configured for a stage. You can also remove tags. | CRM > Settings > Stages > stage actions > Tag or Remove tags. |
Setup varies by integration type; not every integration offers the same selector. For distribution, review rule order and conditions. For stage actions, confirm the action belongs to the intended stage and does not run unexpectedly when records move between stages repeatedly.
Test and troubleshoot
- Choose a tag that describes an observable condition, such as “Requested a demo.”
- Check the integration, rule, or stage conditions with a controlled record. Confirm the result on the record and in the catalog count.
- If a tag is added unexpectedly, review overlapping rules and stage actions that may run more than once. If it is not added, confirm the tag is available and the user has permission to assign it.
When deleting a tag, the system may ask you to replace its uses with another. Choose an equivalent tag only when it has the same meaning; otherwise, update the rules and automations that use it first.
Apply a tag manually to a contact
To classify an individual record without waiting for an automatic rule, assign a tag from the contact:
- Open the prospect or customer record, or find it in the list and open its row actions.
- Select Tag (tag icon) and choose one or more tags from the catalog.
- Save your changes. The tags will appear on the record and can be used in supported filters and processes.
If the option is unavailable, you may need permission to tag records. To create a new tag, first use the Tag segmentation catalog.