
Automatic distribution assigns a prospect or customer to the right user or team when a defined event occurs. It can route new records and handle certain follow-up or inactivity cases. It does not manage Connect conversations; these rules apply to CRM records.
What can trigger a rule
| Rule type | When to use it |
|---|---|
| Web integration | When an integration creates or sends a compatible record. |
| No manual Follow-up | When the configured period without a follow-up is reached. |
| Customers with no sales | For customers who have gone the configured period without sales. |
| No first follow-up | When the first follow-up was not completed within the configured period. |
| Recurring Request | When an integration identifies a new request linked to an existing contact. |
Create and activate a rule
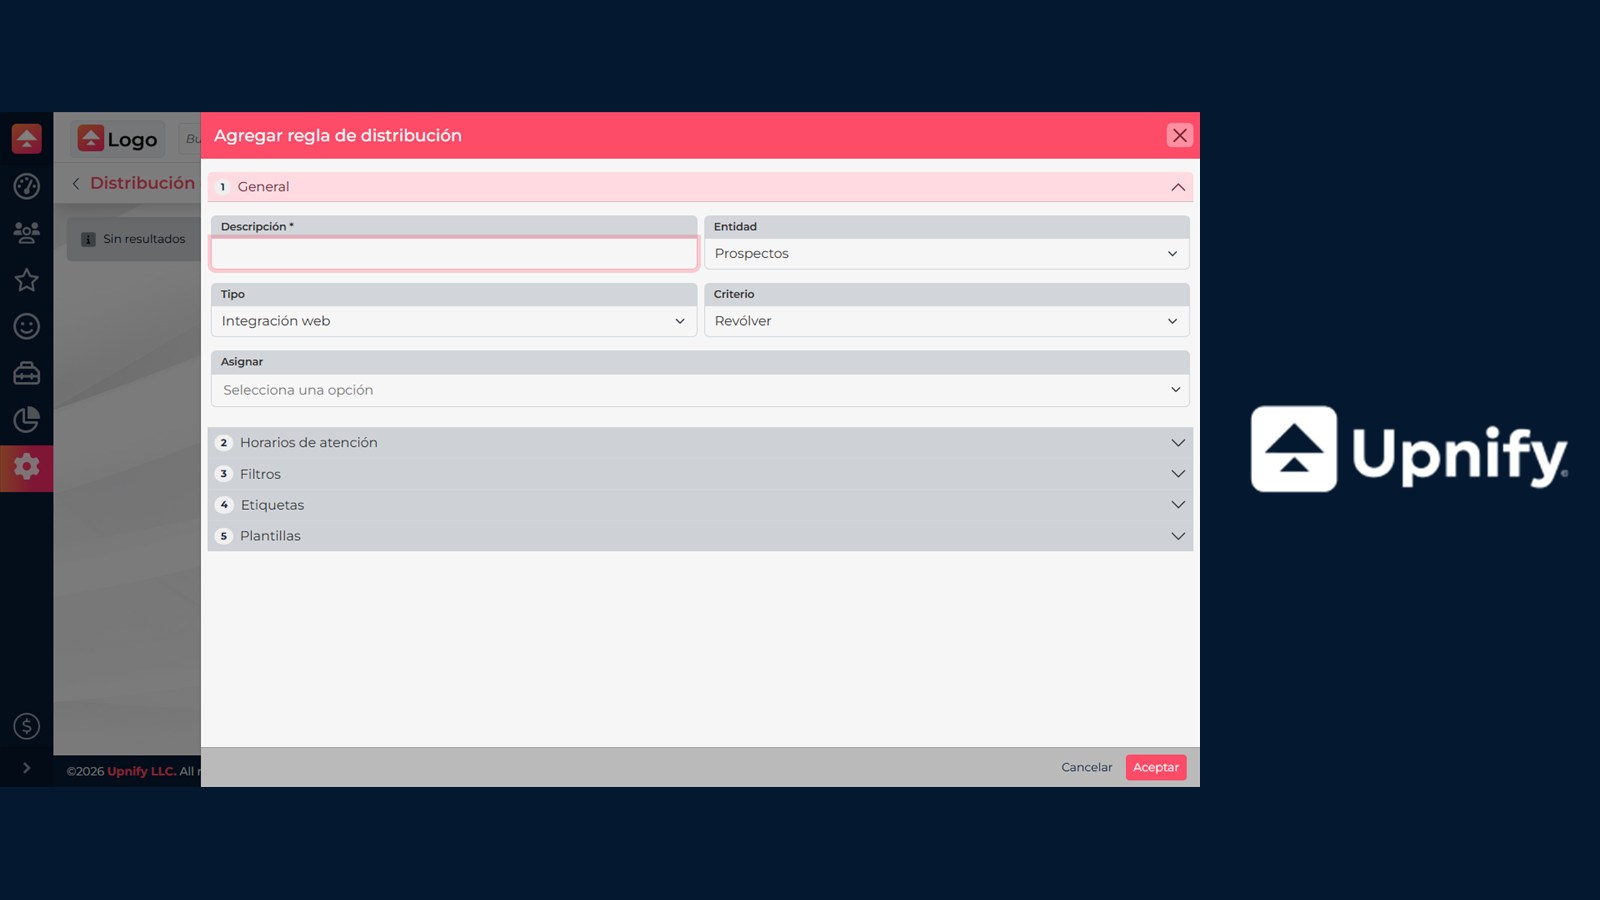
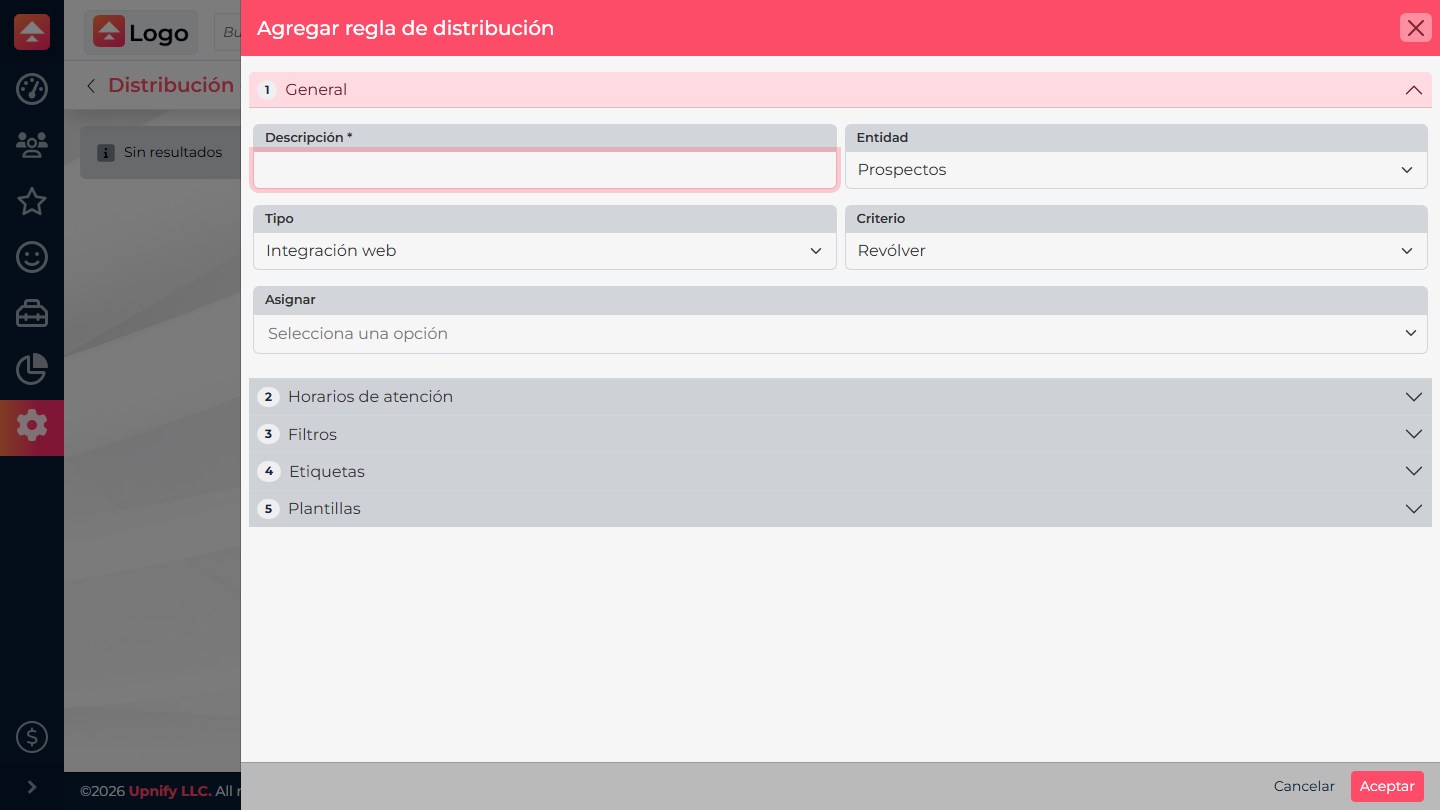
- Go to CRM > Settings > Contact Distribution Rules and select New.
- In Description, enter a purpose-based name, such as “New prospects from web form.” Under Entity, choose Prospects or Customers; they are not interchangeable.
- Choose the event Type. For time-based rules, enter the available amount and unit. For recurring requests, consider the data the integration sends when the rule evaluates filters.
- Choose an assignment Criterion—Stir method, Closing percentage, or Follow-up speed—and add eligible users or teams. Confirm they are active, belong to the intended team, and can work with the record type.
- Open Schedules if the rule should run only at certain times. Set the start, end, time zone, and days of the week.
- Under Filters, add only the conditions you need. Combine them with AND to require all conditions or OR to accept any of them. Check the values available for that record type.
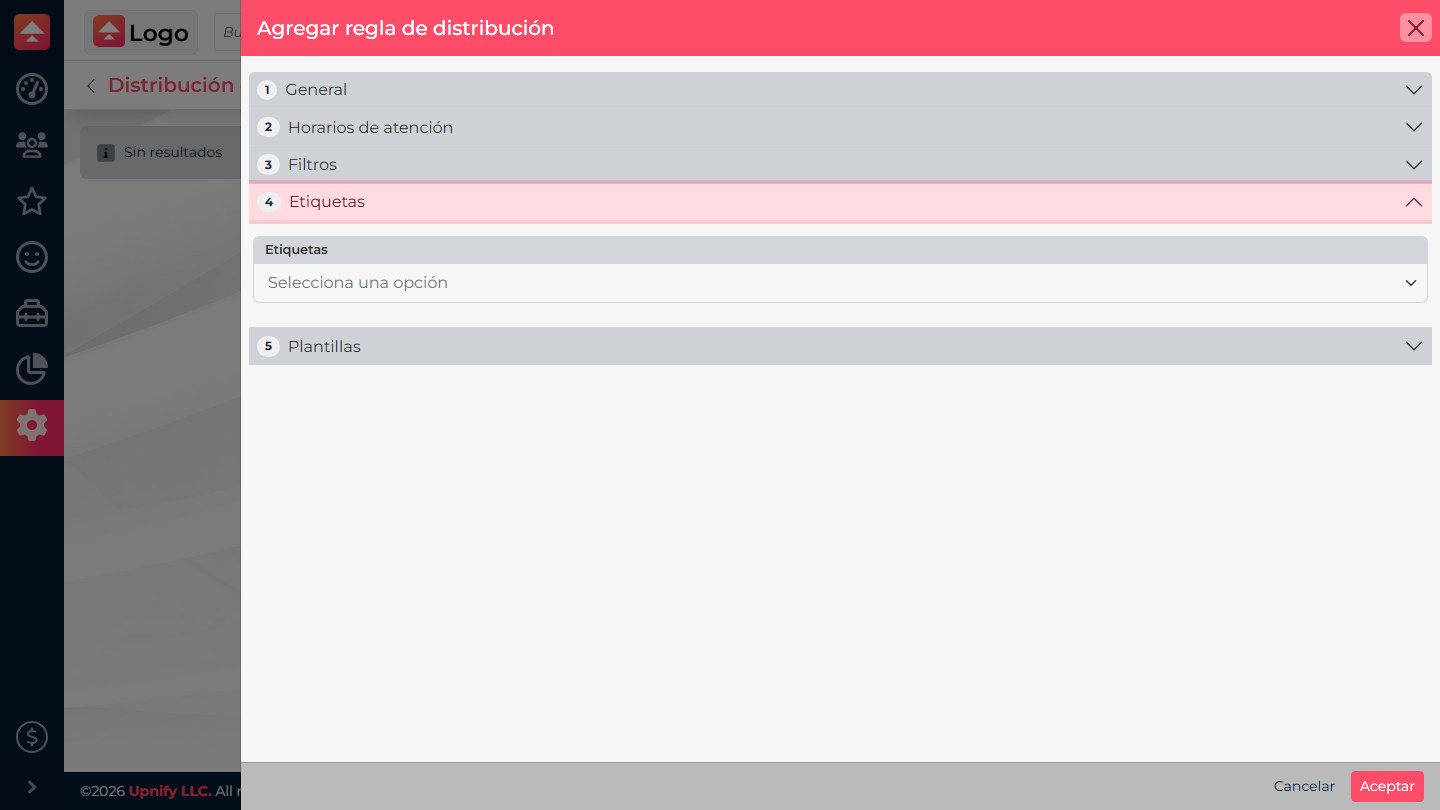
- Under Tags, choose the tags the rule should apply when it runs. Under Templates, select a notification template if your process uses one.
- Select Accept. In the list, move the rule to the right position with the move-up or move-down actions. Activate it from its menu and confirm the active status.
Rule order and activation
Saving does not necessarily activate a rule. Return to the list, open its actions, select Activate, and confirm. Check that its status is active before testing.
Order affects the outcome: a rule can change the owner or add tags that another rule evaluates. Put specific conditions first and general ones later. Do not assume the first match automatically stops the remaining rules.
- Use move-up or move-down actions to arrange the rules.
- Check for overlapping filters or changes to data another rule uses, such as owner or tags.
- Activate only the needed rules. Deactivation stops future evaluations; it does not undo earlier assignments.
Example: demo requests from your website
Suppose your form creates prospects and sends interest and region fields. Your team wants northern demo requests handled first and the rest distributed by its general sales rule.
| Order | Rule | Outcome |
|---|---|---|
| 1. Specific | Prospects + Web integration; interest = demo AND region = north; regional owners; “Demo requested” tag. | Assign to the regional team and flag for follow-up. |
| 2. General | Prospects + Web integration, without the region condition; general sales owners. | Distribute other requests using the usual criteria. |
Adapt filters to fields the form actually sends and CRM lets you select. If no region field is available, first configure a compatible data source. Test one prospect that matches the specific rule and another that matches only the general rule; review owner, tags, and history for overlap or reassignment.

Verify the result
Run a controlled check with a record that exactly meets the conditions. Review the assigned owner, tag, and event time. If an earlier rule also matches, review the order. Editing a rule should not be assumed to reprocess the entire database; changes are not retroactive.
If assignment does not work as expected
| Symptom | First checks |
|---|---|
| No assignment | Confirm the entity, active status, event and period, filters, schedule, time zone, and eligible assignees. |
| Assigned to a different user | Review earlier rules, selected users and teams, and the configured criterion. |
| The tag was added but no notice arrived | Check the template and its setup separately; assignment and notification are separate outcomes. |
| A recurring request was not processed | Confirm the integration recognized the existing contact and sent the data used by the filters. |