
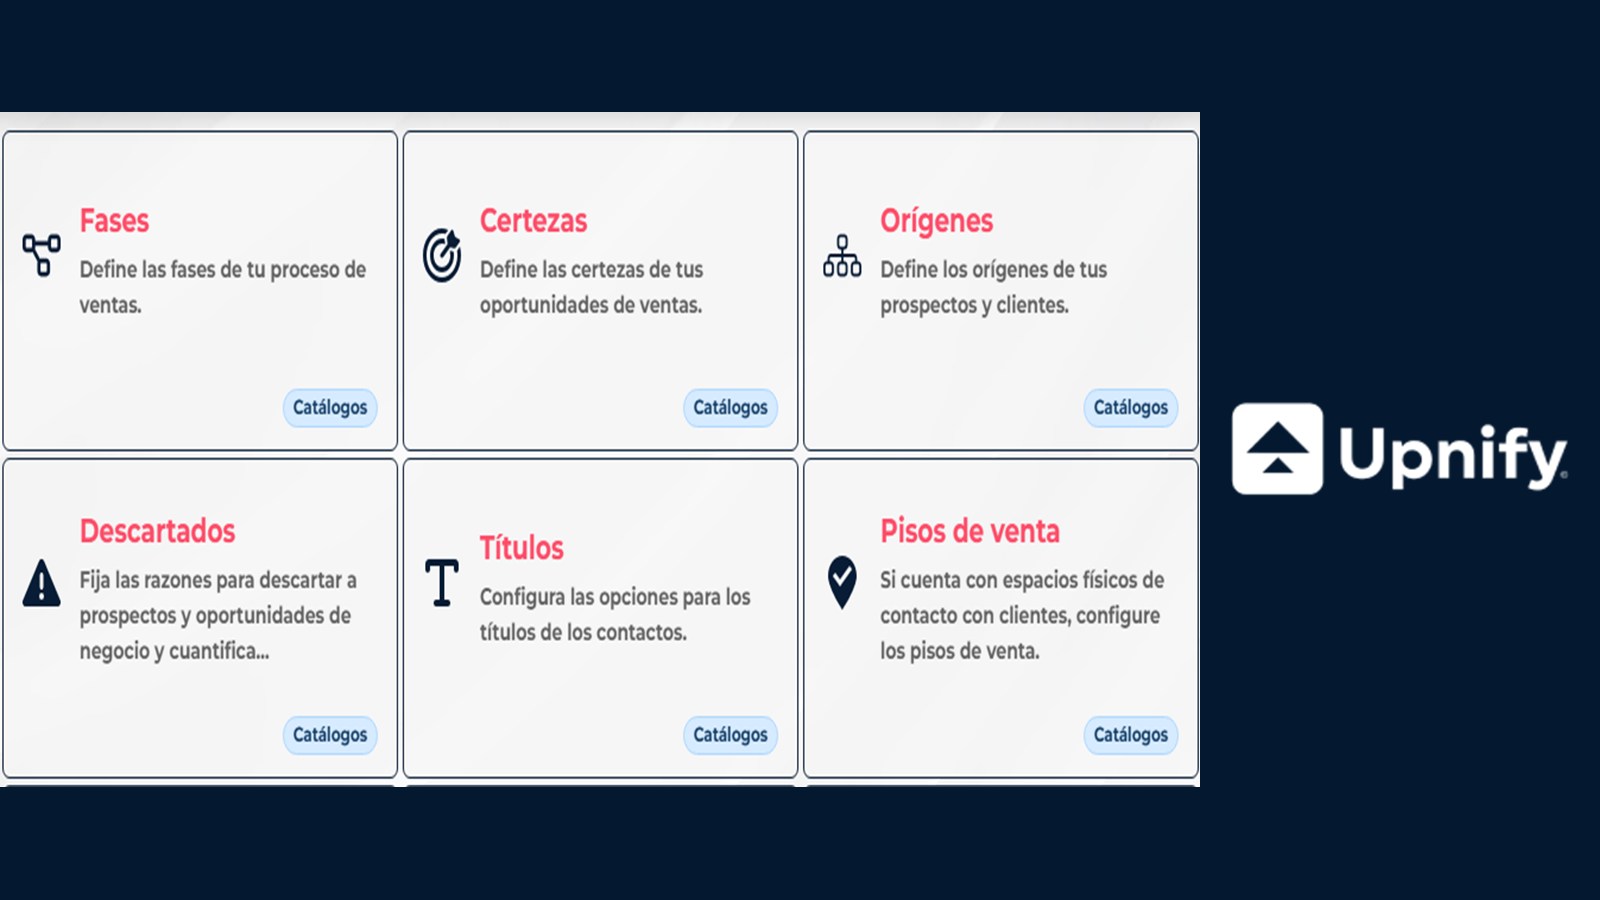
These catalogs help teams record information using shared criteria. They may appear in similar forms and reports, but each describes something different: probability, source, reason for loss, or type of interaction.
The screenshots show CRM in Spanish; labels may vary based on the language selected in your account.
You need Administrator access or permission to each catalog screen. If integrations, forms, or historical data use these values, review the impact before replacing or deleting one. Do not change certainty descriptions without agreeing on how opportunities are estimated.
What each catalog records
| Catalog | What it represents | Where it is used |
|---|---|---|
| Certainty | Probability levels used to estimate sales opportunities. | Opportunities and forecasts. |
| Origins | How a prospect or customer reached CRM, such as a referral or form. | Contact capture, attribution, integrations, and reports. |
| Discard reasons | Why a prospect or opportunity was discarded. | When discarding records and analyzing losses. |
| Follow-up types | The kind of interaction or follow-up recorded. | Prospect and customer follow-ups and related reports. |
An origin is not a temporary tag; certainty is not a phase; a discard reason does not replace a free-text note; and a follow-up type classifies the activity, not the sales outcome.
1. Edit certainty levels
- In CRM, open Settings and select Certainty.
- Review levels from 10% to 100%. The percentage is set for each level; in the Description column, enter a brief criterion explaining when the team should use it.
- If available, use Hide certainties without description so levels without a description are not shown for selection.
- Select Accept to save, then agree with the team on how to apply the criteria to opportunities.
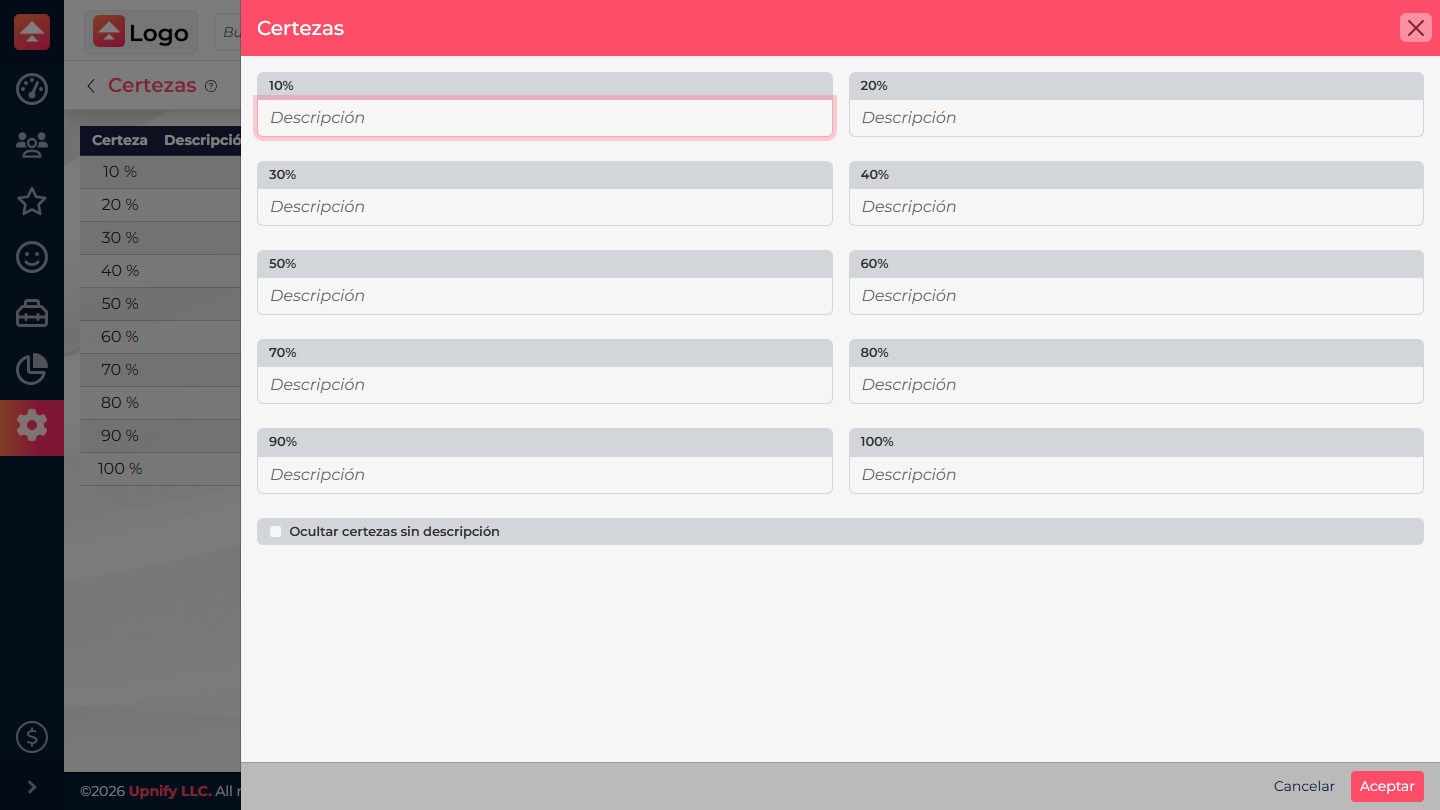
Use certainty to express an estimated chance of closing, not to duplicate a phase name. Shared criteria make estimates more comparable across users and time periods.
2. Organize origins
- In Settings, open Origins.
- Select New to add one, or open an existing origin to edit it. Use a name for a real, stable source.
- If your account offers hierarchical origins, add a sub-origin from a row menu and select its parent. Availability depends on the account; keep the structure simple enough for the team to maintain.
- Save and check whether forms, integrations, or distribution rules assign that origin automatically.
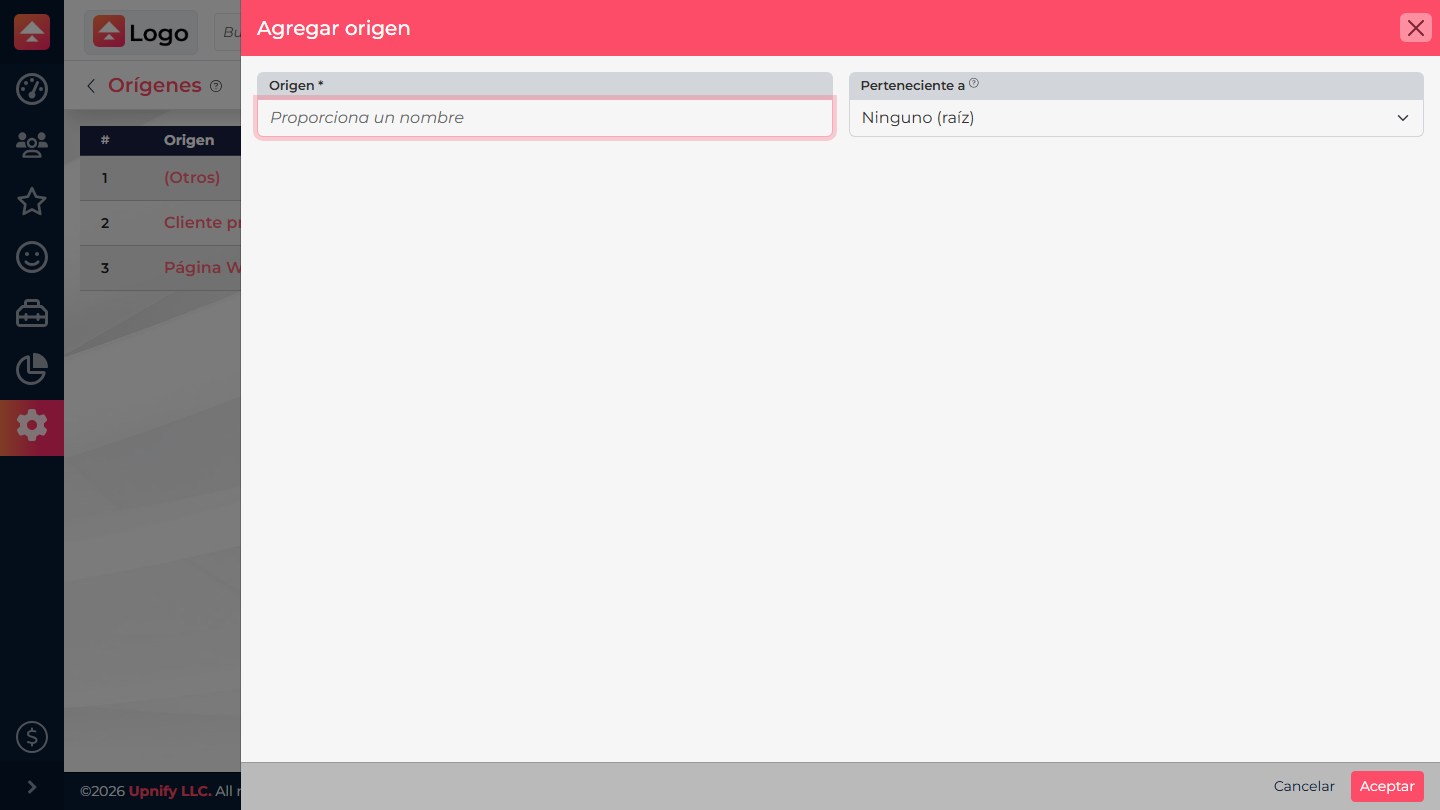
For example, distinguish sources you intend to compare—such as “Website” and “Referral”—and keep campaign details in the relevant attribution tool. Before deleting an origin, review the replacement option and its relationships; changing the classification can affect how reports are interpreted.
3. Manage discard reasons
- In Settings, open Discarded.
- Select New, enter the reason, and choose the entity where it will be available: Prospects or Opportunities.
- Save and confirm the reason appears for the correct entity when discarding a record.
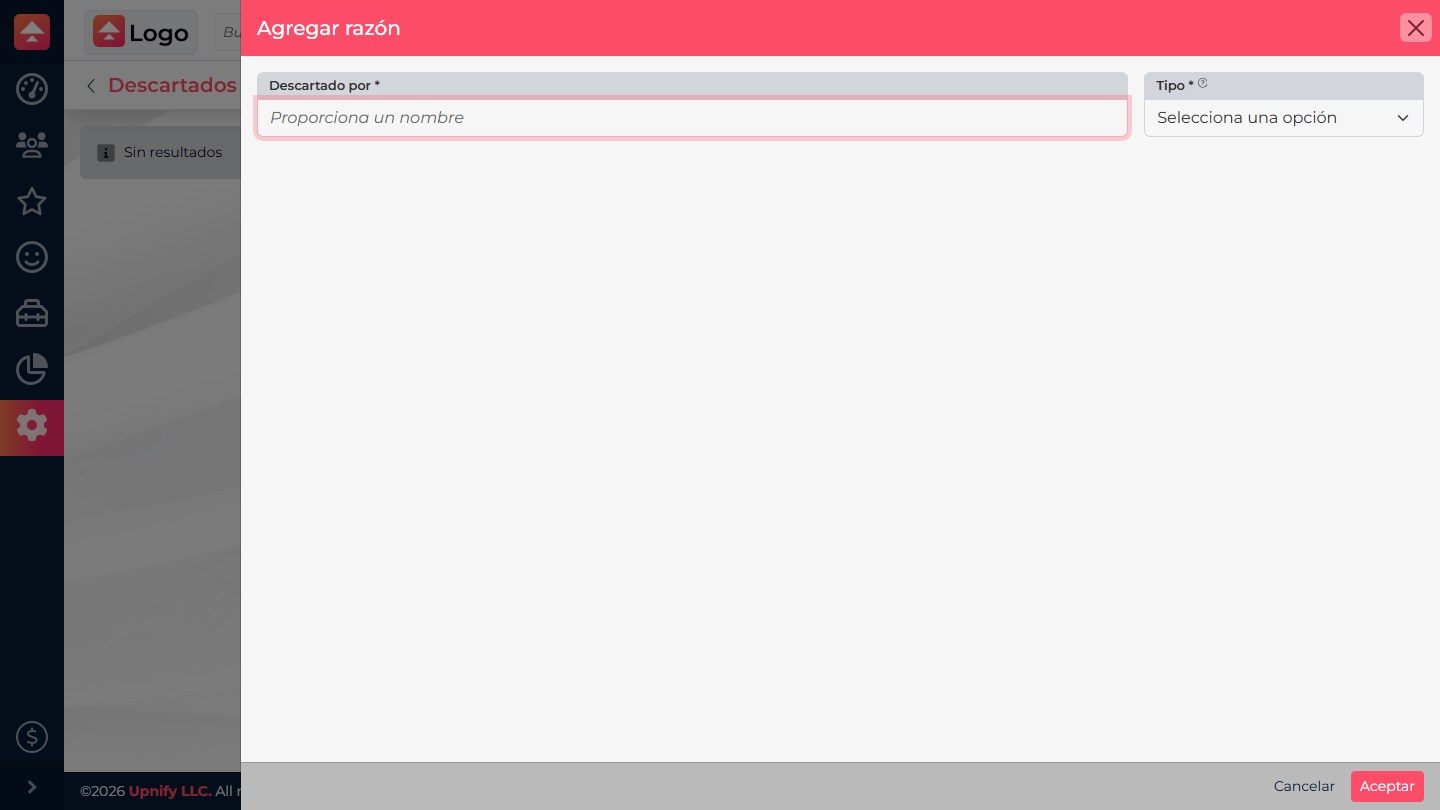
Use clear, distinct reasons that can help you decide what to improve; avoid ambiguous or duplicate categories. If you delete a reason that has already been used, the system may ask you to replace it. Choose a reason with the same meaning so loss analysis remains interpretable.
4. Configure follow-up types
- In Settings, open Types of Follow-Ups.
- Select New, enter the interaction name, and choose the entity: Prospects, Customers, or Both.
- Select Accept to save. If Mark as Default appears in a row menu, use it only to choose the type suggested by default for that entity.
- Test the type on a follow-up and confirm it appears in the relevant form.
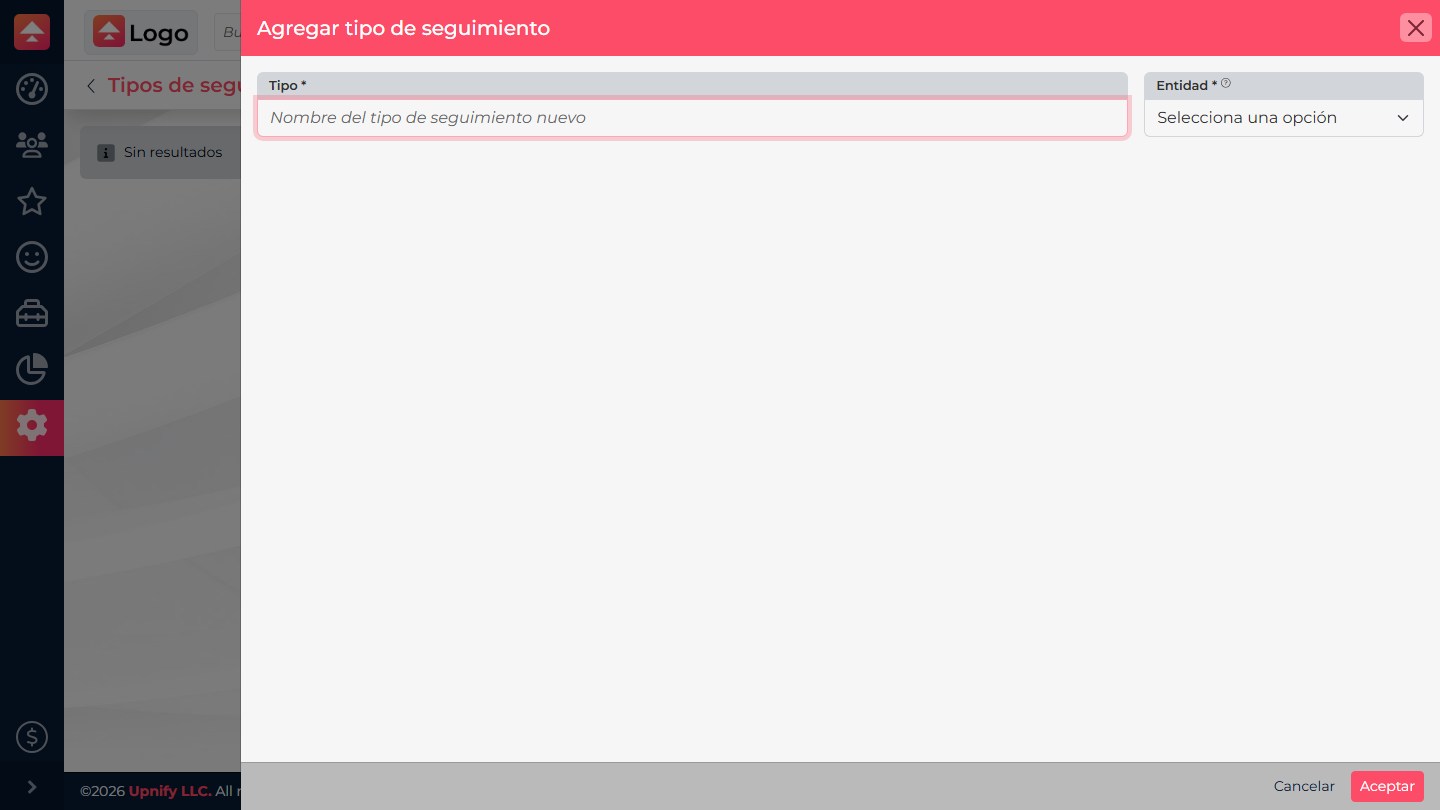
Choose names that help compare activities—such as a call or meeting—without creating duplicate meanings. Types classify follow-ups; changing the catalog does not change the text of historical interactions.
If a value is missing or you need to replace it
| Situation | What to check |
|---|---|
| A catalog is missing from Settings | Ask the administrator to confirm access to that screen. |
| An origin is missing from a form or integration | Check the entity, the origin selected in the form or integration setup, and applied filters. |
| A follow-up type is missing | Confirm its entity includes Prospects, Customers, or Both, as appropriate. |
| A reason is unavailable when discarding | Confirm it is configured for the correct entity: Prospects or Opportunities. |
| You need to remove a value in use | Identify dependent forms, rules, and reports. If a replacement is requested, choose a semantically equivalent value and validate reports. |
After saving a change, test the relevant form and review a related report. If several users stop seeing the same value, first check the catalog, its dependencies, and permissions before changing individual access.