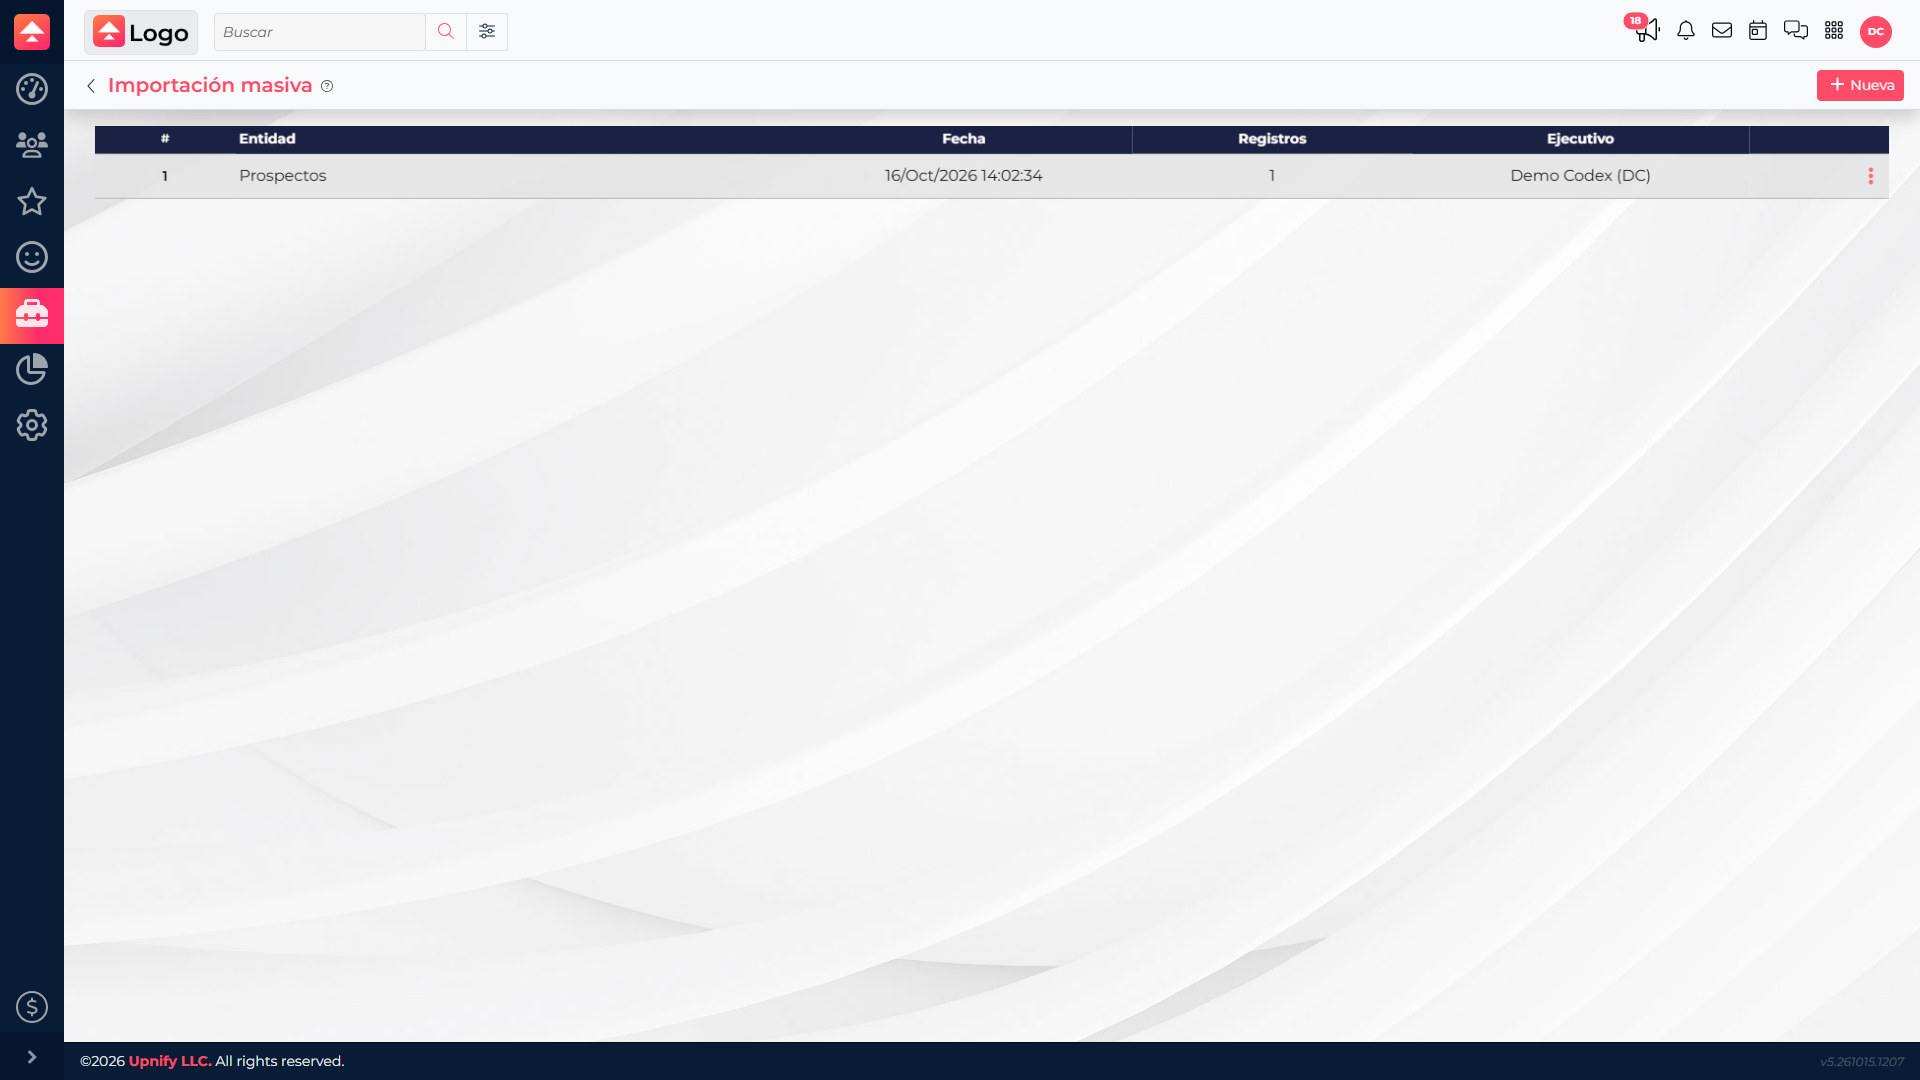
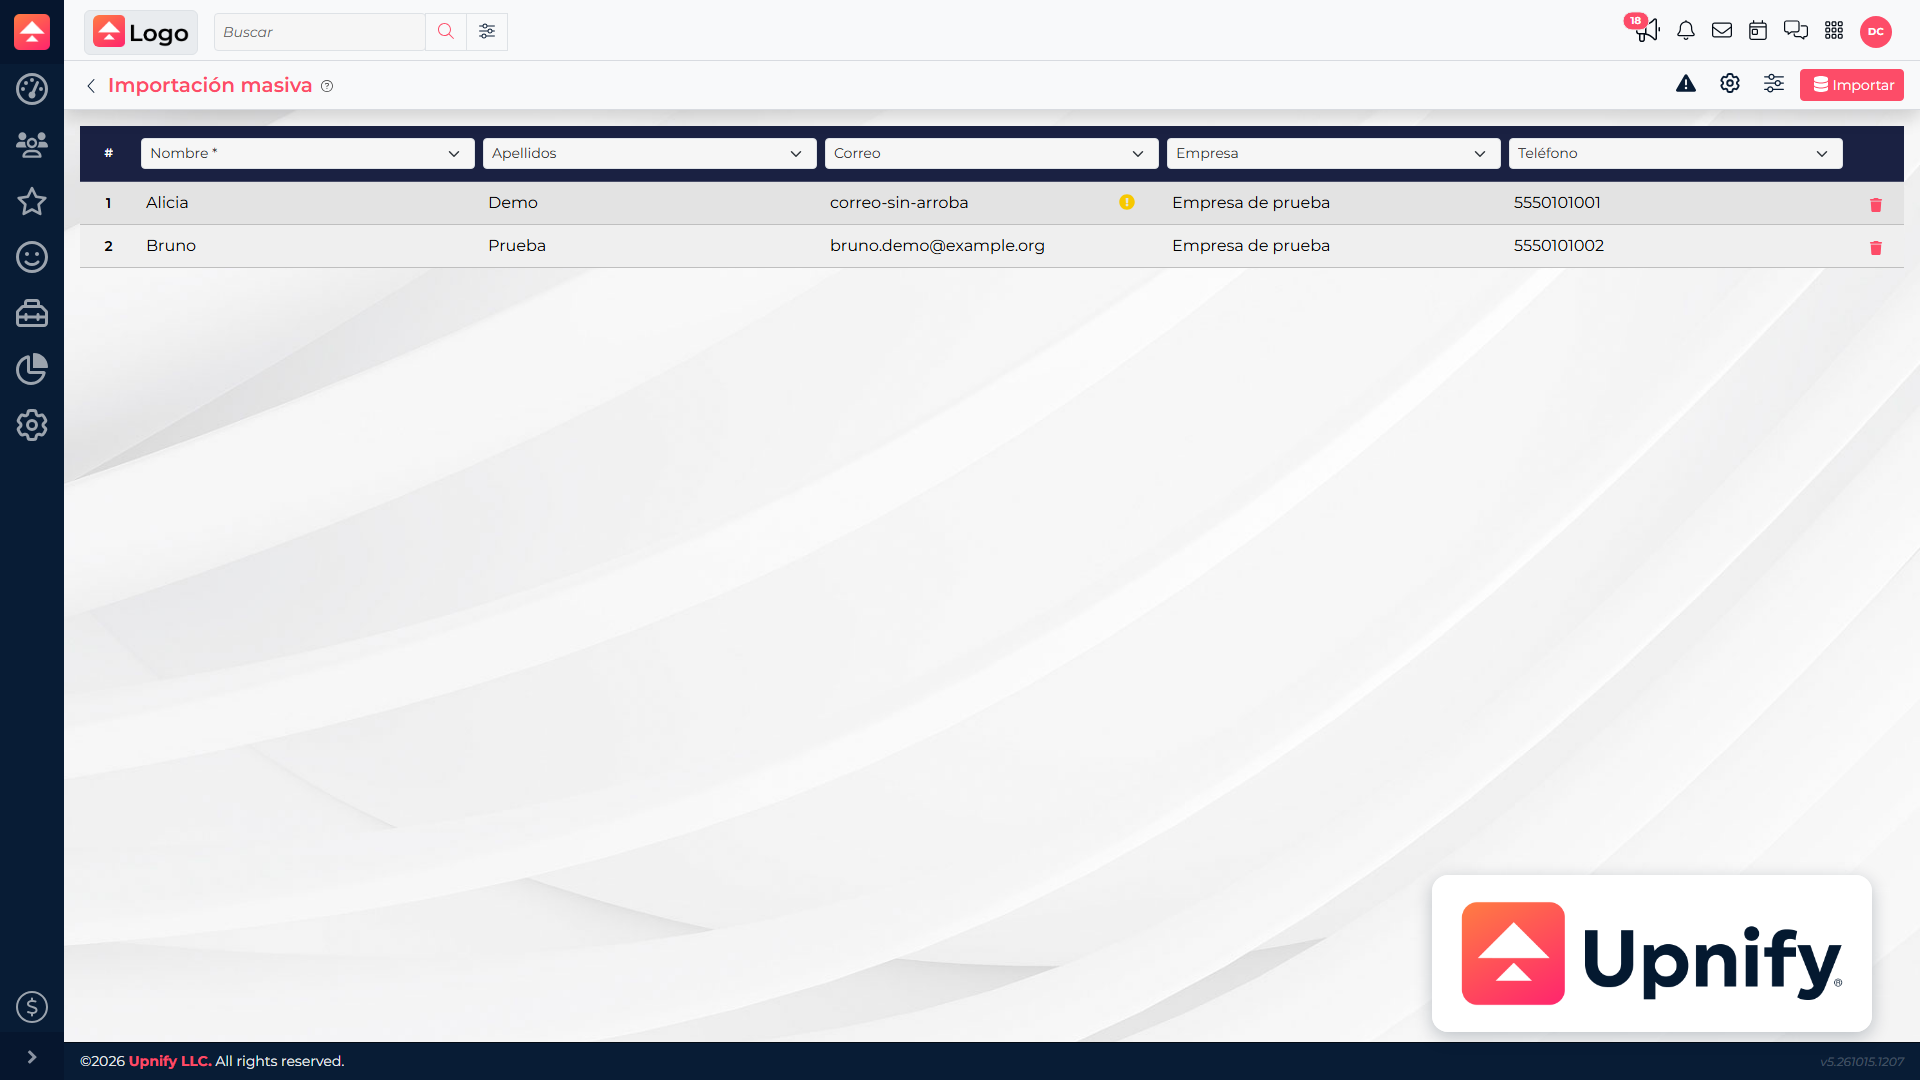
The Mass import preview helps you find problems before saving, while the final result confirms what happened when CRM processed the file. Knowing the difference helps you correct the right rows and then verify that the information appears in the correct CRM section.
1. Find the flagged value
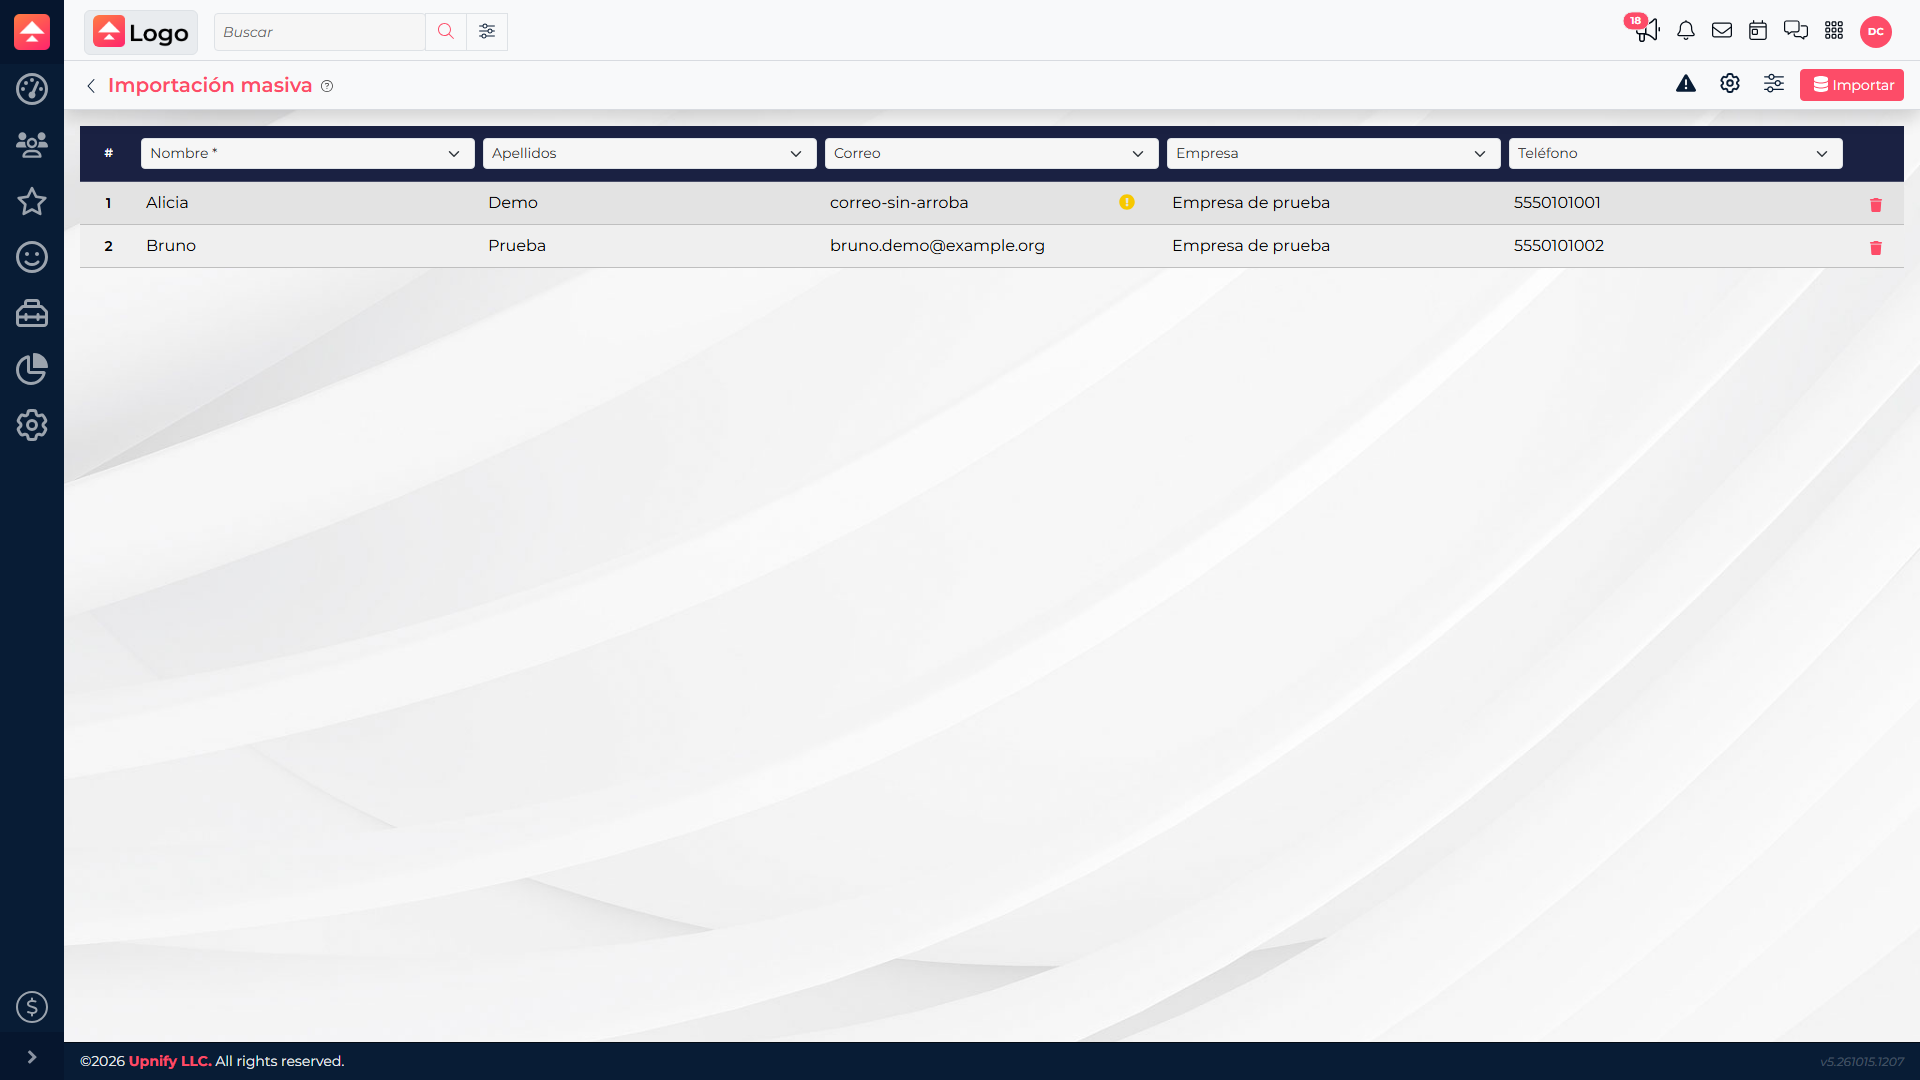
After mapping the columns, check for warning icons next to cells. Hover over an icon to read the reason; for example, an incorrectly formatted e-mail address may show “The value is not a valid e-mail address.” You can also select Filter errors at the top to display only rows with issues.
2. Correct the row or exclude it
Click the cell with the issue, correct the value, and leave the cell so CRM can validate it again. If the row should not be part of the import, remove it from the preview using that row’s delete icon. Do not remove a row just to hide an error if you still need that record.
If the issue is with a mapping, check the field list above the column: select the right field or use Skip column if you do not want to import that data. Required fields, marked with an asterisk, must be mapped. Import cannot start while a column is unconfigured or a required field is missing.
3. Check how many rows will be processed
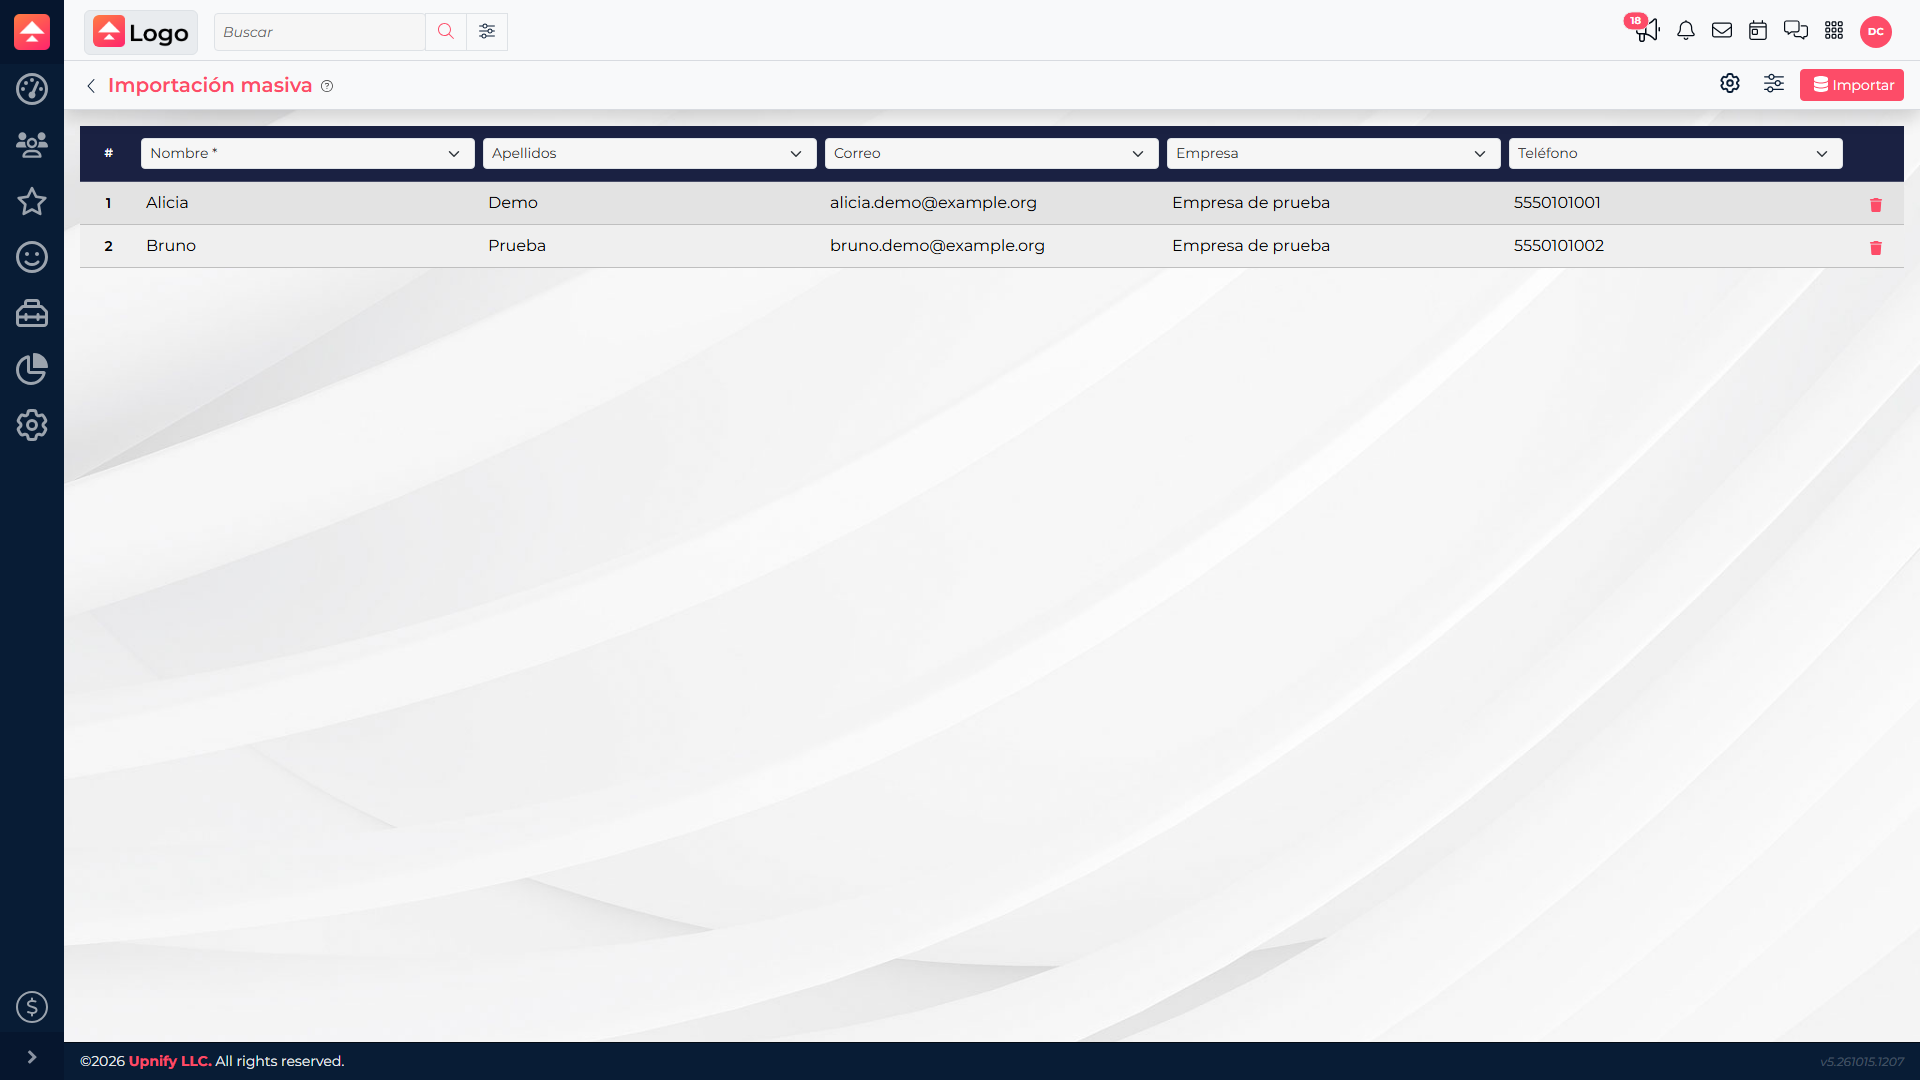
When you select Import, the confirmation dialog shows the total and warns if rows that still contain errors will be skipped. If the number is different from what you expected, cancel and check whether you ignored the header row correctly, selected the right separator, or removed a row by mistake. Confirm when the count looks right.
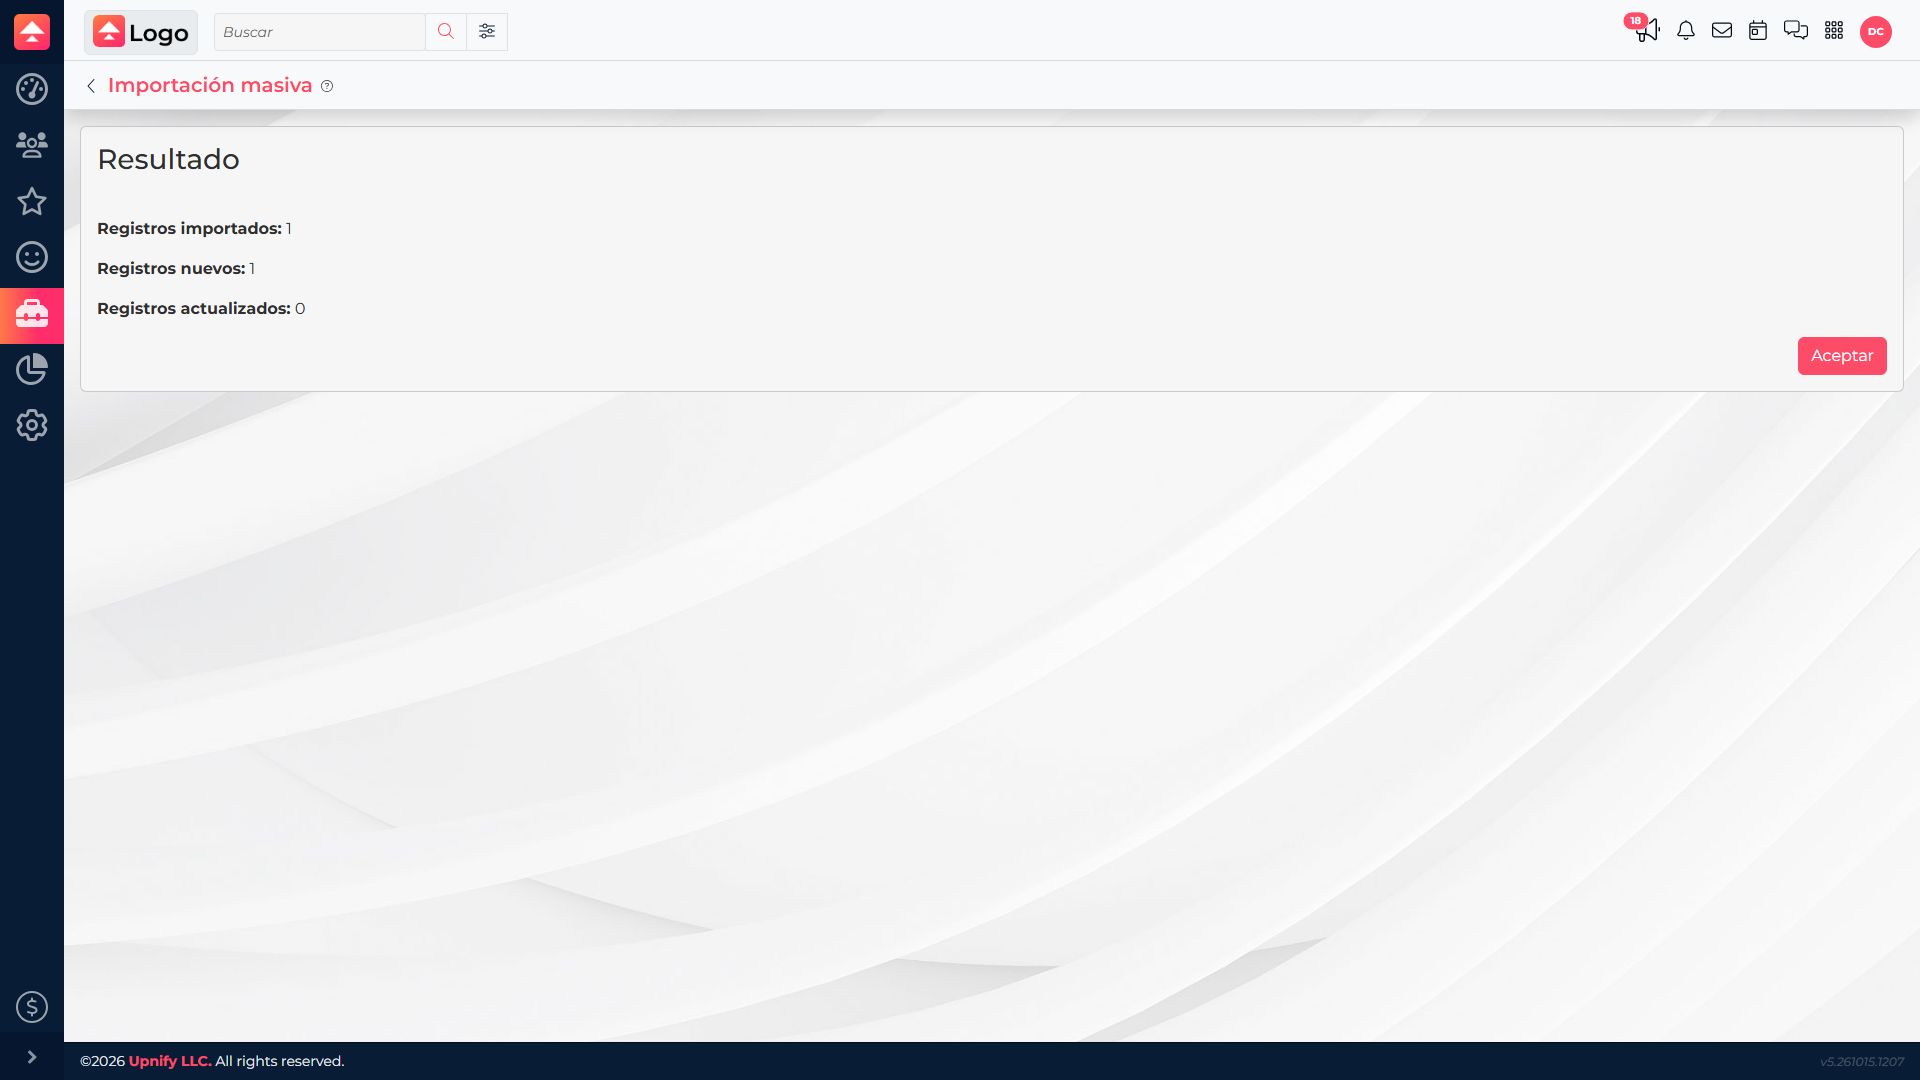
When processing finishes, the CRM summary distinguishes imported, new, and updated records. If the server detects issues, review the error details and use the available action to return to the data and correct any remaining rows.
4. Verify the saved records
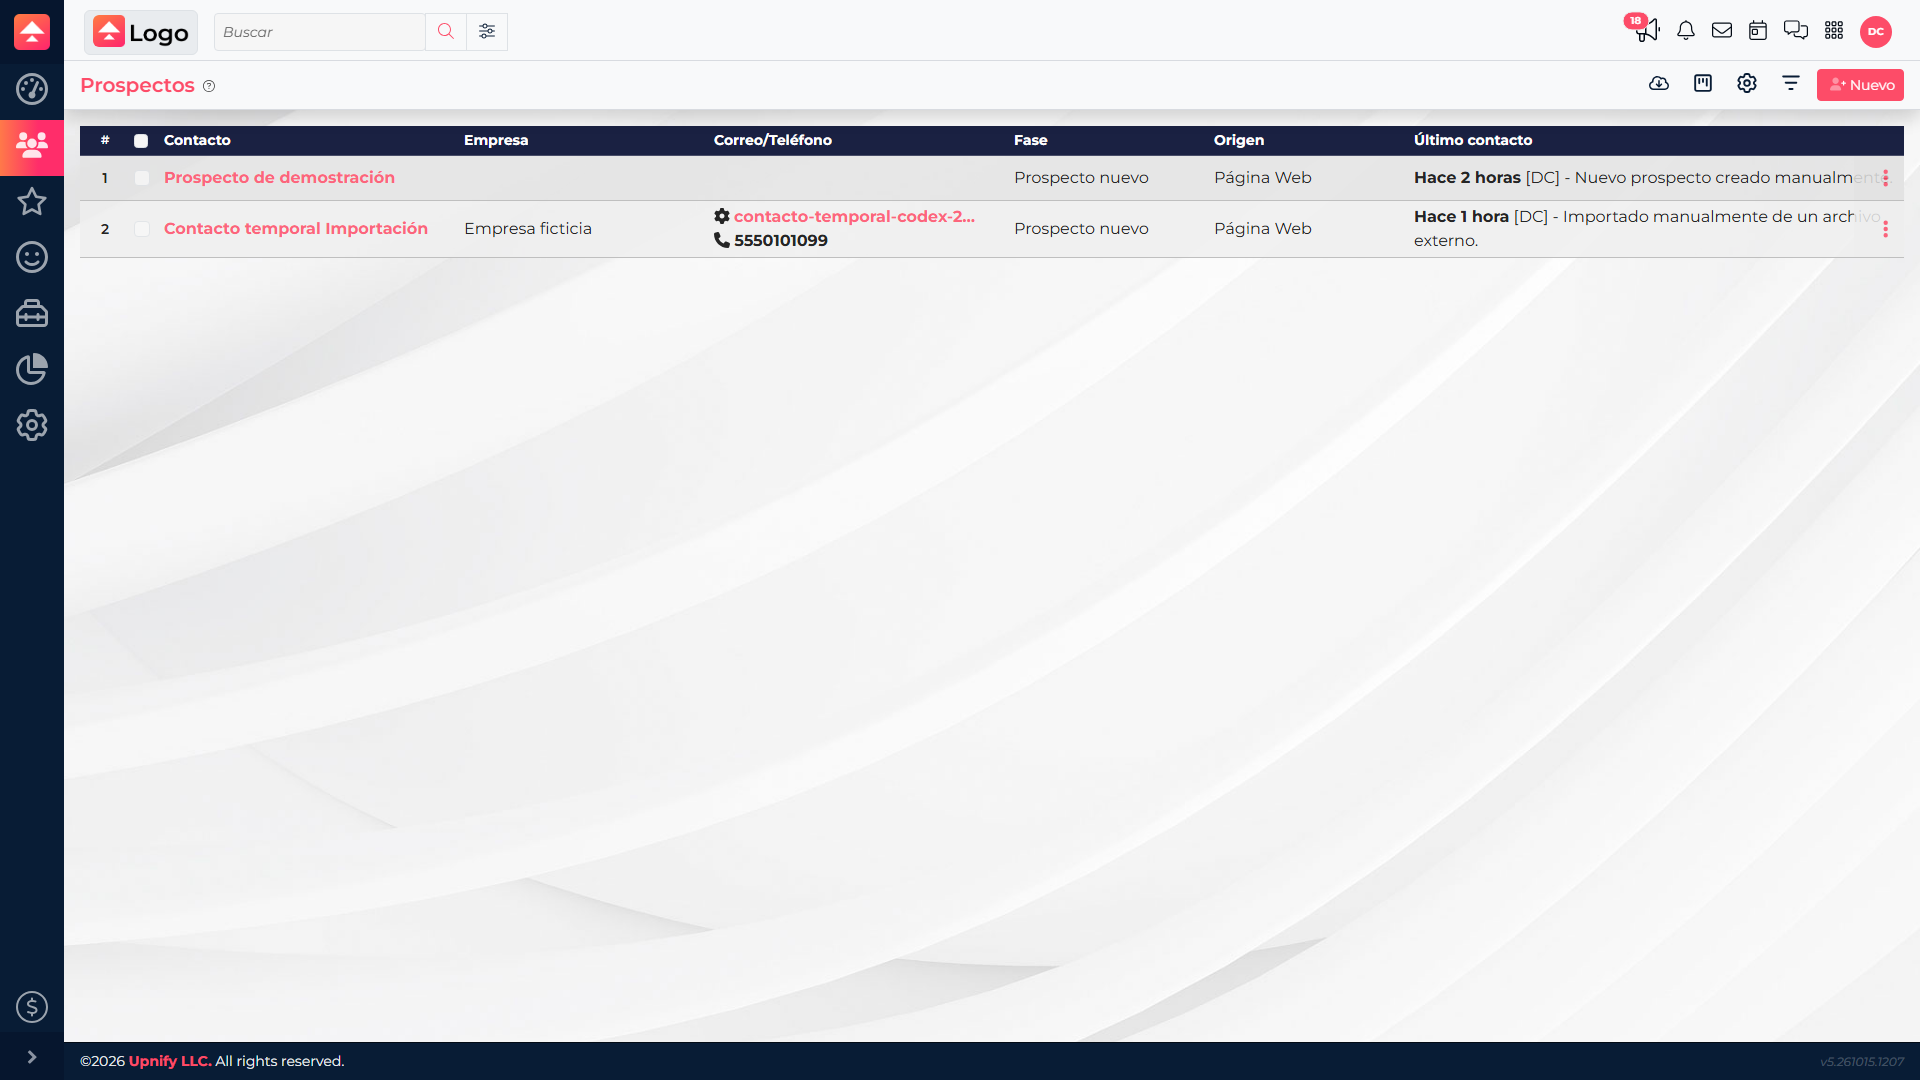
After the summary, open the list for the entity you selected. For example, if you imported Prospects, go to CRM > Prospects; for Customers, Opportunities, Sales, Companies, or Products, open the corresponding list. Use a name, e-mail address, or another unique value from the file to find a few records and confirm that the data is in the expected fields. The history confirms the operation, but it does not replace reviewing the records.
5. Review the history carefully
Go back to Tools > Mass import to review previous operations. The list shows the entity, date, number of records, and executive who performed the import. If there are several operations, use these details to identify the batch you just processed.