

A webhook lets an Engage form widget send information to a web address that receives requests. It can connect a website form to one of your company’s services, start an automation, or pass data to a system that has no direct Engage integration.
Where to configure it
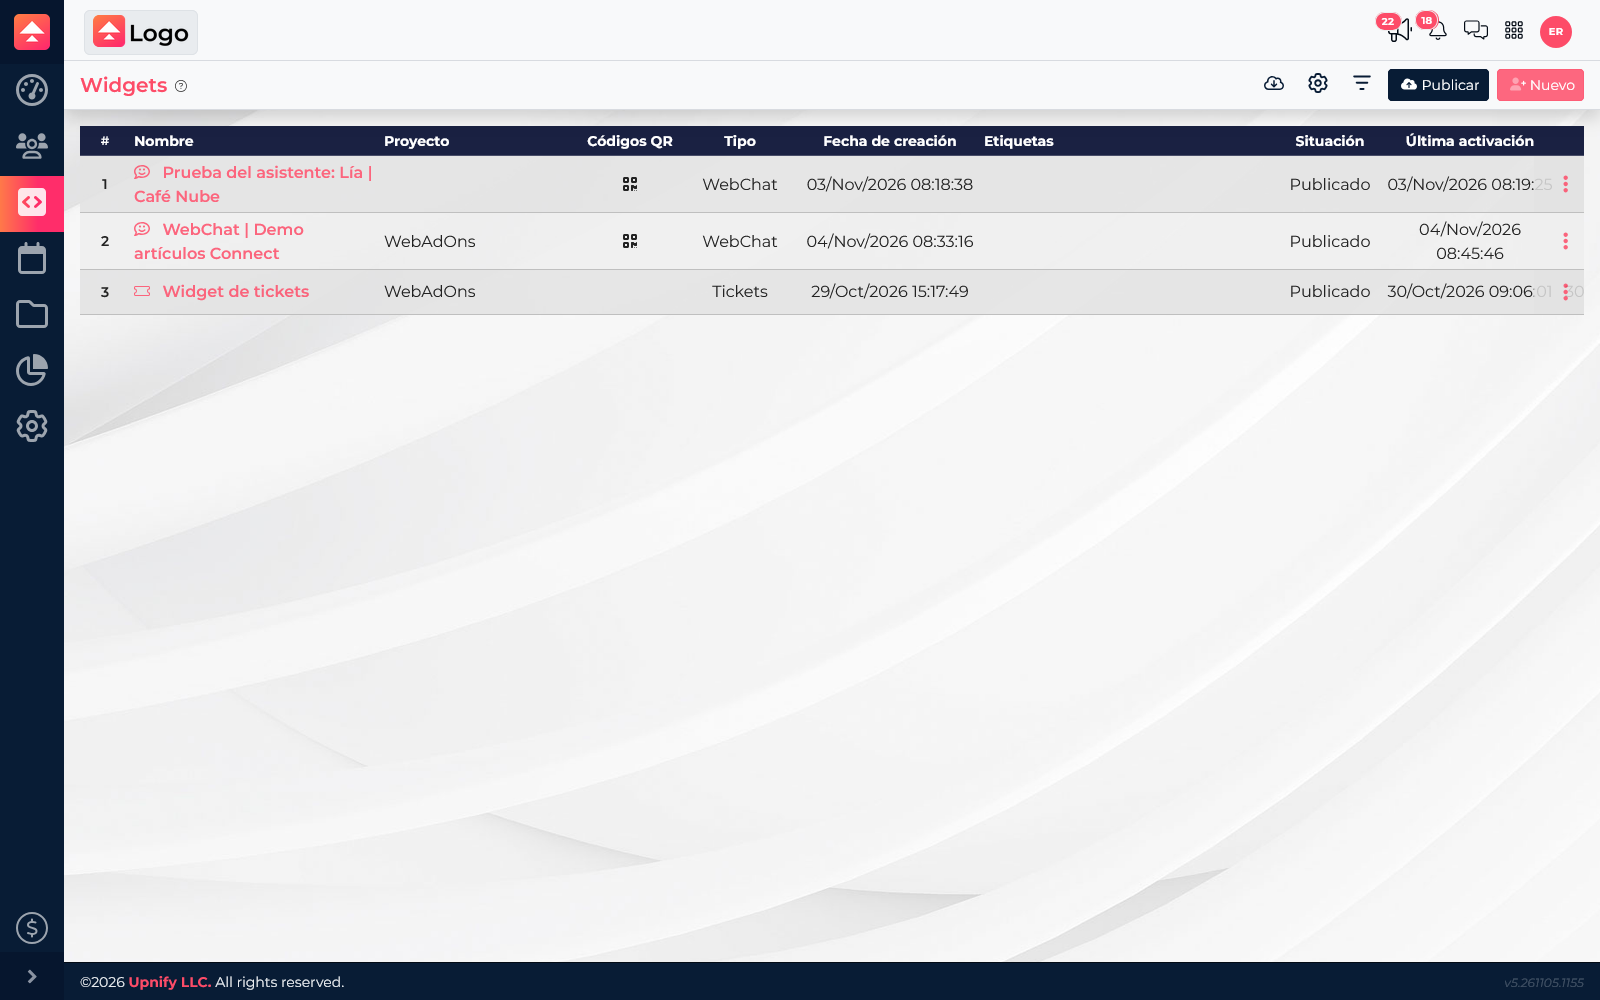
Web Hooks are configured inside each widget that collects information. This is not a global setting for every site, and it is different from CRM outbound webhooks. In Engage, open Settings > Widgets, find the form widget, and choose to edit it.
Set up the destination
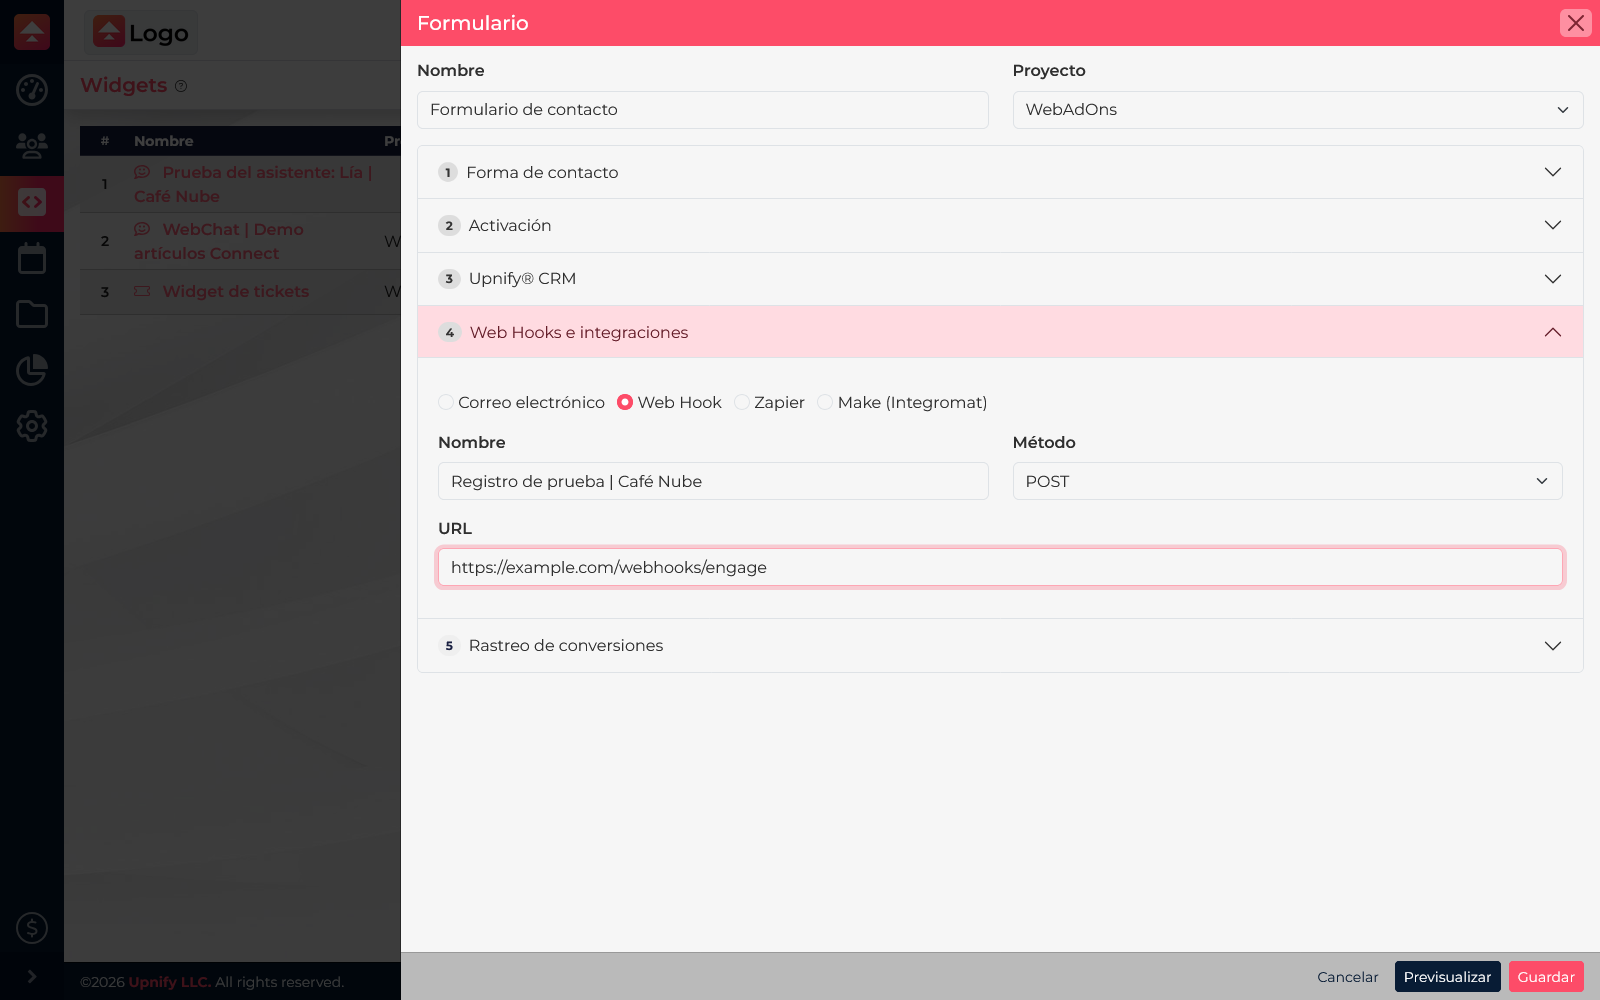
- In the widget editor, open Web Hooks and integrations.
- Enable Web Hook and enter a name that identifies the receiving system.
- Choose the method the service expects. The configuration shown offers POST and PUT; confirm which one your endpoint accepts before saving.
- Enter the endpoint’s full URL. Use an HTTPS address and make sure it belongs to a system you administer.
- Check whether you also need another widget integration, such as Zapier or Make. Save the widget after confirming all values.
Test it safely
Run the first test in a controlled environment with fictitious data. Use a test endpoint managed by your team that lets you inspect incoming requests. Submit the test form from the page where the widget is installed, then check whether the receiver got the request, which fields arrived, and what response it returned.
The editor configuration does not specify a universal data schema or a separate test button. Agree with your development team on which fields should arrive and how the receiving system will validate the request. Do not connect customer data to an unreviewed service or publish a test URL on a production site.
If the information does not arrive
- Confirm that you edited the right widget and saved the changes.
- Check that the URL is complete, correctly typed, and uses HTTPS.
- Ask the endpoint owner to verify that the configured method and authentication match its requirements.
- Check the receiving service’s logs to see whether the request arrived and what response it returned.
- If the receiver rejects or does not process the request, ask your development team to review its expected format, network access, and validation rules.
Once the controlled test works, document the production endpoint and validate it again before accepting real submissions.