

The Courses widget lets you feature a course available in Upnify Train on your website and makes it easier for interested visitors to share their details or request information. It is useful for promoting public training, new-customer onboarding, or a program related to a service.
Select the course
In Engage > Sites > Widgets, create a Courses widget, give it a name that explains its purpose, and select the project or website where it will be used. Under Course settings, choose the course to feature. The screenshot shows \u201CClear communication with customers\u201D.
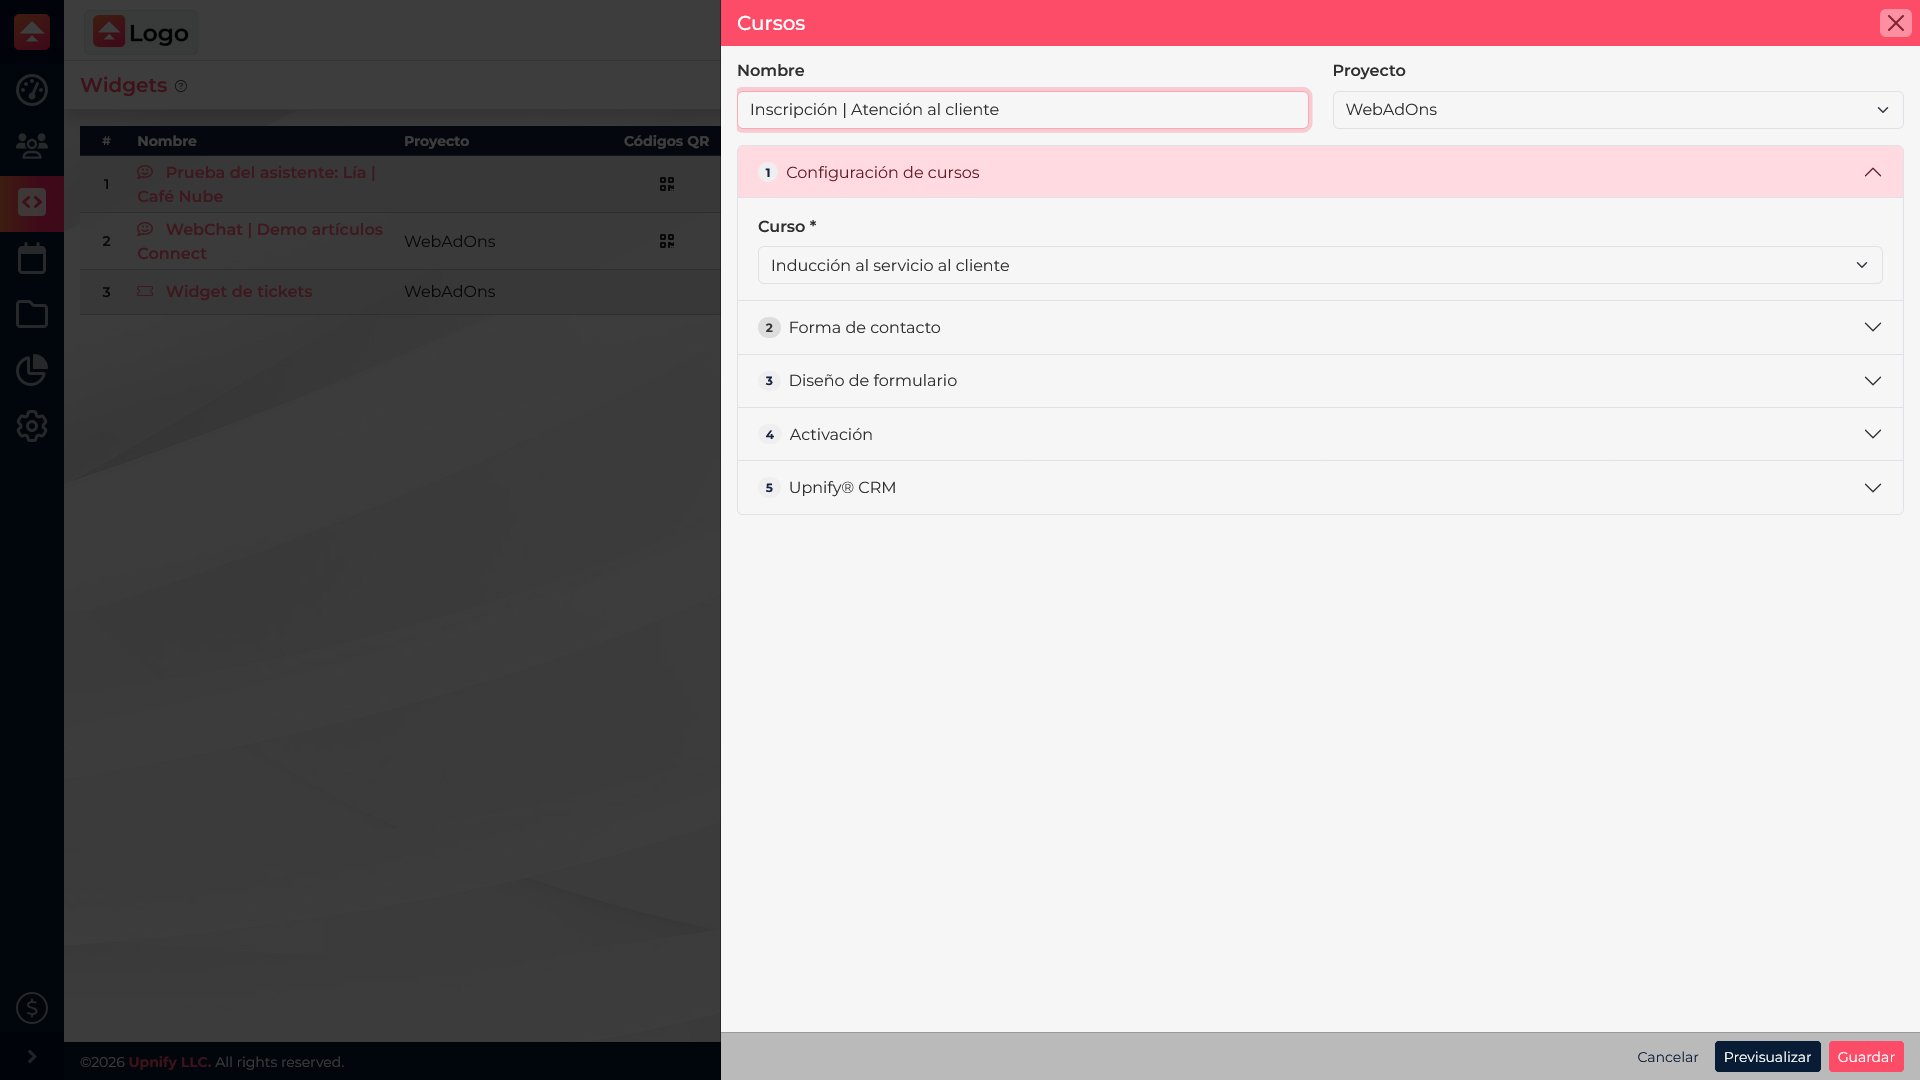
Before publishing, review the course content, language, and availability. The widget is associated with the selected course; if you want to promote another one, configure another widget so each page has a clear goal.
Set up the form and presentation
Under Contact form, ask only for details your team will use to reply or follow up. For business training, name, email, and company may be enough. Then review design and activation to decide how and when the widget appears.
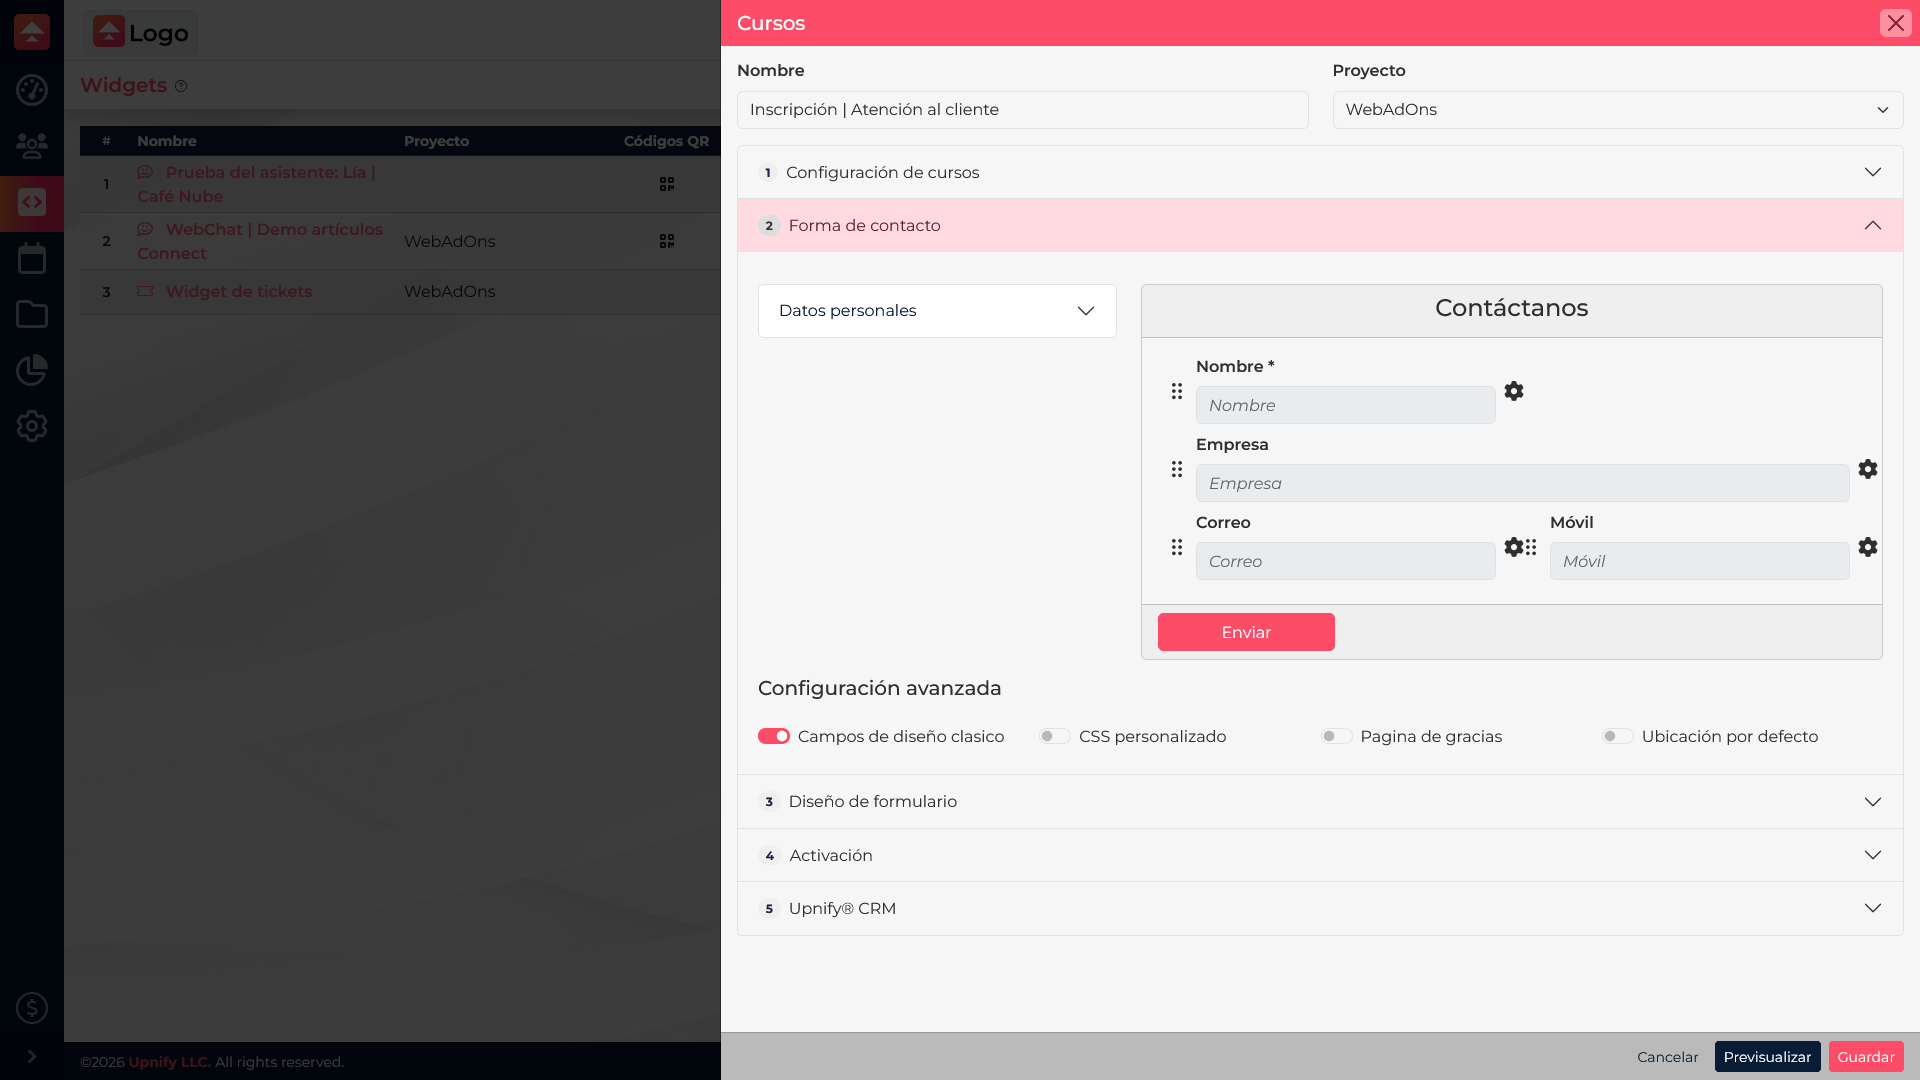
If you enable the CRM connection, review how submissions will be used. Choosing a course does not by itself assign the visitor in Train: confirm the enrollment process enabled in your account and decide who will handle requests.
Test before publishing
- Save your changes and confirm the widget is active and linked to the right website.
- Open the page as a visitor and check that the expected course appears.
- Submit a controlled test entry and confirm it reaches the configured destination.
- Check the layout on a phone and computer so it does not cover important content.
For example, a company can feature a customer service course on its services page and request the details needed to guide each interested visitor. Create courses and assign them to existing employees in Train.