

The Engage library keeps resources you can reuse on your website and in the experiences you publish. Organizing images and documents saves time when you update a widget or prepare content for visitors.
Before uploading: decide whether the resource is an image for a page or widget, a document to download or read, or a reusable format.
What you can store
| Section | Purpose | Example |
|---|---|---|
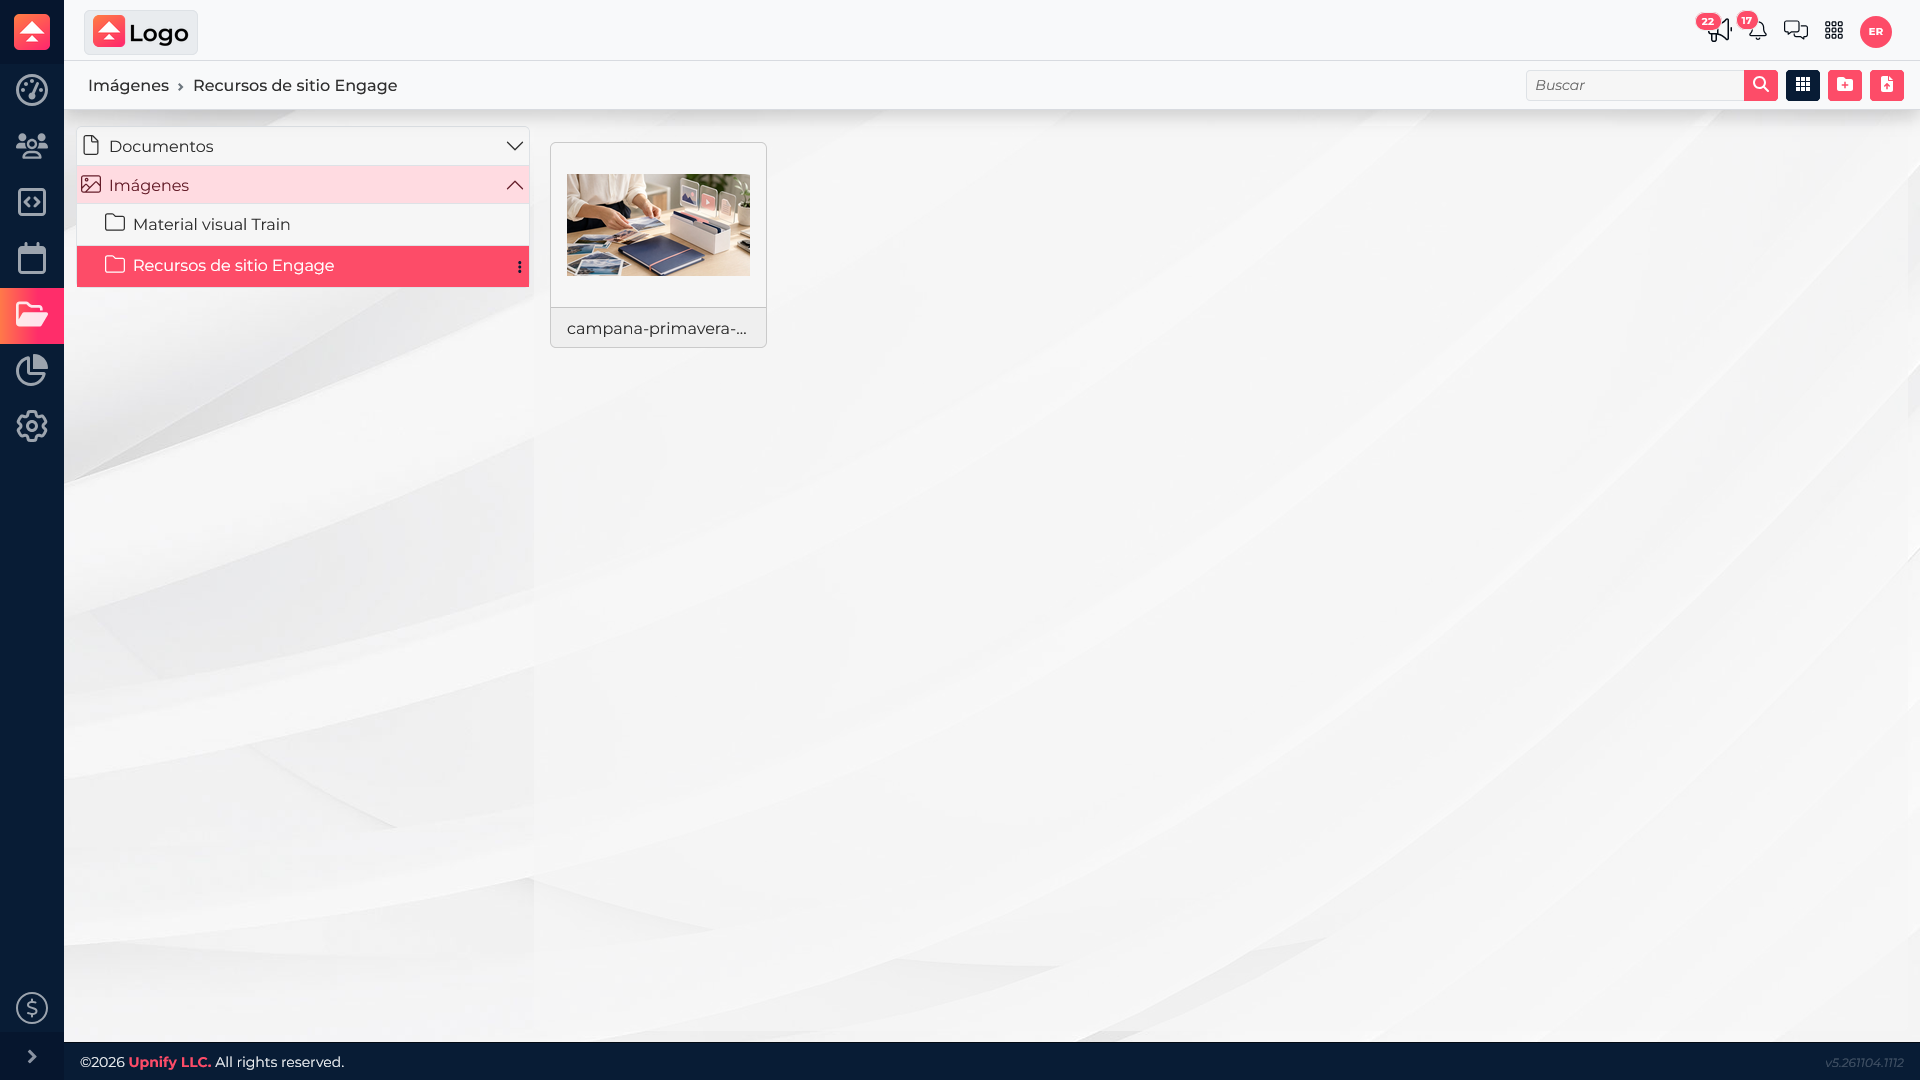
| Images | Visual assets for sites and widgets. | A campaign photo or service illustration. |
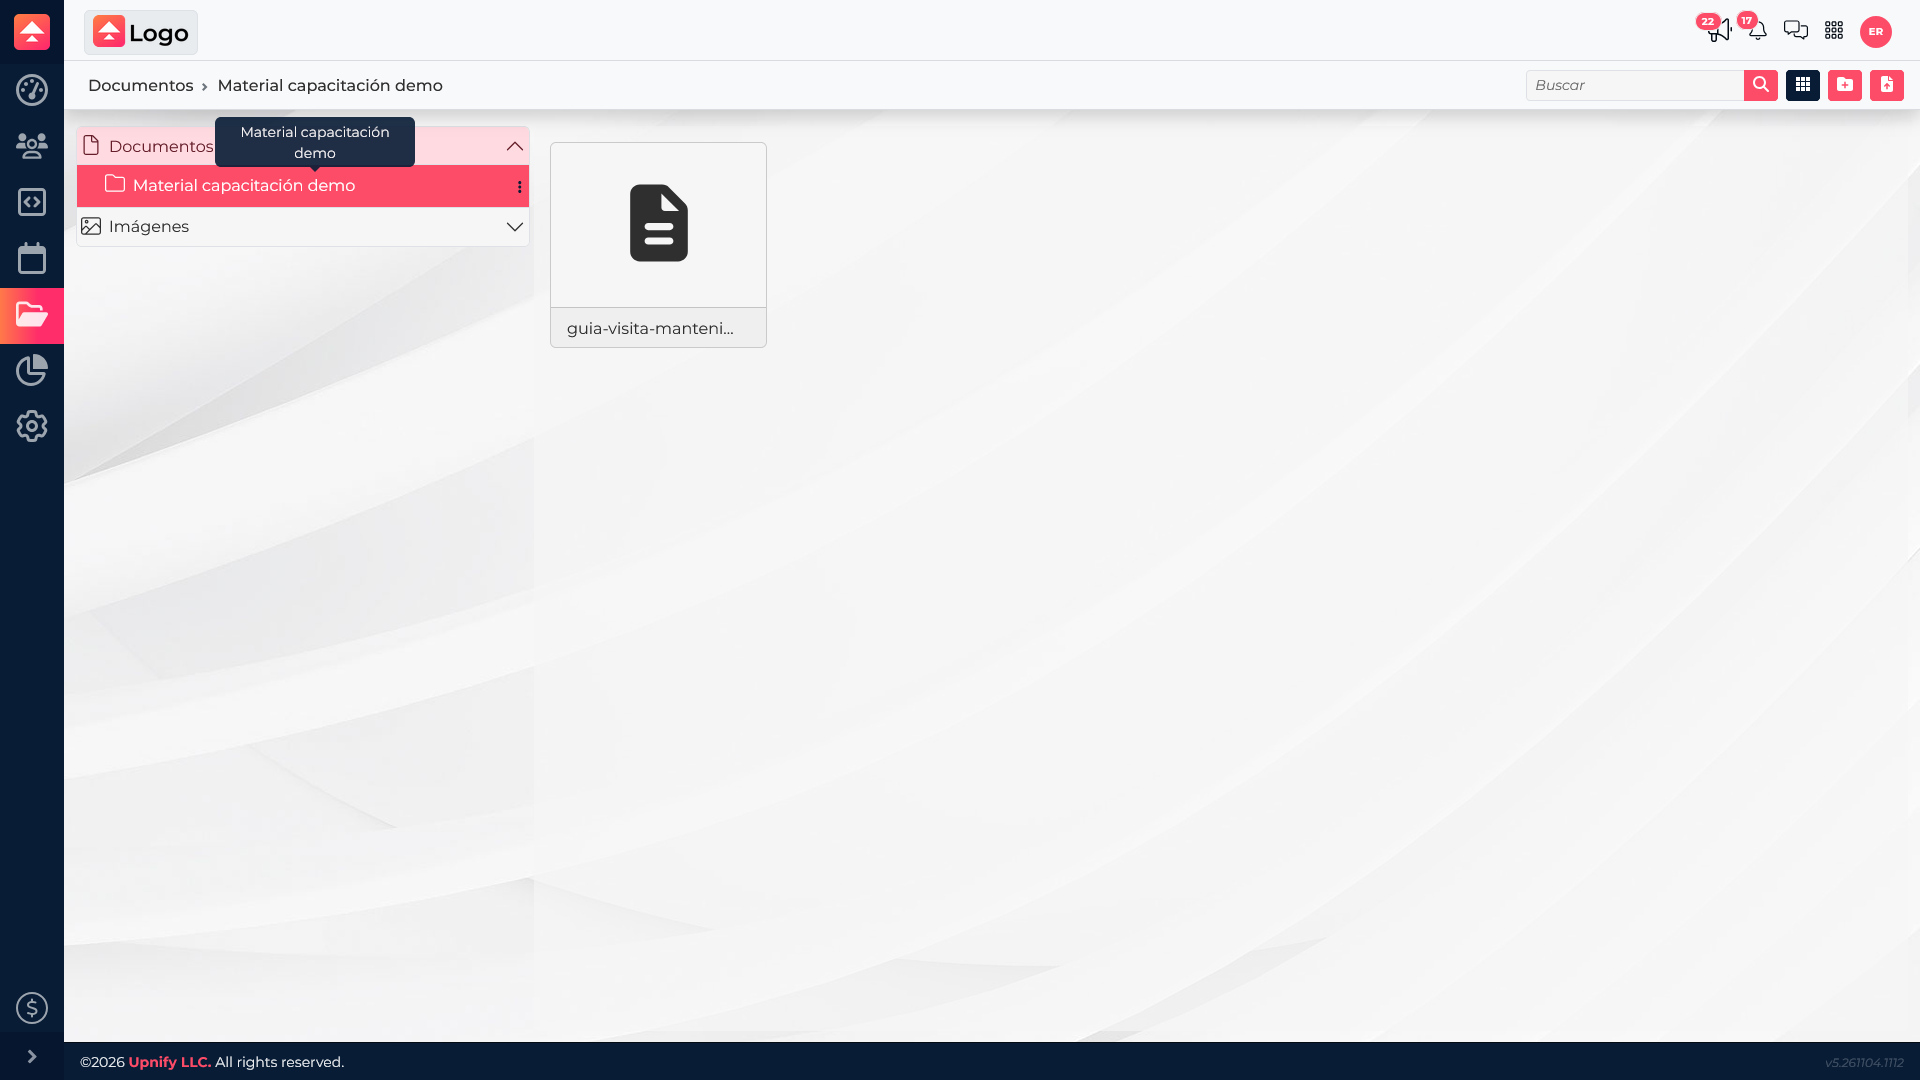
| Documents | Files visitors can read or download from a compatible resource. | A maintenance guide or information sheet. |
| Formats | Templates Engage offers in features that support formats. | A reusable format for a compatible resource. |
Upload and organize resources
- In Engage, open Files and choose the right section: Images, Documents, or Formats.
- Create or open a clearly named folder, such as \u201CSpring campaign\u201D or \u201CTraining materials.\u201D
- Select New or the upload option, choose your files, and confirm. The interface accepts up to 10 files per upload and up to 10 MB per file.
- Use descriptive filenames and keep assets for the same site, campaign, or widget together.
Open Documents to confirm the file was saved and find it when setting up a resource that can attach or present it to visitors.
Supported types: Documents supports PDF, DOC, DOCX, XLS, XLSX, PPT, PPTX, CSV, TXT, RTF, LOG, MD, PSD, AI, INDD, FLA, EPUB, MOBI, AZW, and AZW3, as well as image, video, and audio files. Images can be PNG, JPG, JPEG, GIF, BMP, SVG, or WEBP; video can be MP4, AVI, MOV, WMV, or MKV; audio can be MP3, WAV, OGG, FLAC, OPUS, or OTT.
The upload limit applies to each file: up to 10 MB and up to 10 files per upload. If a file is too large, compress it or prepare an optimized version before uploading.
Find, reuse, and maintain resources
Use folders and library search to locate an asset. Depending on its type and section, you can preview, download, rename, move, or delete it. Before deleting an asset, check that it is not used by a widget or published page.
Example: the marketing team stores a campaign\u2019s main image and PDF in clearly named folders. It then selects the image when preparing the site experience and offers the PDF through a downloadable-content widget.
Tips to avoid problems
- Use image and document formats supported by the upload control.
- Resize very large images so pages load quickly.
- Avoid generic names like \u201Cfinal-image-2\u201D; identify the content and campaign.
- If a resource is missing, check the section and folder before uploading it again.