

Importing helps load purchase orders already prepared in a spreadsheet or another supported file, without entering every value manually. It is useful for migrations or for adding several orders with a consistent structure.
Prepare the file
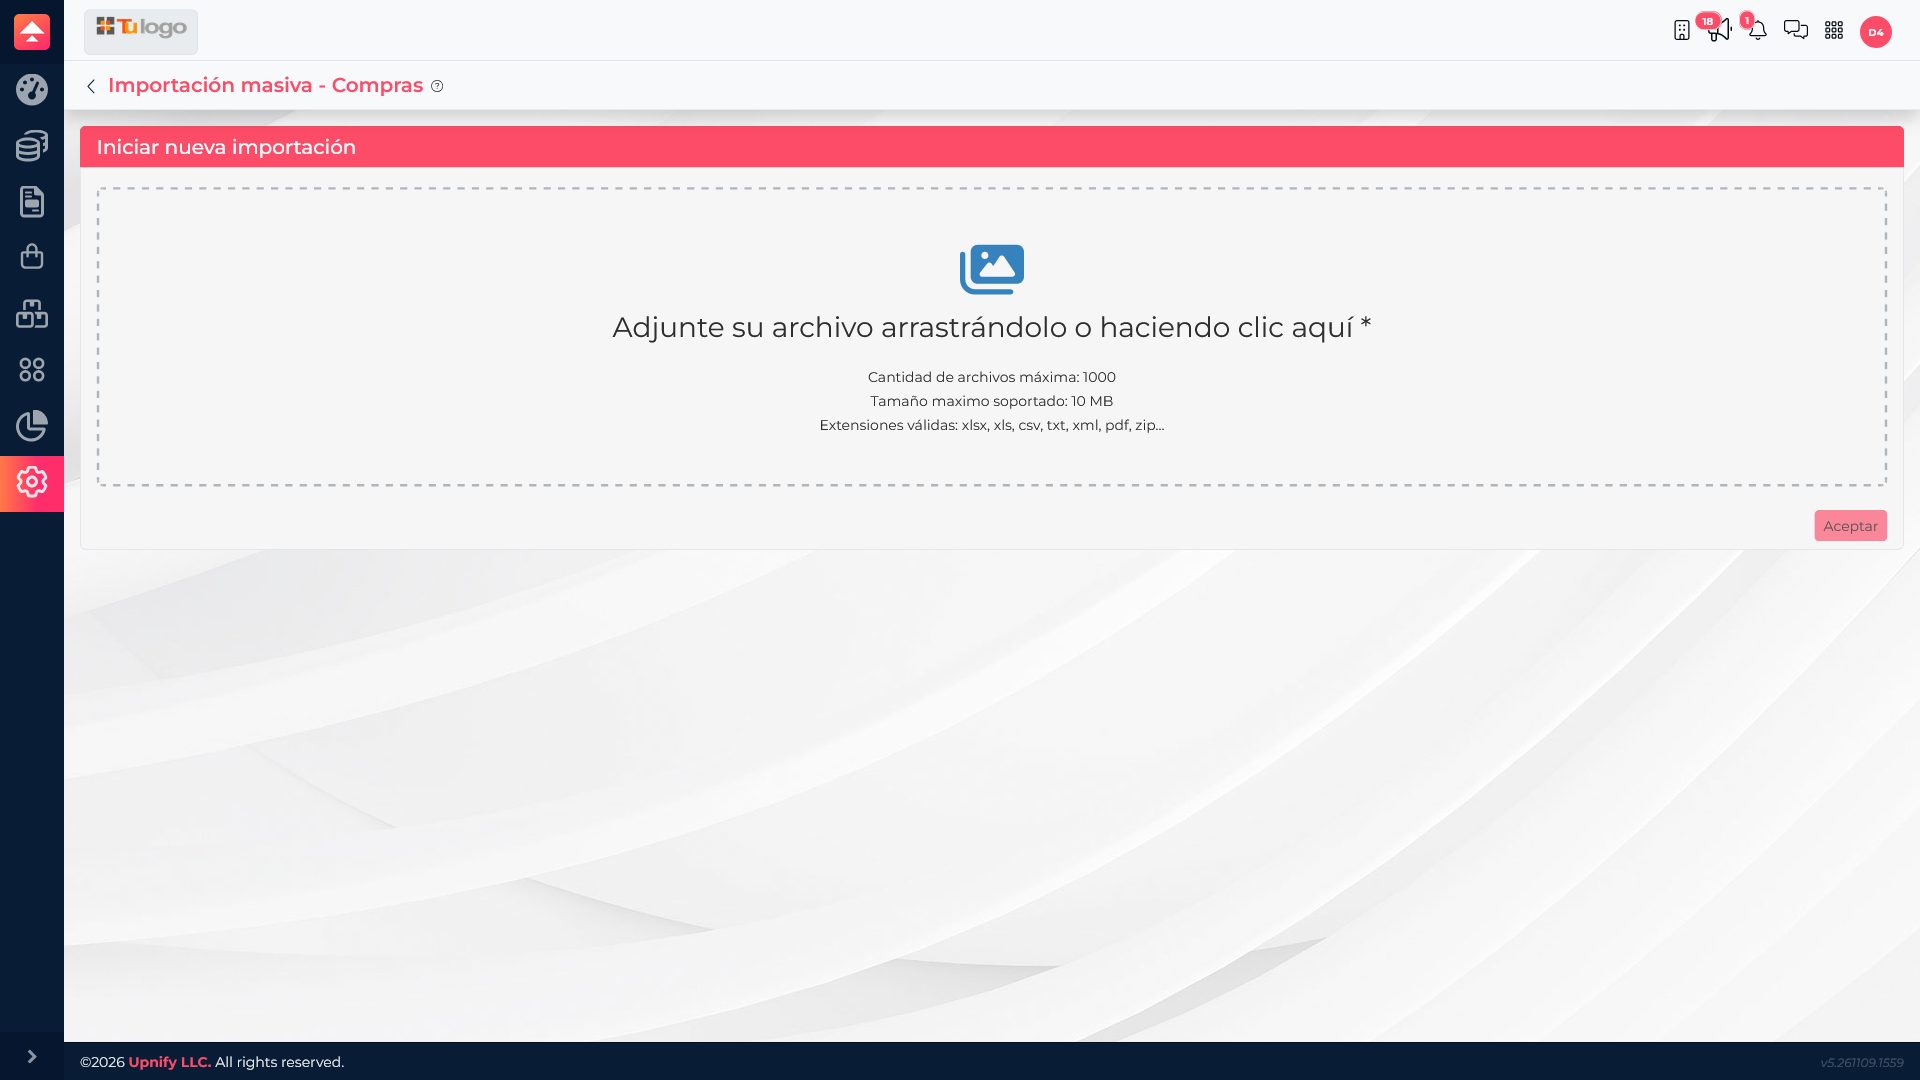
In ERP, open Purchases > Import and select the purchase order data type. The screen accepts XLSX, XLS, CSV, TXT, XML, PDF, and ZIP files and shows a 10 MB per-file limit. Check the format and file size before continuing.
Use one row per order product. If multiple rows belong to the same purchase order, use the same grouping identifier required by the import template. Include the information needed to identify the supplier and product, as well as warehouse, currency, quantities, costs, and tax or document identifiers when applicable. Do not make up keys; they must match ERP catalogs.
Map the columns
After uploading, match each file header to the corresponding ERP field. For example, map the product code to the code field and the product name to the product field. Also map supplier, warehouse, unit, quantity, cost, and currency using the available controls.
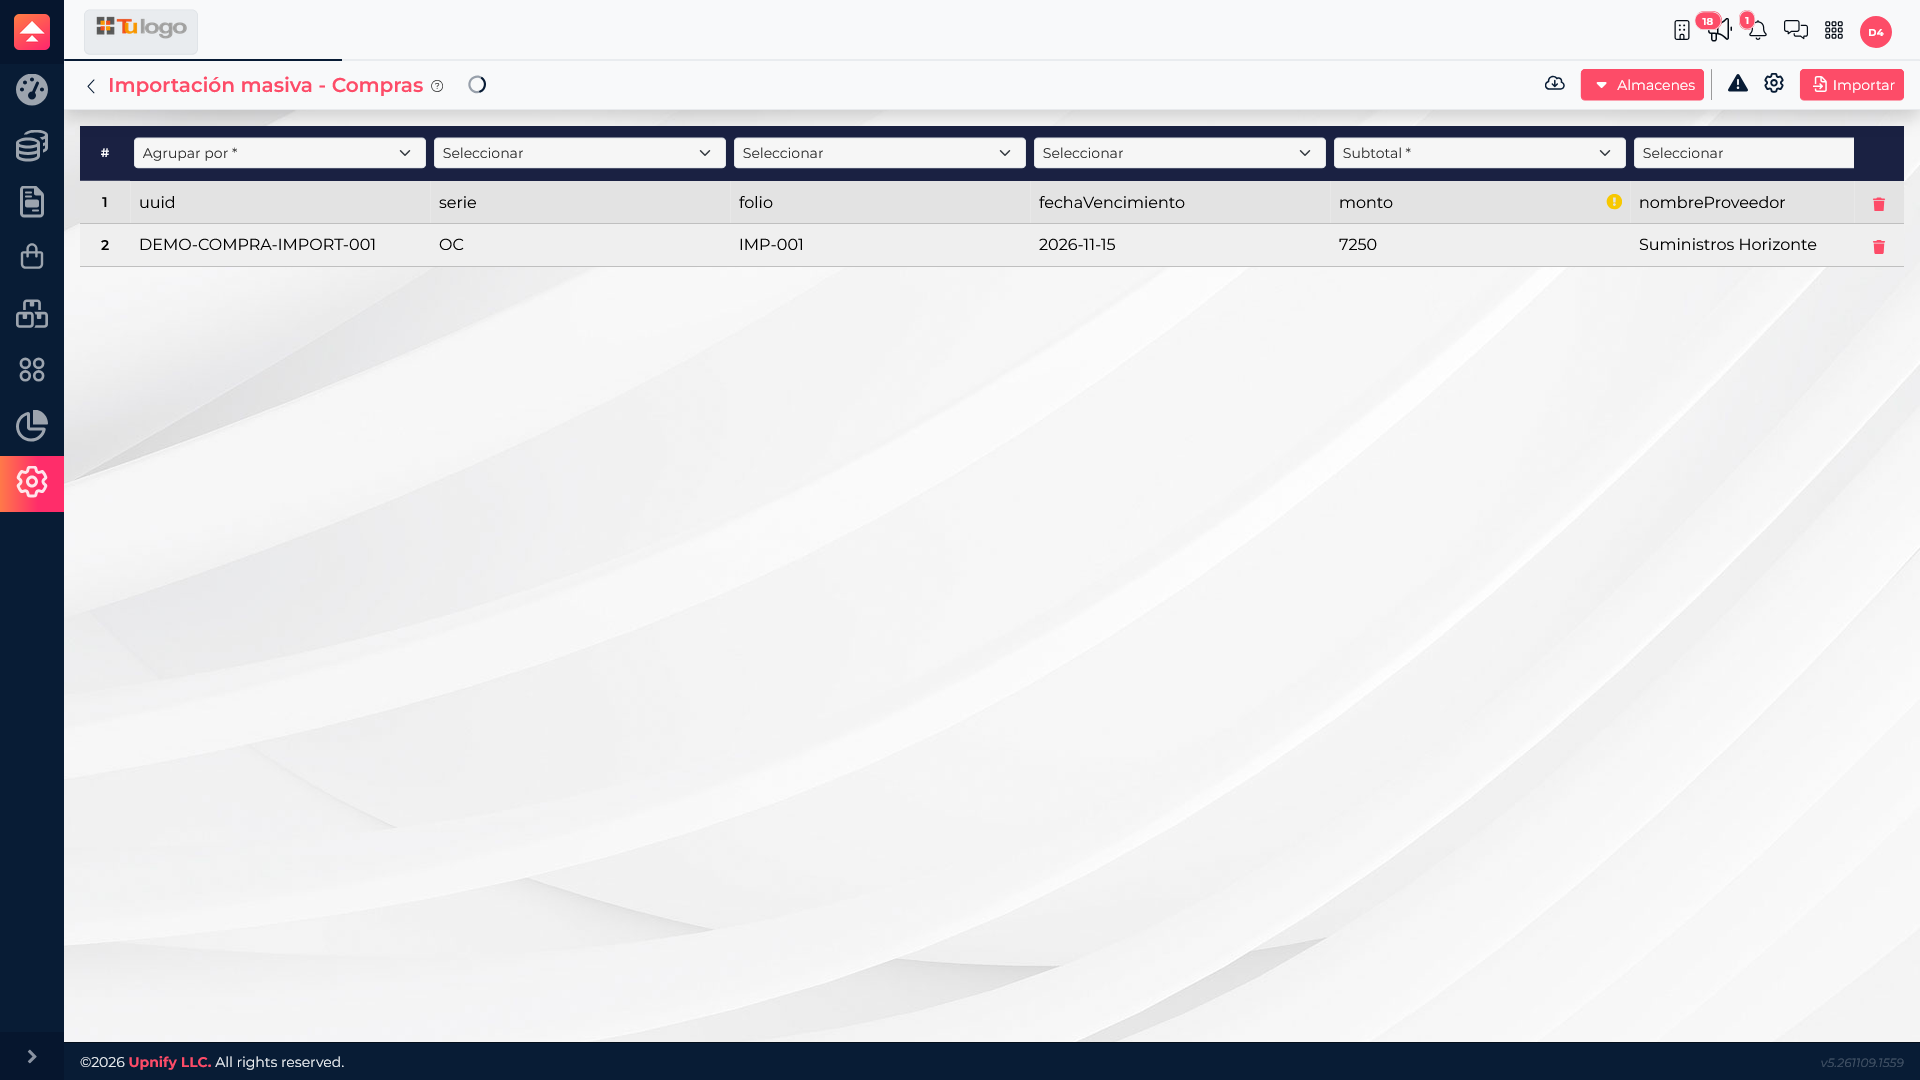
Mapping only tells ERP where a value is located; it does not correct invalid data. The product and supplier must exist in the catalogs, and warehouse or currency keys must match options in the company.
Review errors before importing
- Make sure required fields have a mapped column.
- Check that rows in the same order share the same grouping identifier.
- Correct unrecognized codes, missing quantities or costs, and catalog keys that do not match.
- If invoice details are included, verify the tax fields and unique invoice identifier required by the import.
- Upload the corrected file again and review the final validation before confirming.
Check ERP\u2019s validation summary and confirm only when the orders, products, and quantities match your expectations. Avoid importing the same file twice, which may duplicate orders.
After the import
Find the created orders in the Purchases list and open a few to compare supplier, line items, quantities, and totals with the source file. To receive goods, continue with a warehouse entry; importing or creating an order does not record the products as received stock by itself.