
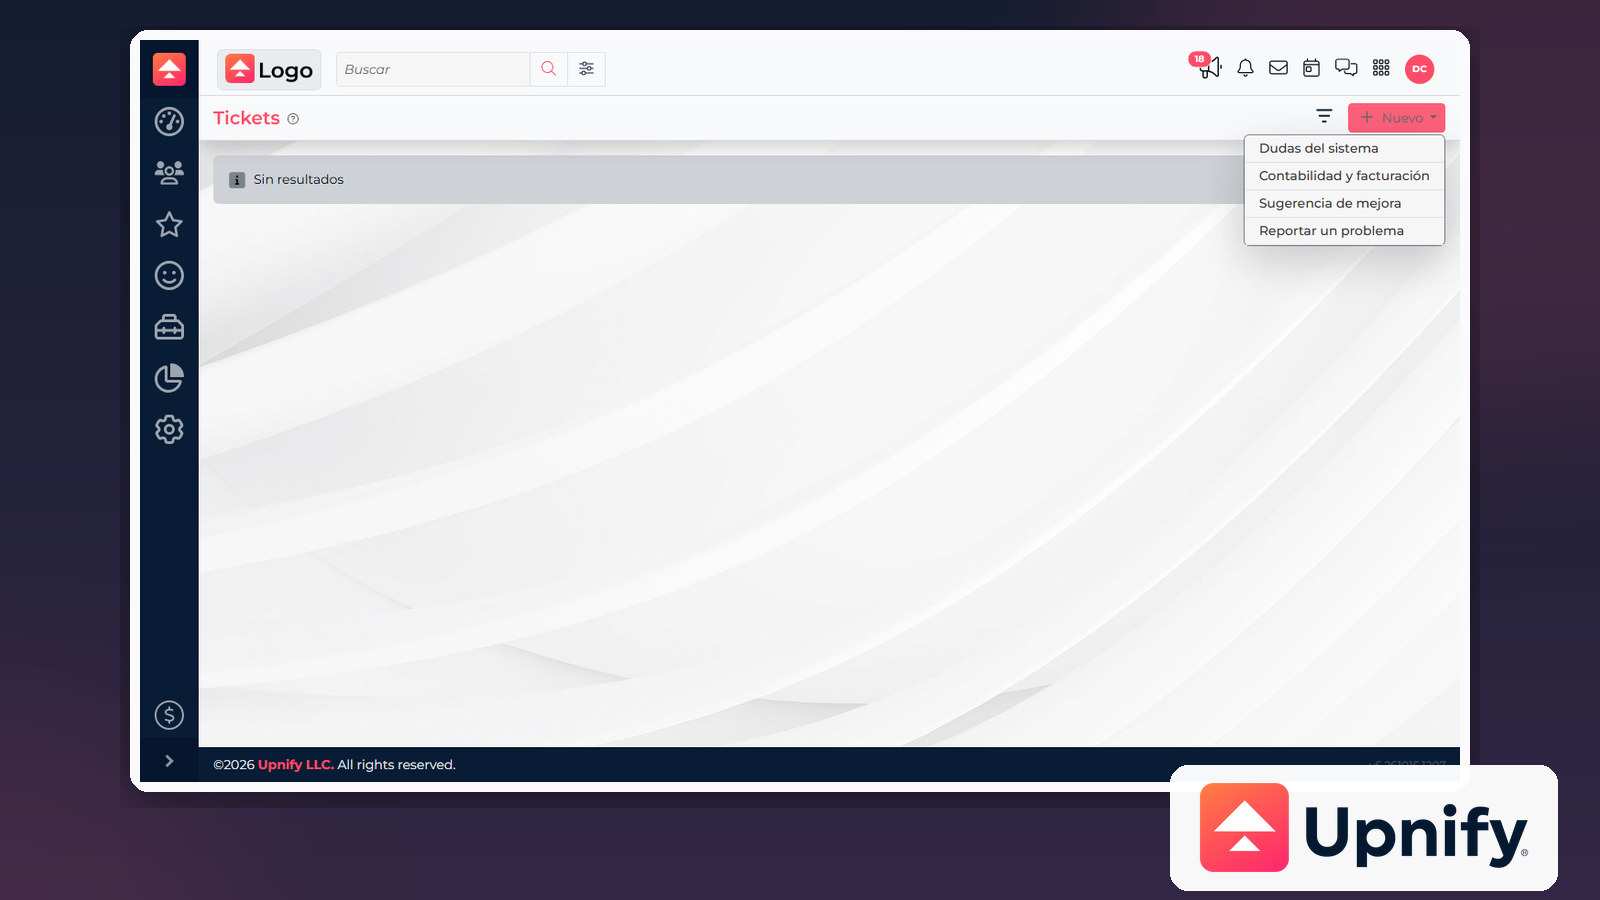
The Tickets area in CRM lets you submit help requests and keep the report, replies, and status changes together. Choose the channel that fits your request, and continue in the same ticket whenever you are following up on the same issue.
Choose the right support path
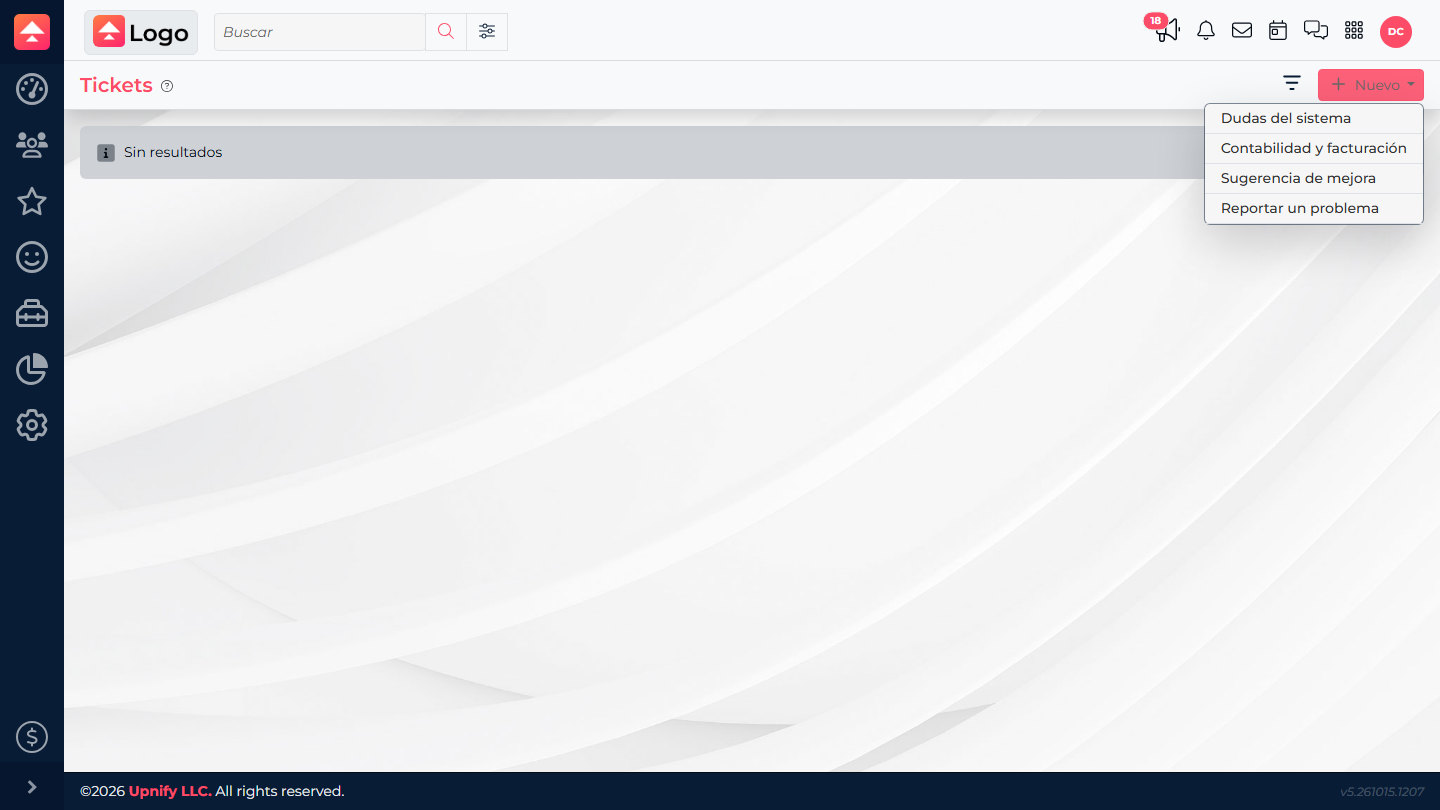
In CRM, open Tickets from the navigation menu and select New. Each option opens a different workflow:
| Option | What opens | Use it for |
|---|---|---|
| System questions | Support widget | Questions about how a feature or process works. |
| Report a problem | Support widget | Unexpected behavior that you want to explain and discuss in the widget. |
| Accounting and invoicing | New ticket form | Accounting or billing questions. |
| Suggestion for improvement | New ticket form | A product improvement idea. |
Create a ticket from the form
When you select Accounting and invoicing or Suggestion for improvement, CRM opens the Create ticket form. Complete it as follows:
- Subject: enter a short description of the topic and, when helpful, the CRM area. For example: \u201COpportunities: a record will not open\u201D.
- Describe your problem: explain what you were trying to do, the steps to reproduce the issue, what you expected to happen, and what actually happened. Include when it started and whether it happens every time or intermittently. The subject and description are required.
- Phone: optional. It may be prefilled with the number linked to your session; check it and edit it if support should contact you there.
- Attached file: optional. Add a relevant file, such as a screenshot showing an error. The form accepts one file per submission.
- Review your request and select Accept. After it is saved, you return to the Tickets list, where you can find the request and check its status.
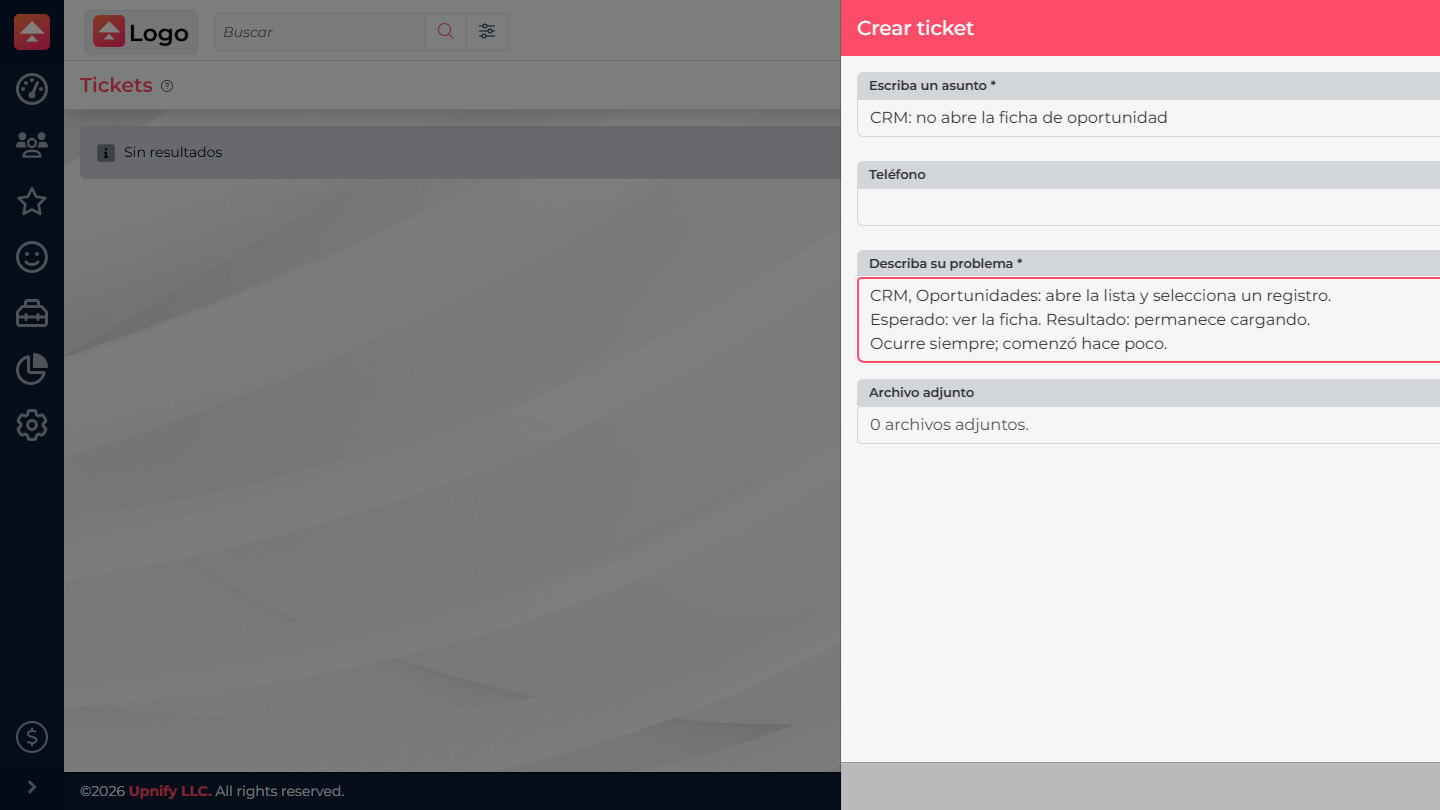
- Area: where it happens.
- Steps: what you did before the issue appeared.
- Expected / actual: what should happen and what happened.
- Frequency: when it started and whether it repeats.
Attach only evidence relevant to the request. Before uploading a screenshot, crop or cover personal details, customer information, passwords, sign-in codes, and financial data. Never include credentials in the subject, description, or files.
If you choose System questions or Report a problem, the support widget opens instead of this form. Continue the conversation there and follow the on-screen prompts.
Find a ticket and review its replies
- Return to Tickets in CRM. The list shows the ticket number, subject, latest comment, department, creation and update dates, status, and elapsed time.
- If the list is long, use the status filter to narrow it down.
- Open the ticket number or subject to view its details. The panel shows the department, assigned representative, dates, and status, along with the original report, follow-up comments, and attached files.
- Read the latest comment before replying. To add information to the same case, select Add comment and enter your update; you can attach a relevant file as well.
| Filter or status | How to use it |
|---|---|
| All active | Shows the set of active tickets. |
| Active | Filters for tickets with an active status. |
| Waiting for information | Open the ticket and read the latest comment to see what information is needed. |
| Resolved | Shows tickets marked as resolved. |
| All | Includes tickets in any status. |
Reply, reopen, or close a ticket
- While a ticket is not resolved, use Add comment to reply or add context. A comment is required; attaching a file is optional.
- If the ticket is marked Resolved but the problem continues, select Reopen ticket and explain what remains unresolved. The comment is required; a file is optional.
- When you open a resolved ticket, you may be asked to rate the response. Select Yes, thank you if the issue is resolved. Otherwise, choose No, not yet and explain what is still pending, or request to speak with the manager.
- If Close ticket is available and you no longer need follow-up, select it and confirm.
Keep the history together: use the same ticket for updates about the same issue. Create another one only for a different problem or request.