

Suite user administration helps you maintain company accounts and decide which products each person can access. Review the group, role or access level, product permissions, and account status separately: each setting controls a different part of access.
The My organization page is available to Super Administrators. If you cannot see or open it, ask a Super Administrator to make the change or review your permissions.
Open the user list
- Open your profile menu and select My organization.
- The table shows each person\u2019s name, user details, available apps, and status. The default view may show active accounts only.
- Use the filter button to search by text, status, group, app, or Super Administrator setting.
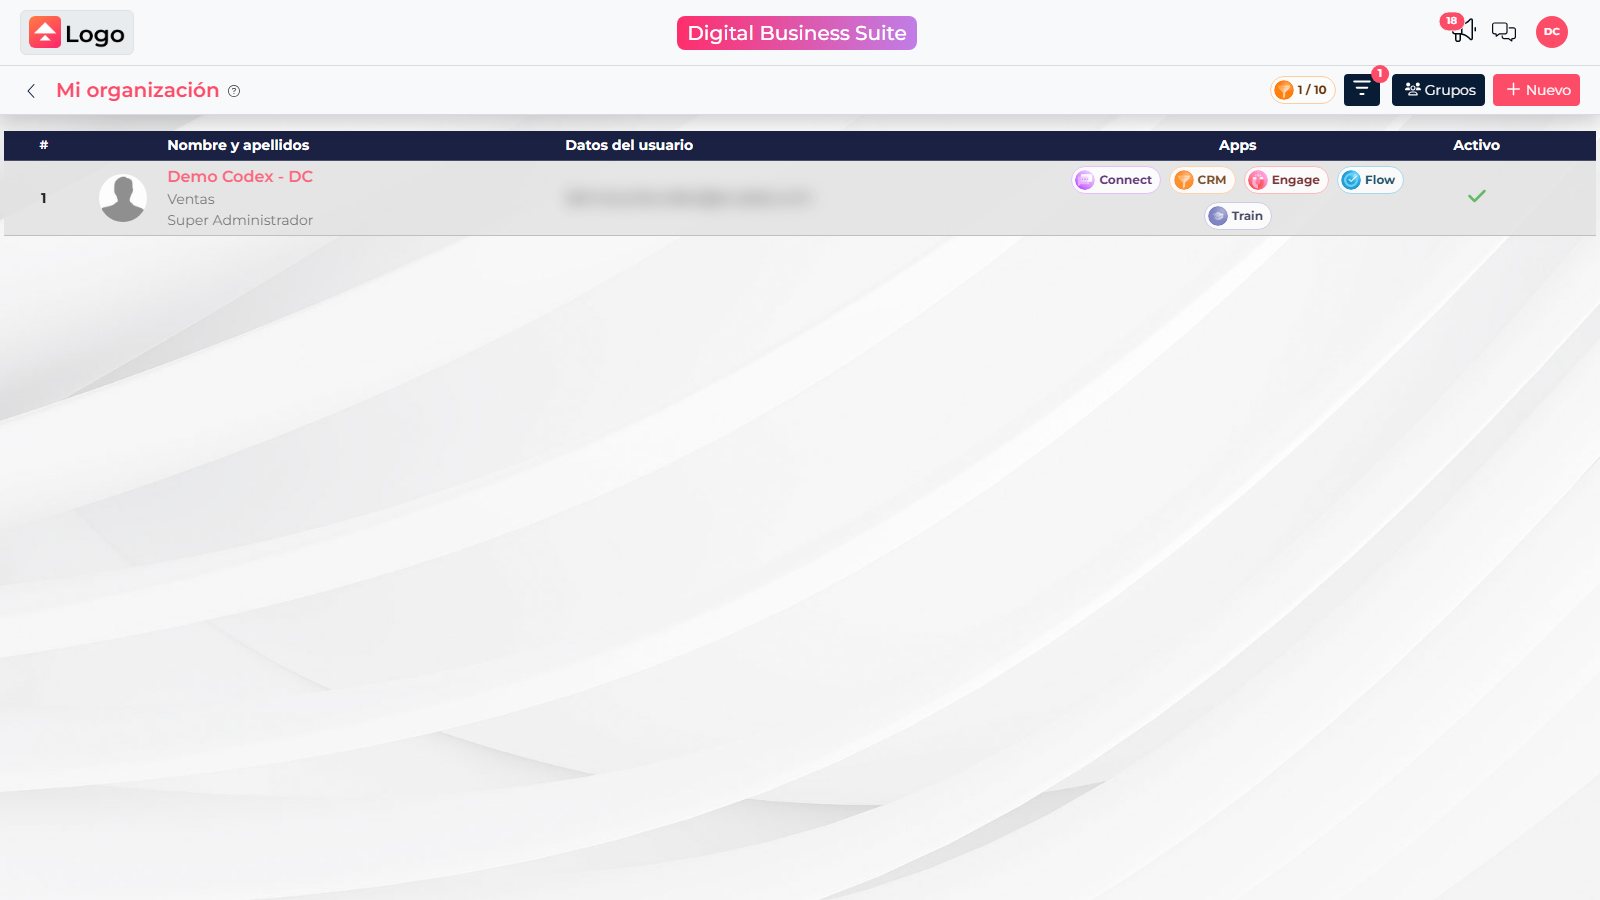
The table brings together each user\u2019s main details. The demo account email is hidden in this screenshot.
Add or edit an account
To create an account, select New. In General information, complete the required fields marked with an asterisk, such as first name, last name, initials, email, mobile phone, group, role, language, and an initial password. The phone field may appear differently when the account already has two-step verification.
- Choose the group the person belongs to and the role that matches their responsibilities.
- Select only the apps they need. The list depends on the products available to your organization.
- Review the Permissions tab if you need to configure specific access. Options depend on the assigned products and role.
- Select Accept to save. Then verify the group, product access, and status in the list.
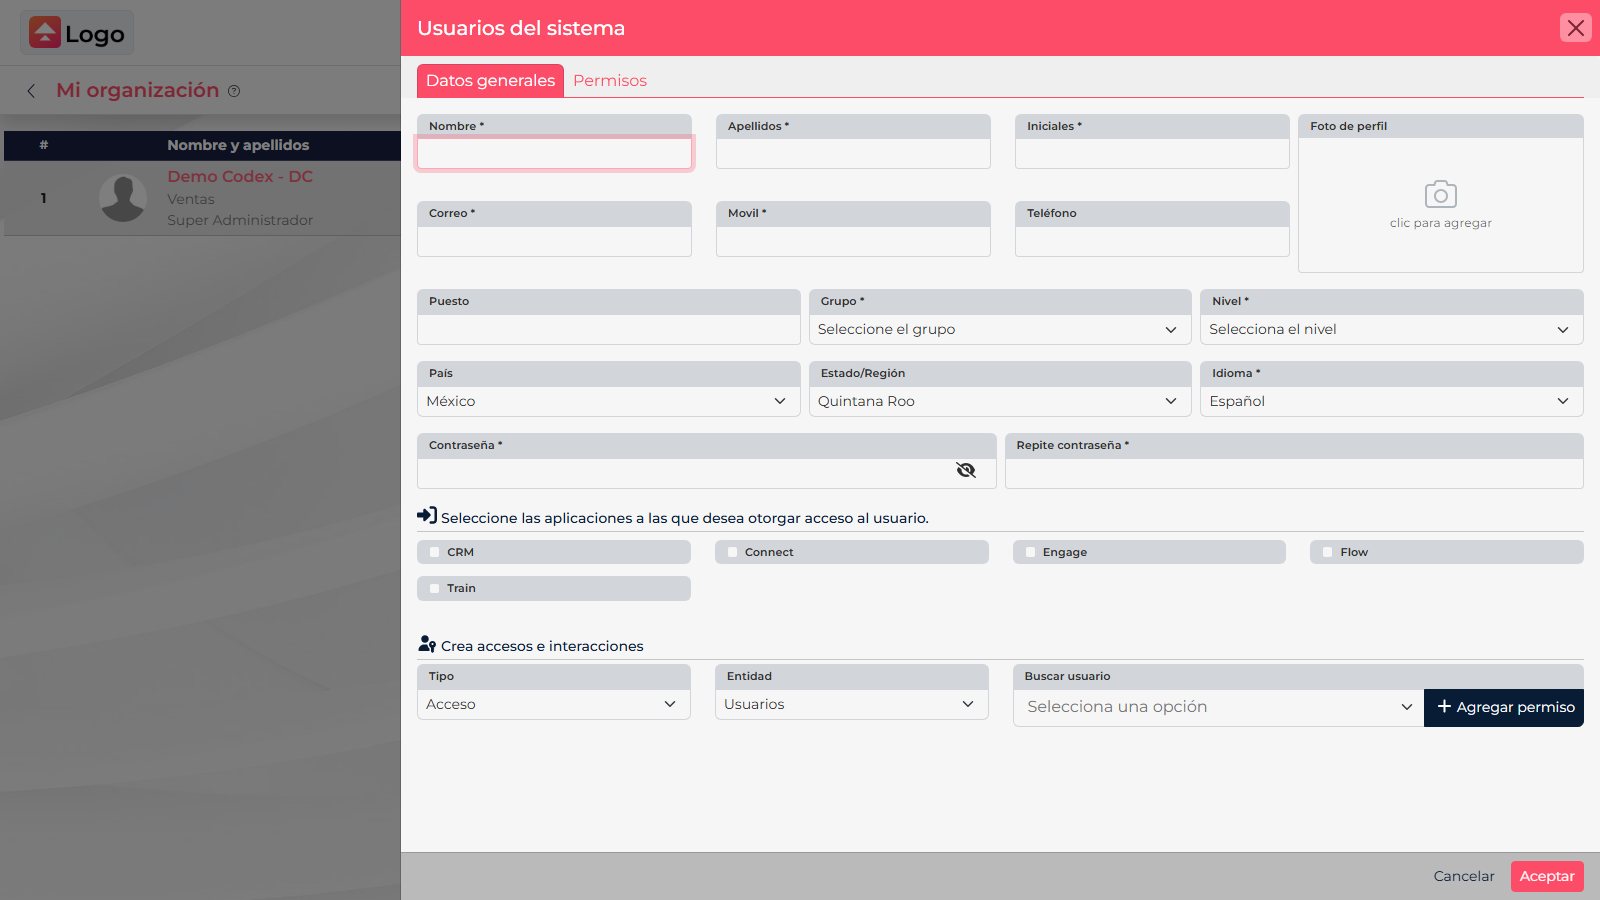
The products shown in the form depend on your company account and licenses.
To edit an existing account, open the person\u2019s name in the table, update the required details, and save. If you share an initial password, follow your company\u2019s secure process; do not include it in tickets or help documents.
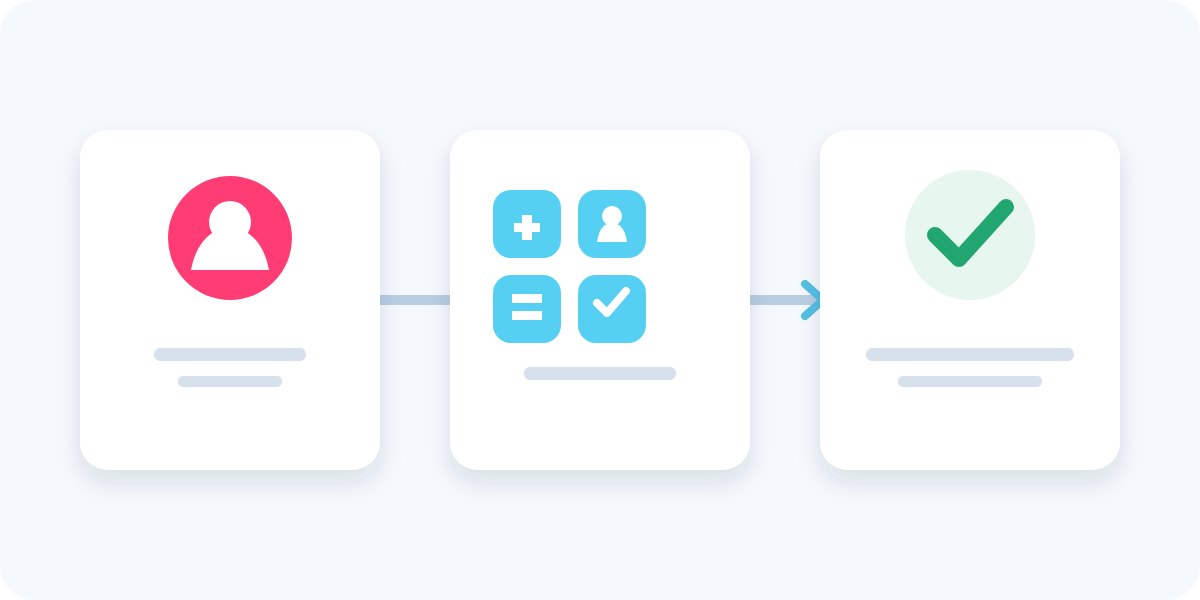
The profile, product access, and account status are separate parts of user setup.
Review or change a user\u2019s status
Suite distinguishes three statuses in the situation column. Open the filters and select the status you need to include accounts that are not shown in the active view.
| Status | What it means |
|---|---|
| Active | The account is enabled. Access to each product also depends on assigned apps and permissions. |
| Inactive | The account is deactivated. Find it by filtering for Inactive. |
| Blocked | The account is marked Blocked. Find it with that filter and review the case before reactivating it. |
In another user\u2019s action menu, an active account offers Deactivate; an inactive or blocked account may offer Activate. Confirm the user and status before accepting. The account used for the current session does not show these actions; ask another Super Administrator if you need to change your own status.
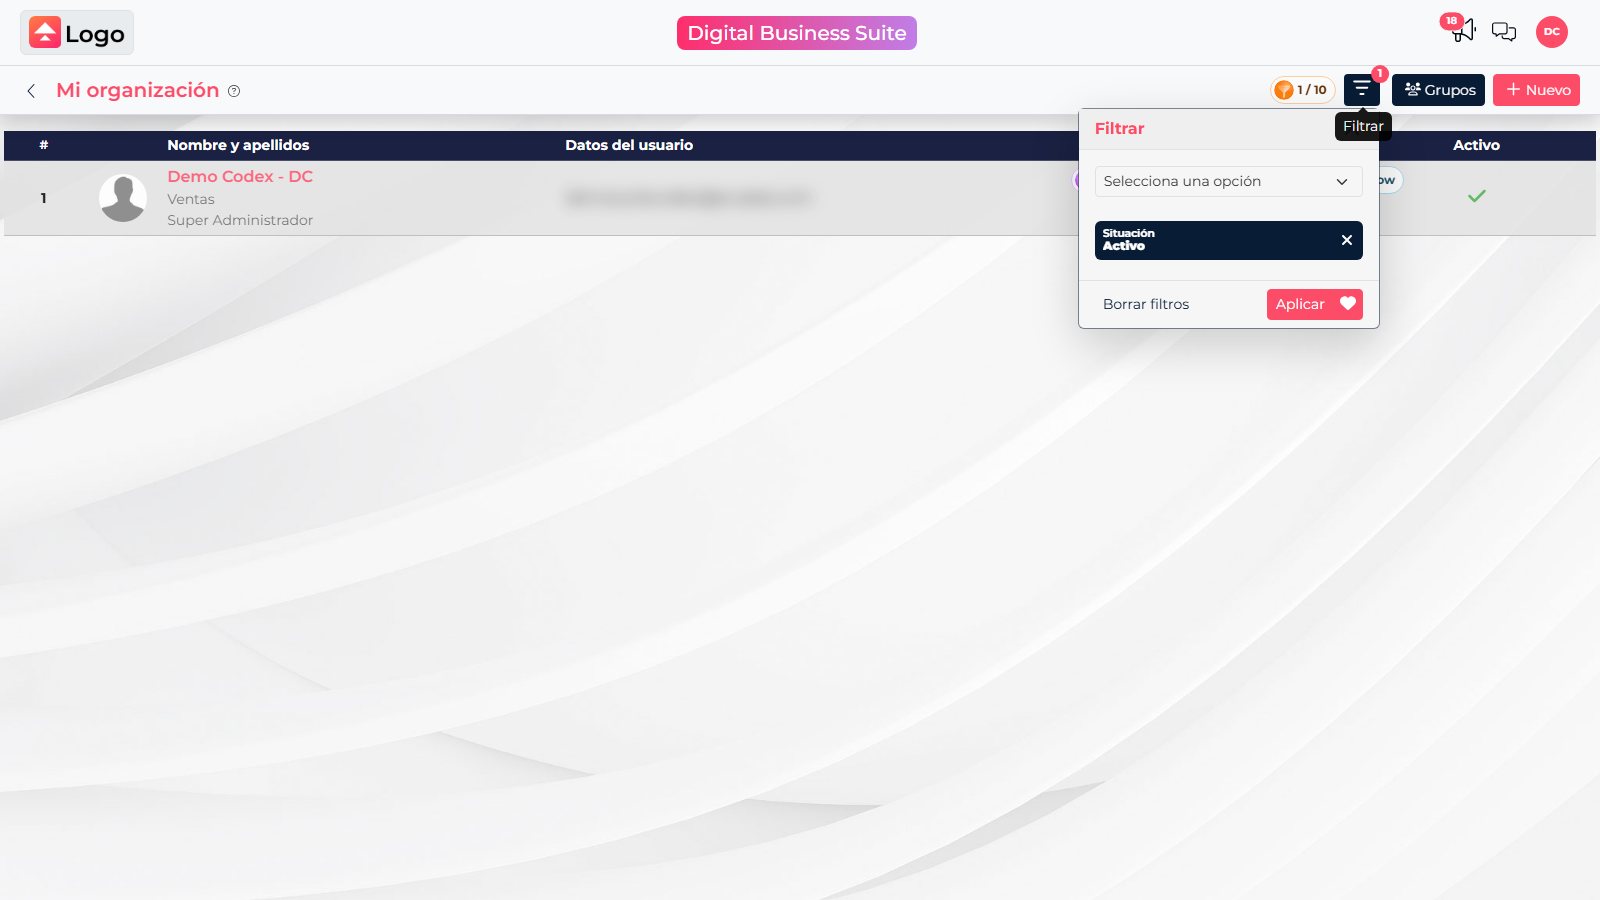
Use the situation filter to find active, inactive, or blocked users.
Deactivation is the right choice when you want to temporarily remove access. Delete is a separate action, may be permanent, and may ask you to choose a replacement user. Review the impact on your organization before confirming.
If someone cannot sign in, check the registered email, account status, assigned apps, and the product they are trying to open. If everything looks correct, record the exact message and ask your administrator or Support for help.