

Groups help represent how your company is organized: for example, a main Sales group with regional subgroups, or a Support group with teams by specialty. A clear structure makes it easier to find members and assign them in settings that use groups.
A group organizes people. App access and user permissions are configured separately; group membership does not replace those assignments.
Open the groups catalog
- Open My organization from your profile menu.
- On the user list, select Groups.
- The page shows the company structure as a tree. If you cannot open it, ask an administrator to review your permission to manage groups.
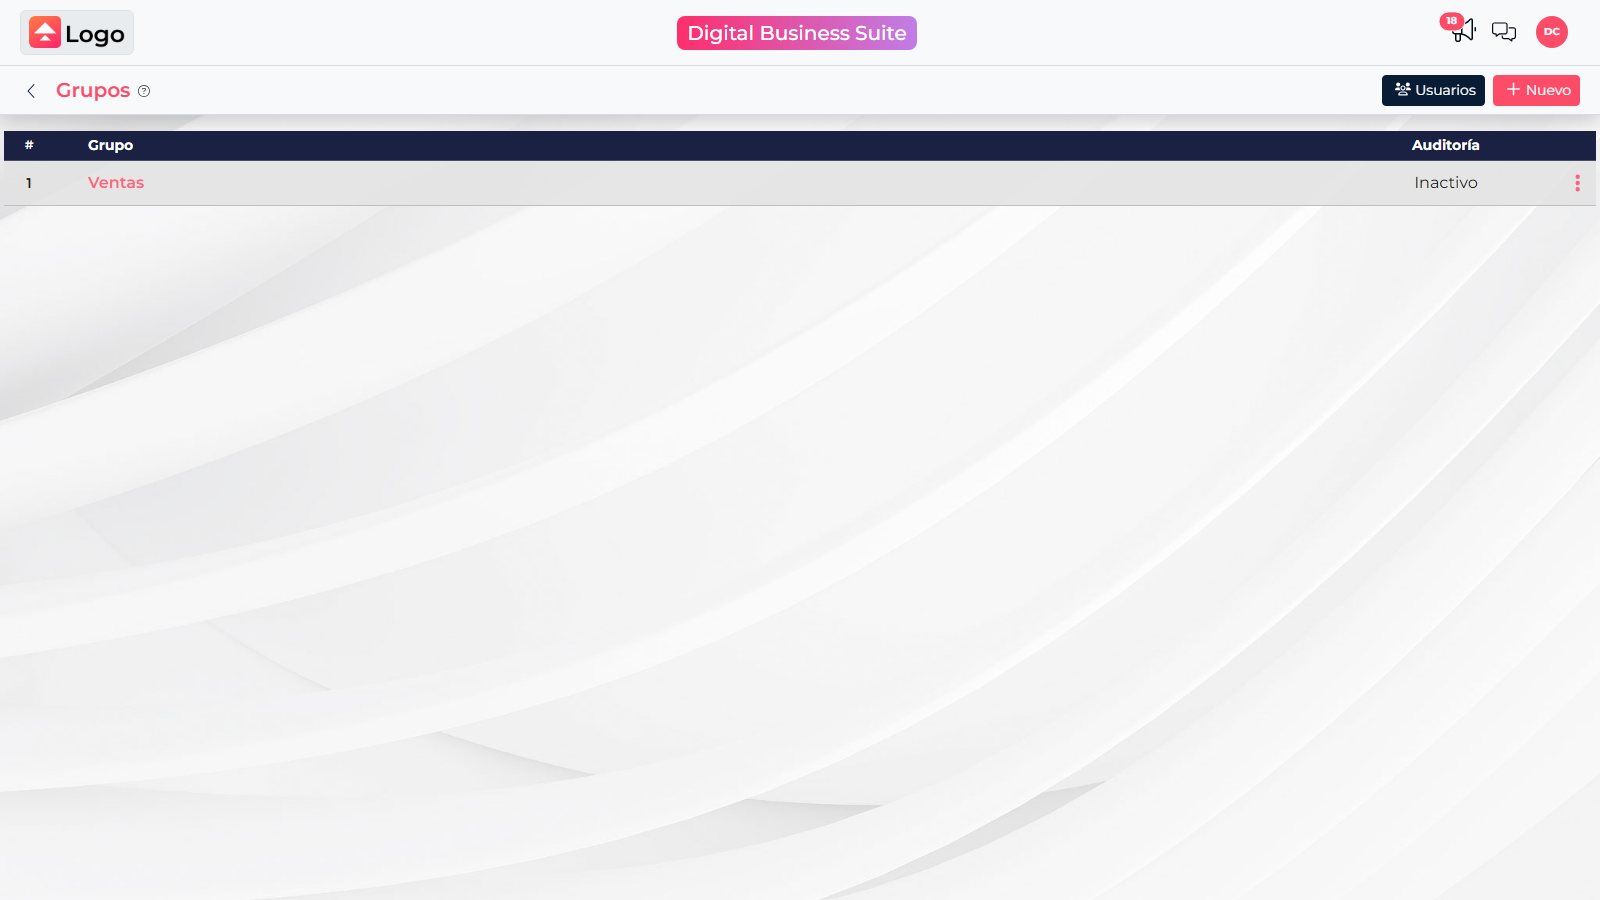
The Groups view displays your company structure. Screenshots were captured in Spanish; labels may appear translated to match your account language.
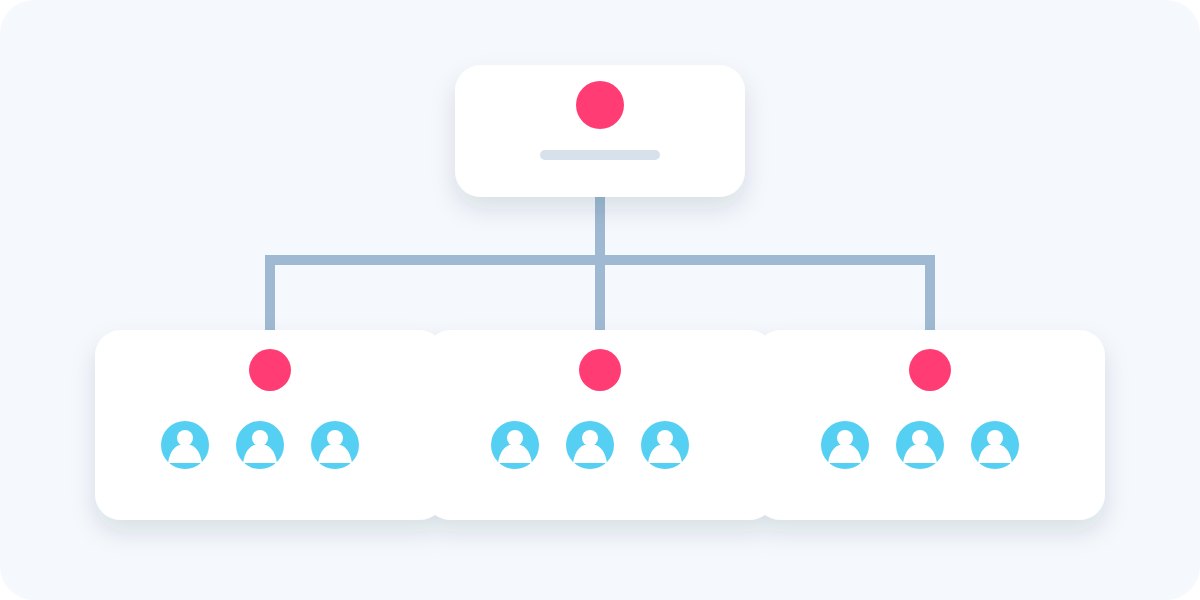
A group hierarchy can represent departments, regions, or work teams.
Create a main group
- Select New.
- Enter a name the team will recognize, such as Sales or Support.
- In Parent, keep None (root) to create a top-level group.
- Review the Audit option. It identifies the group\u2019s audit setting; it does not activate or deactivate member accounts.
- Select Accept. The group will appear in the structure.
Add a subgroup
To create a branch under an existing group, open the parent row\u2019s action menu and select Add. You can also select New and choose an existing group in Parent. Enter the name, confirm the parent, and accept.
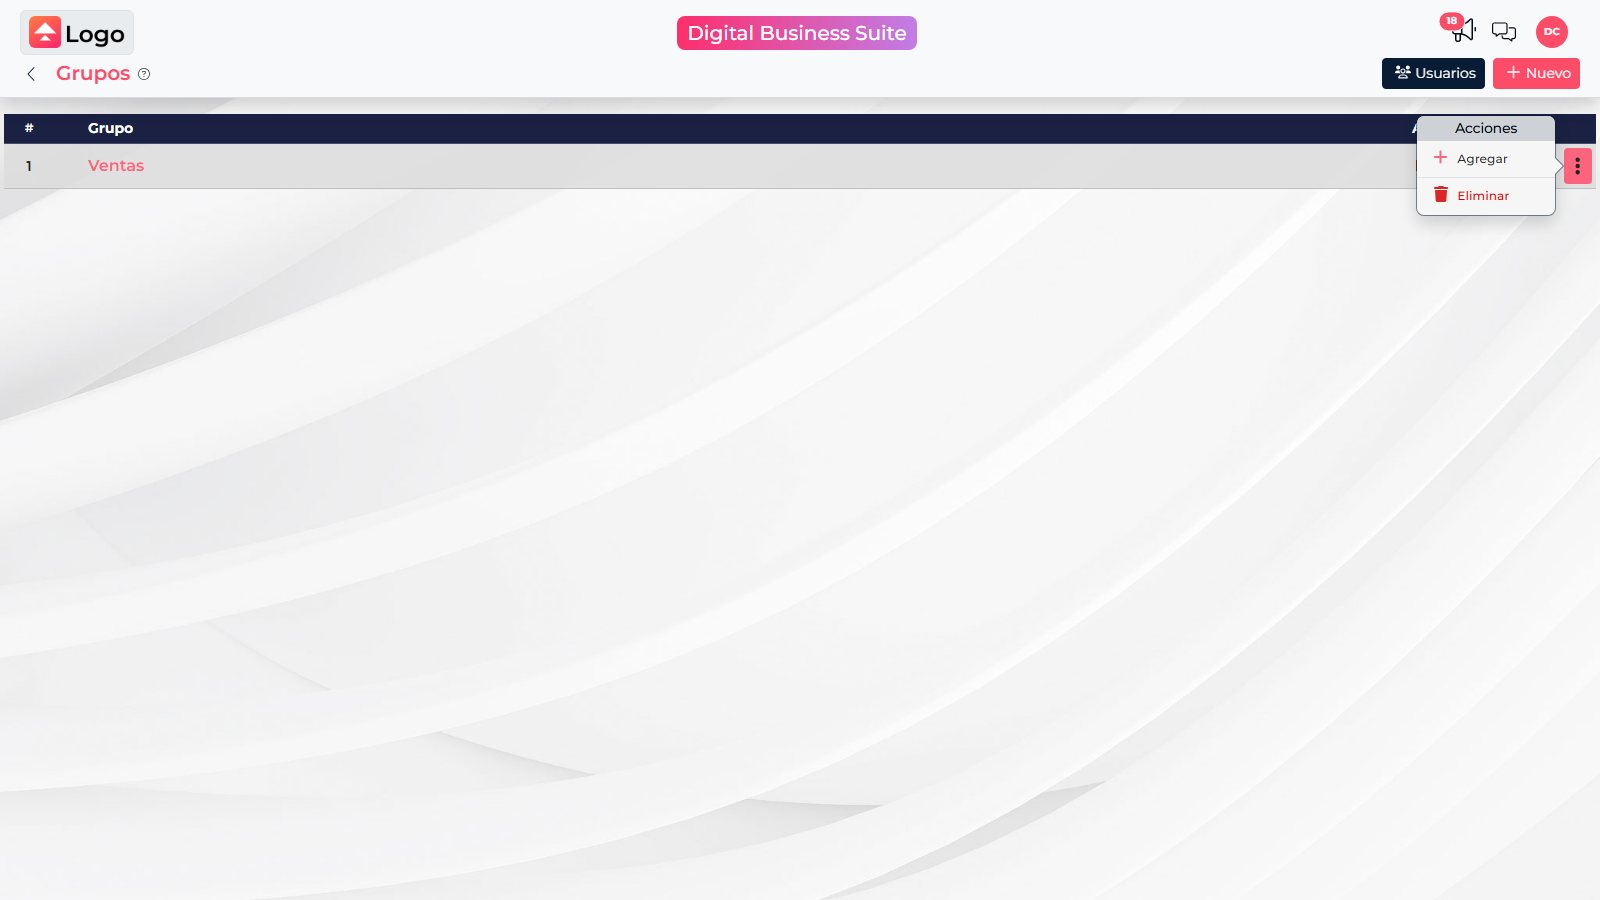
Select Add from the parent group\u2019s action menu to start creating a subgroup.
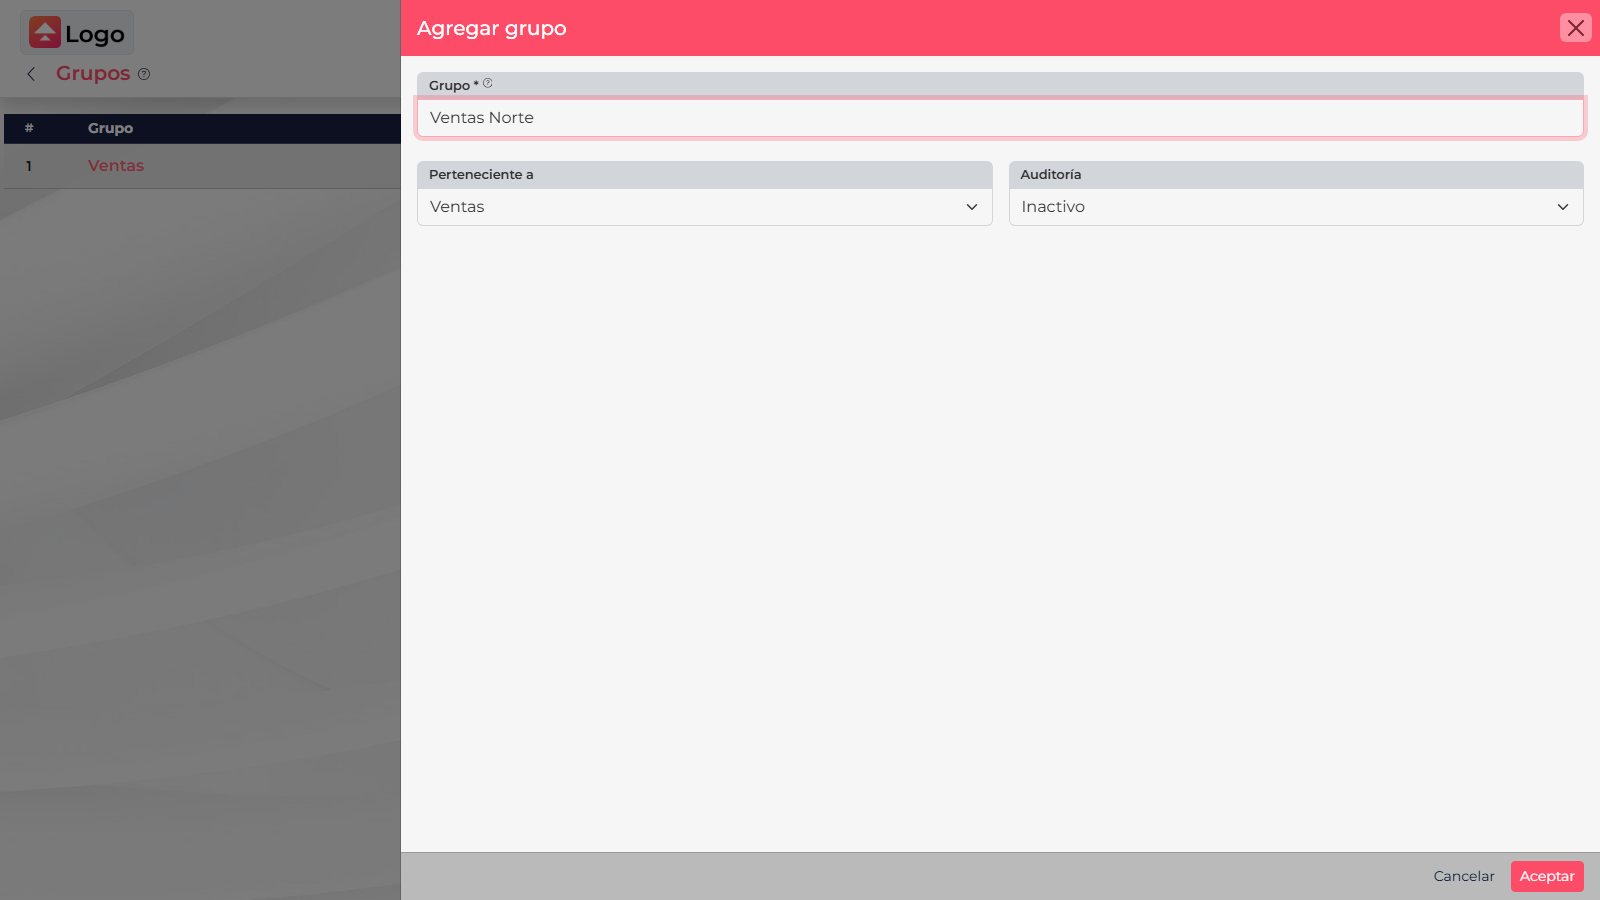
The Parent field determines where the new group appears in the hierarchy. This example was not saved.
In this example, Sales North appears under Sales. Use the same pattern for departments, branches, or teams while keeping names clear and avoiding repeated information.
Assign people and reorganize the structure
- To assign someone to a group, open their account in My organization and select the group in the Group field.
- To edit a group, select its name in the list and update its name, parent group, or Audit setting.
- Nested groups depend on your license and permissions. If the parent selector or subgroup action is missing, ask your account administrator.
- Before deleting a group, identify its members and review the replacement group requested by the system. Deleting a group is different from moving a person to another group.
Use one main group per department and add subgroups only when they distinguish real teams. Before changing a parent group or deleting a branch, check how its members will be organized.
Check each user\u2019s status separately on the user list. A group\u2019s Audit setting does not replace that status or the user\u2019s product access permissions.