
Engage widgets add a specific action to your website: capture details, start a conversation, show a video, or offer a resource. Choosing them based on the result you want makes the page more useful and prevents several elements from competing for attention.
What to choose
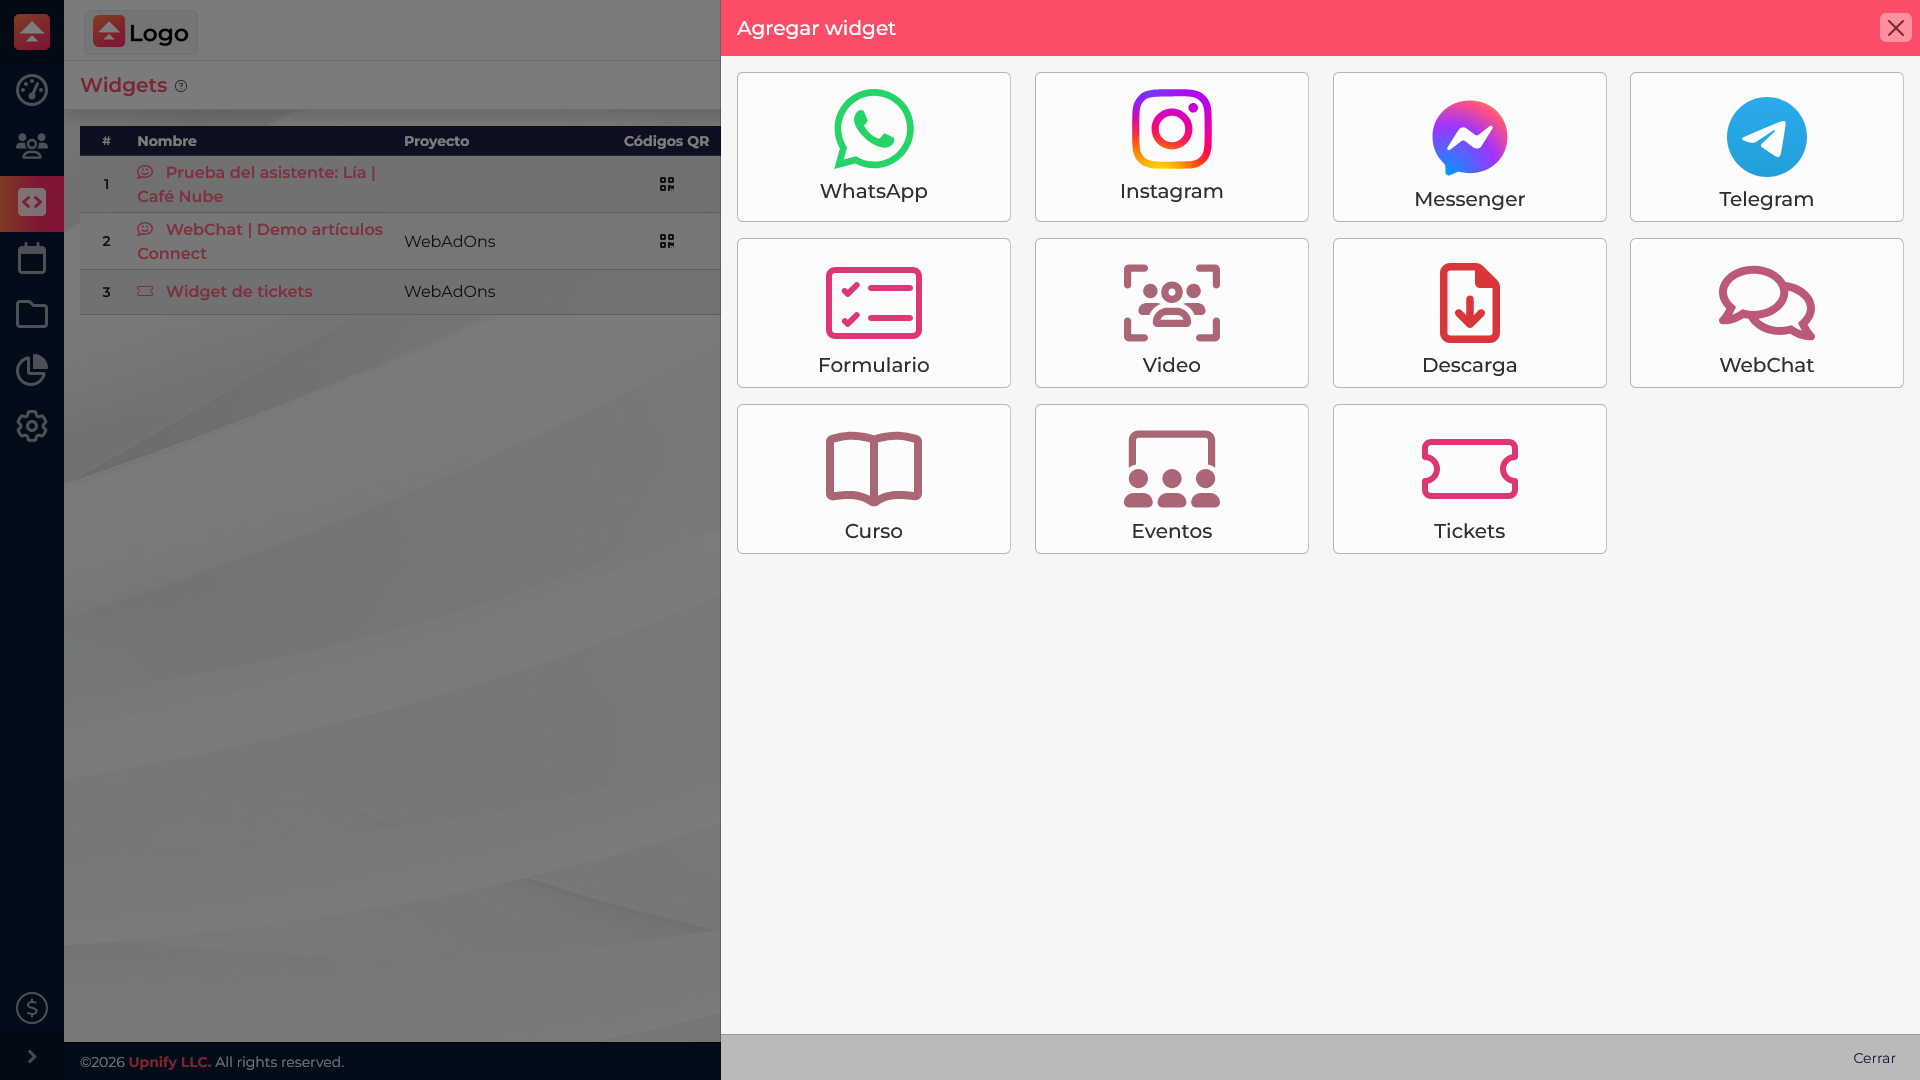
| If you want to\u2026 | Consider\u2026 | Example |
|---|---|---|
| Collect details from an interested visitor | Form | A demo request that creates a CRM prospect |
| Let visitors start a conversation | WhatsApp, Messenger, Instagram, or Telegram | A WhatsApp button on the contact page |
| Explain a product with video | Video | A product demo on a product page |
| Provide a useful file | Download | A guide offered after a form is completed |
| Offer a specialized or embedded experience | WebChat, courses, events, or tickets | A help center or event registration, depending on enabled features |
Availability and fields vary by widget type. Before choosing a specialized option, confirm your account has the required setup.
Check what is already published
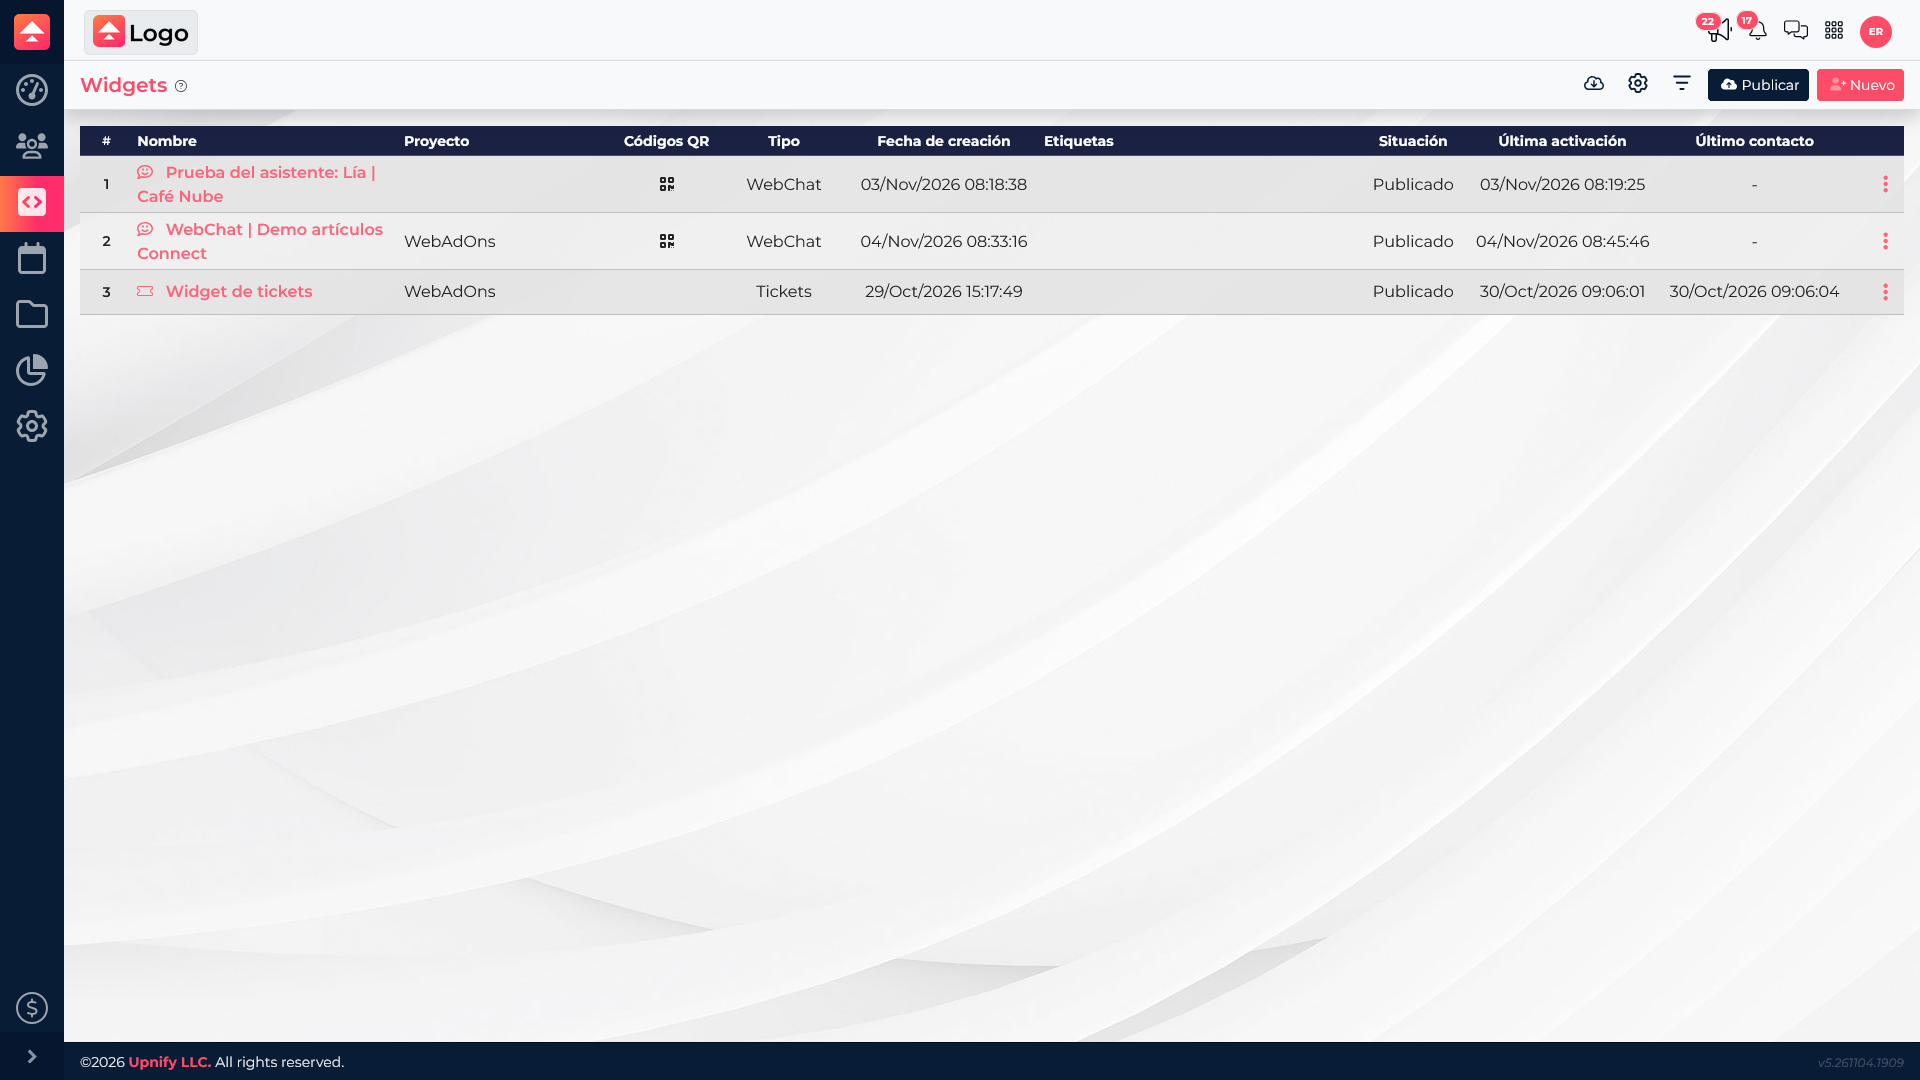
Review the list to see each widget\u2019s name, type, and status. This helps you avoid creating a duplicate when you can update an existing one. Use names that describe the purpose and location, such as \u201CForm \u2013 Request a demo \u2013 Product\u201D.
A practical example
A clinic wants to receive requests from its treatment page and make it easy for visitors to ask quick questions elsewhere on the site. It can publish a form to collect a name and preferred appointment time on that page, and add a messaging button where brief questions are likely. If it has an explanatory video, it can place it beside the service; a downloadable guide works best when visitors want to keep detailed information.
Before publishing, test each widget as a visitor would: check that it appears in the expected place, opens the right destination, and saves the details your team needs. To connect forms to CRM, see How to create a form widget and send its entries to CRM.