How to add phases to your sales process?
Mon Jun 13 2022 07:08:27 GMT-0500 (hora estándar oriental)
Upnify uses the Canonical Sales Process, which is the most simplified and easy to use process, however, sometimes you need to be more specific. For this purpose, Phases are used in each of the steps of the process, whether it is Prospects, Opportunities or Clients.
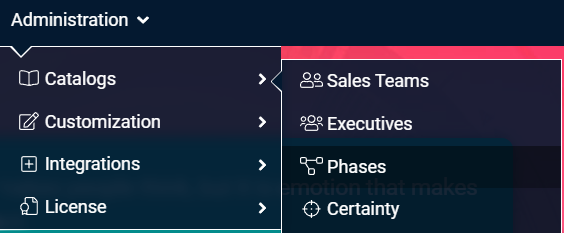
To enter the Phases, go to Administration --> Catalogs --> Phases.
Select the entity Phases of for Prospects, Opportunities or Clients.
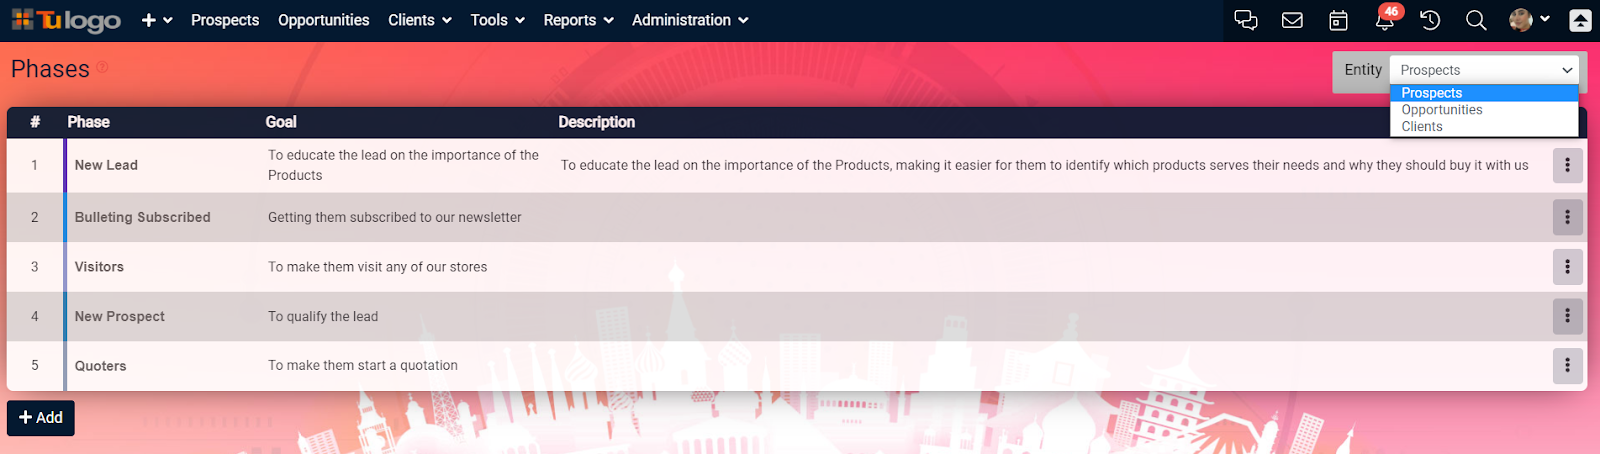
The operation for the three phases is the same, so the Prospect Phases will be used as an example, while the operation for the Opportunity Phases and the Client Phases is identical.
It should be taken into account that the phases have an order according to the progress of each negotiation. Upnify has some default Phases, however, you can customize them according to your needs.
In the following example, the Prospect Phases are illustrated. It starts as a 'New Prospect', then becomes 'Contacted' and then 'Qualified'.
*INSERT IMAGE*
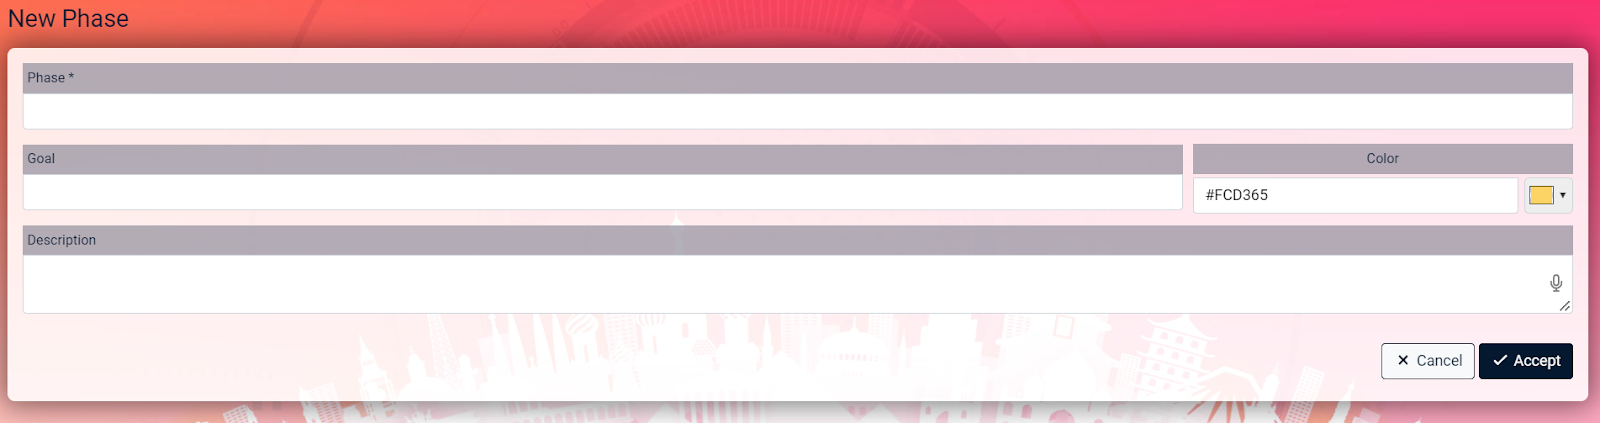
To add a Phase:
1.- Click on +Add Phase and the Modify Phase window will be displayed.
2.- Enter the name, phase, description and color.
3.- Enter the name you are going to give it and click on ?Accept.
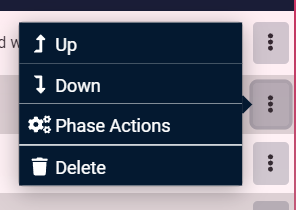
In case you want to change the order of the phases, click on the Actions Menu where you have the options of Down if it is the first phase, Up or Down if it is an intermediate phase and Up if it is the last phase.

In addition, you can add actions to each phase. To do this, in the Actions Menu of the Phase in question, click on Phase Actions.
It will take you to a window where you have to click on +Add action to select the one you want to add.

In the pop-up window, click on the Select an option field, where you will be shown 4 action options:
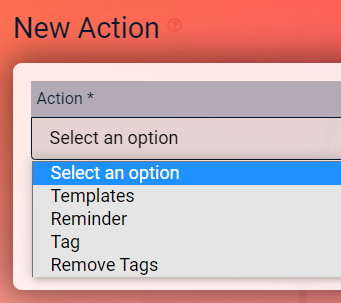
Templates:
To automatically send a mail template that you have previously created. Select the template, the recipient and whether there is copy or blind copy to the executive, administrator or other recipient.

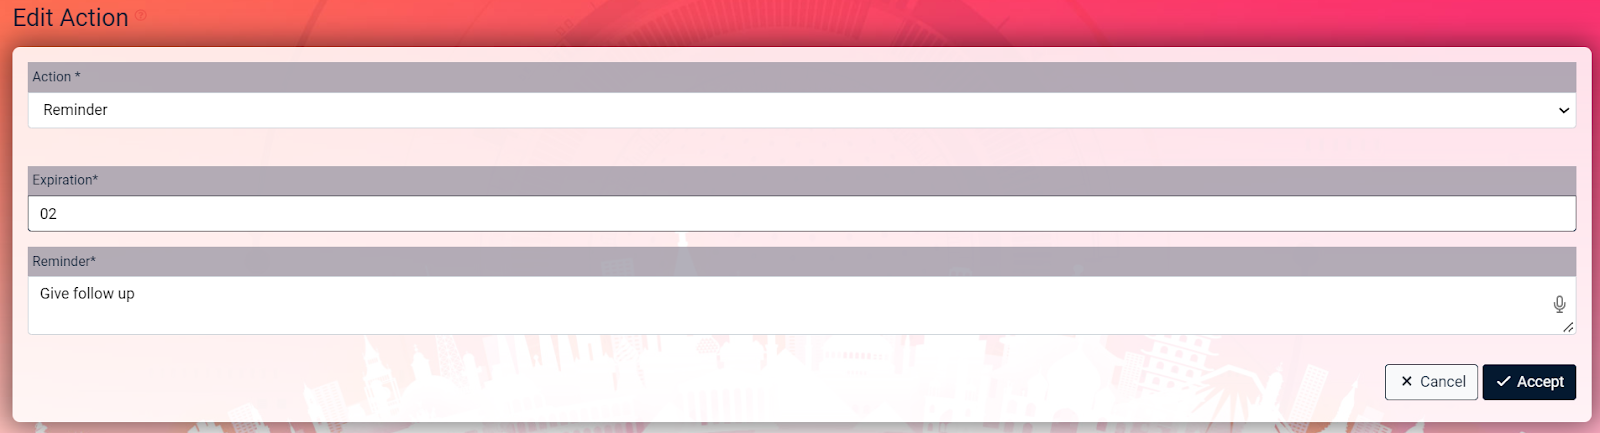
Reminder:
If you want a reminder to be automatically scheduled for a certain number of days after the phase is assigned.
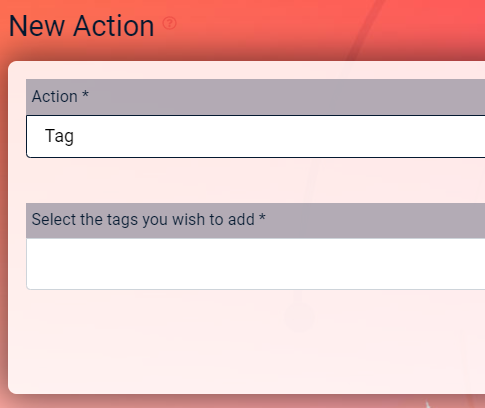
Tag:
When you want to automatically assign one or more tags when you move onto that phase.
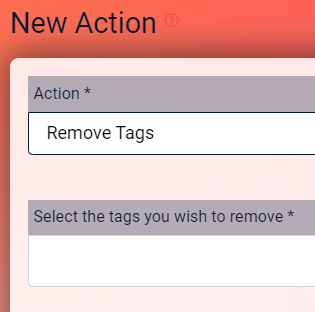
Remove tags:
When you want to automatically remove one or more labels when passing to that phase.
If you want to delete any of the actions, click on the Delete icon on the far right of the action.
